How to Grow Mushrooms at Home: From Beginner Kits to Advanced DIY
Want to grow mushrooms at home? This step-by-step guide walks you through every stage — from beginner kits and pre-made spawn to agar, grain jars, and full DIY setups. Perfect for anyone curious about mushroom growing, whether you just want your first flush or you’re ready to make everything from scratch.
GROWING
8/28/20255 min read

How to Start Growing Mushrooms at Home (Beginner → Advanced Progression)
No matter where you are, there’s a step for you. Mushroom growing can be as simple as cutting an “X” in a bag… or as advanced as making your own agar, grain, and bulk substrate. This guide will walk you through the natural progression — from absolute beginner to full DIY grower.
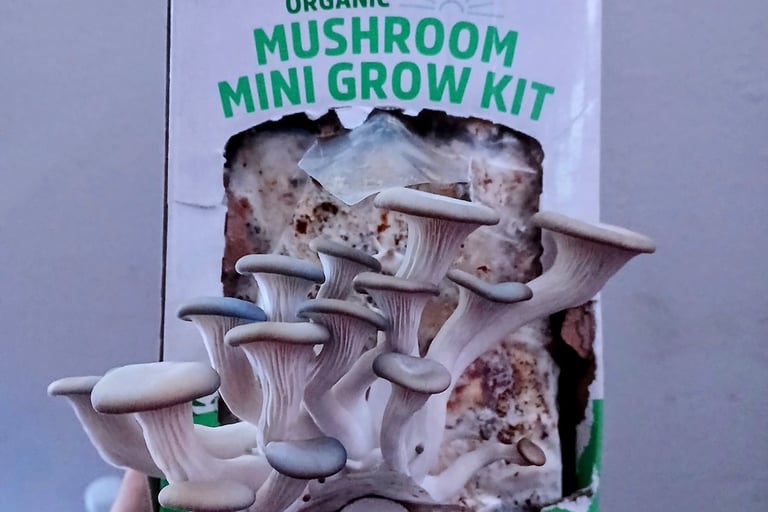
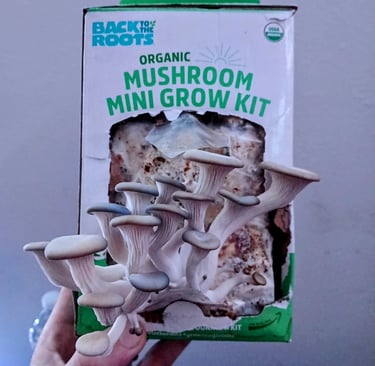
Level 1: Beginner – Grow Kits (Easiest, Even a Kid Could Do It)
If you want the simplest way to grow mushrooms, start with a mushroom grow kit. All you do is cut an “X,” spray it with water, and watch mushrooms fruit.
👉 My story: I first got into gourmet mushrooms with a kit from Back to the Roots. Later, I learned to clone the oyster fruits from those kits and moved on to more advanced methods.
Tips for success:
Soak the block before fruiting.
Keep humidity up with a spray bottle or a small humidifier.
In dry climates (like Southern California), a little extra humidity goes a long way.
Most kits don’t just fruit once — you can usually get 2–3 flushes from the same block if you rest it between harvests.
If you feel adventurous, you can pair your kit with pre-made agar plates and try cloning your fruits in a simple still air box. (More on that in Level 3.)
Level 2: Beginner-Plus – Pre-Made Spawn + Substrate
Once you’ve outgrown kits, the next step is buying colonized grain spawn (from vendors like North Spore) and pairing it with pre-made substrate bags. This method costs a little more than a kit, but it’s a great bridge to harder techniques without having to make your own grain or substrate just yet.
How it works:
Break up the grain spawn by hand.
Pour it into the substrate bag.
Seal the top — many growers use impulse sealers, but you can just use paper clips or small clamps for now.
Mix the grain and substrate together and let it colonize for 10–14 days (sometimes faster depending on the strain).
Once colonized, treat it just like a kit: cut an “X” in the bag, keep humidity up, and let the mushrooms fruit.
Just like kits, you’ll usually get more than one flush out of these bags, especially if you keep the block moist and let it rest between harvests.
📌 Pro tip: If you want to experiment further, you can also buy different species of spawn (like lion’s mane or chestnut) to try new flavors and textures.
Level 3: Intermediate – Cloning with Agar (No-Pour or Pre-Made Plates)
This is where it gets fun. With agar, you can clone mushrooms or test new strains and build a clean culture you can expand over and over.
Basic tissue cloning:
In a still air box, cut open a mushroom fruit with a sterile scalpel.
Take a small piece of clean tissue from the inside of the mushroom.
Drop it onto an agar plate and let it colonize.
Options:
Buy pre-poured agar plates online (usually $1–$2 each).
Try no-pour agar jars using mason jars or even ketchup cups. (See my full guide on no-pour agar and ketchup cups for step-by-step instructions.)
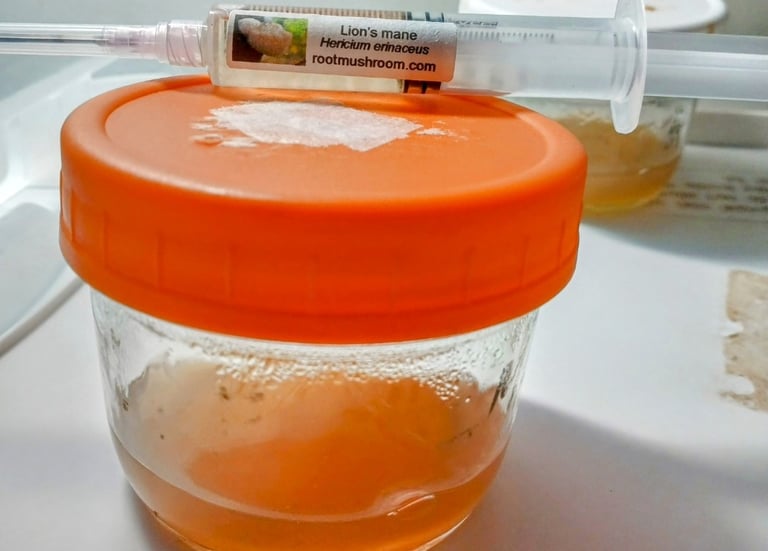
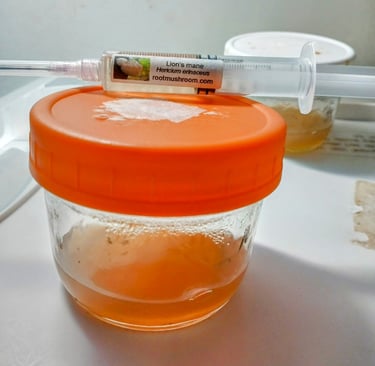
Inoculate agar with a drop from a liquid culture syringe to explore new strains.
👉 Note from me: Don’t let agar intimidate you. I held off for too long because it sounded complicated — but once I tried, I realized it’s one of the most useful skills in mycology.
📌 Pro tip: Once your agar plate colonizes, wrap it in parafilm or cling wrap to keep it clean.
Level 4: Intermediate-Advanced – Agar to Grain Jars
Once you have clean mycelium growing on agar, the next step is transferring it into sterilized grain jars. This is where you start producing your own spawn instead of relying on pre-made bags.
How it works:
In a still air box, cut a small wedge of colonized agar.
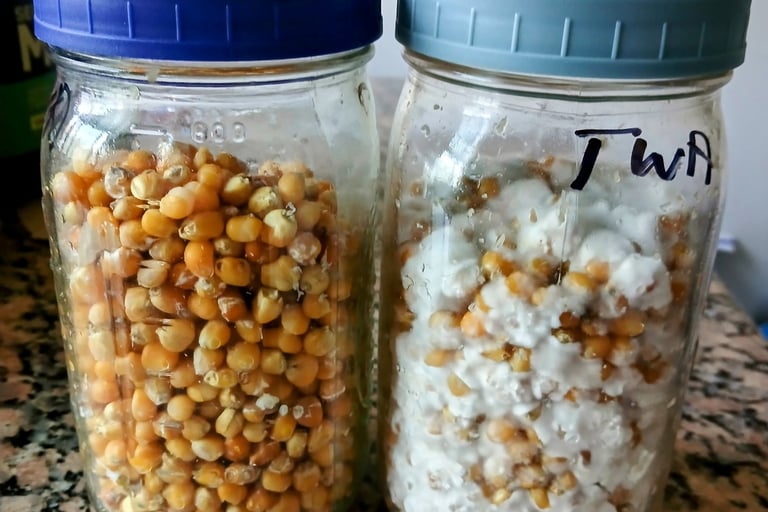
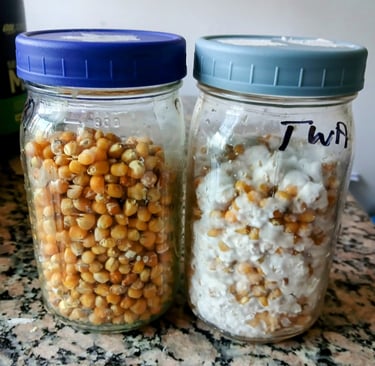
Drop the wedge into a sterilized grain jar.
Seal the jar and let it colonize for 1–2 weeks.
When the jar is fully white with mycelium, you can break it up and use it to inoculate bulk substrate bags, buckets, or tubs.
Gear tip: You don’t need a professional lab setup — a simple still air box and clean tools are enough. Syringes can also be handy if you’re transferring liquid culture instead of agar wedges.
📌 Pro tip: Start small — even one agar wedge can turn into multiple quarts of colonized grain, which then expands into several pounds of mushrooms.
Level 5: Advanced – Make Your Own Everything
At this stage, you’re fully self-sufficient: making your own agar, grain spawn, substrate, and fruiting setups from scratch. It takes some upfront investment, but long term it saves money and gives you complete control over your grows.
What you’ll need:
A reliable pressure cooker for sterilizing grain and agar.
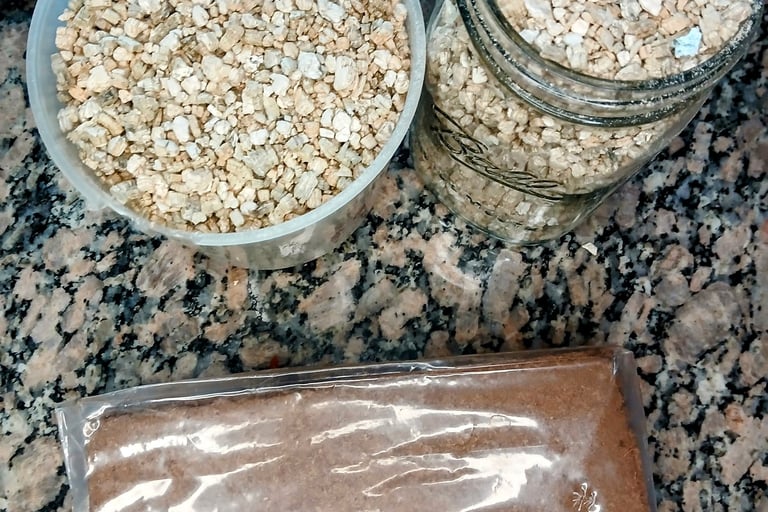
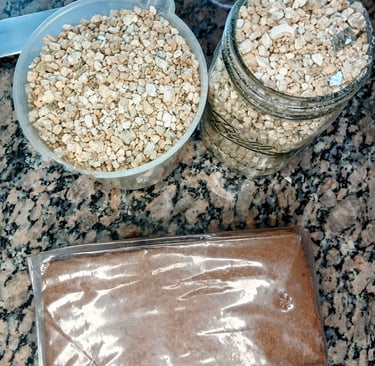
Bulk substrate ingredients like coco coir, vermiculite, and gypsum.
Grains such as oats, corn, millet, or bird seed.
Wide-mouth mason jars for agar, liquid culture, and spawn.
How it works:
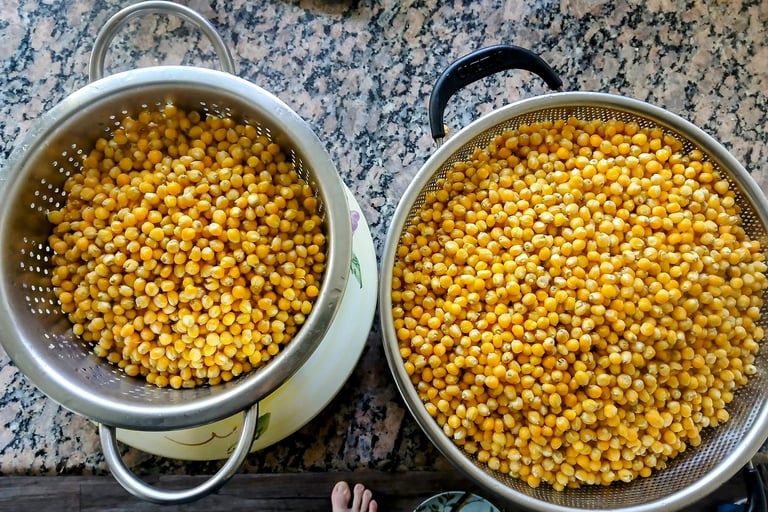
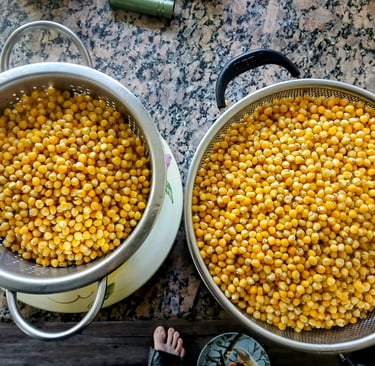
Prepare grain in jars (oats, corn, etc.).
Sterilize them in your pressure cooker.
Inoculate with agar or liquid culture.
Expand into bulk substrate (pasteurized in a bucket or sterilized in bags).
📌 Pro tip: You can pasteurize substrate in a simple 5-gallon bucket with boiling water — no fancy equipment needed.
👉 Once you reach this level, your cost per grow drops dramatically. You’ll also be able to experiment with multiple species, build a backup culture library, and scale up whenever you want.
Conclusion
Mushroom growing doesn’t have to be complicated. Start simple with a kit, then grow as you go — from pre-made spawn, to agar, to making everything yourself. No matter where you’re at, there’s always a next step.
If you’re ready to dive in, here’s the gear I recommend to get started:
Start where you feel comfortable, and expand when you’re ready.
Disclosure: As an Amazon Associate I earn from qualifying purchases.
This means if you click and buy, I may earn a small commission at no extra cost to you.
Frequently Asked Questions
How many flushes can I expect from a kit?
Most kits give 2–3 flushes if you keep them moist and let them rest between harvests. The first flush is usually the biggest, but later flushes are still worth it.
Do I need a pressure cooker to start?
No — you only need a pressure cooker once you move into making your own grain spawn and agar. Beginners can do great with kits, pre-made spawn, and substrate bags.
What’s the easiest mushroom to start with?
Oyster mushrooms. They grow fast, adapt well, and are forgiving if your humidity isn’t perfect. Lion’s mane and chestnut are great once you’ve got some experience.
Can I grow mushrooms without special equipment?
Yes. Mushrooms don’t need sunlight or soil. With a kit, a spray bottle, and a little humidity, you can fruit mushrooms right on your kitchen counter. As you advance, you can add gear like a still air box or pressure cooker.
Need a quick overview of how all the pieces fit together? See my article on The 5 Stages of Growing Mushrooms: From Spores to Harvest.