The 5 Stages of Growing Mushrooms: From Spores to Harvest (Beginner’s Guide)
Confused by terms like agar, grain spawn, or substrate? This beginner’s guide explains the 5 stages of mushroom growing step-by-step — from spores all the way to harvest — so you can finally understand how it all fits together.
GROWING
9/5/20253 min read
🍄 The 5 Stages of Growing Mushrooms (Beginner’s Guide)
If you’re new to mushroom growing, all the jargon — agar, spore prints, grain, LC, substrate — can feel overwhelming. The truth is, mushrooms grow in clear, predictable stages. Once you understand the flow, the whole process makes sense.
In this guide, I’ll break down the 5 key stages of mushroom cultivation, from spores all the way to harvest, so you know exactly how it all fits together.
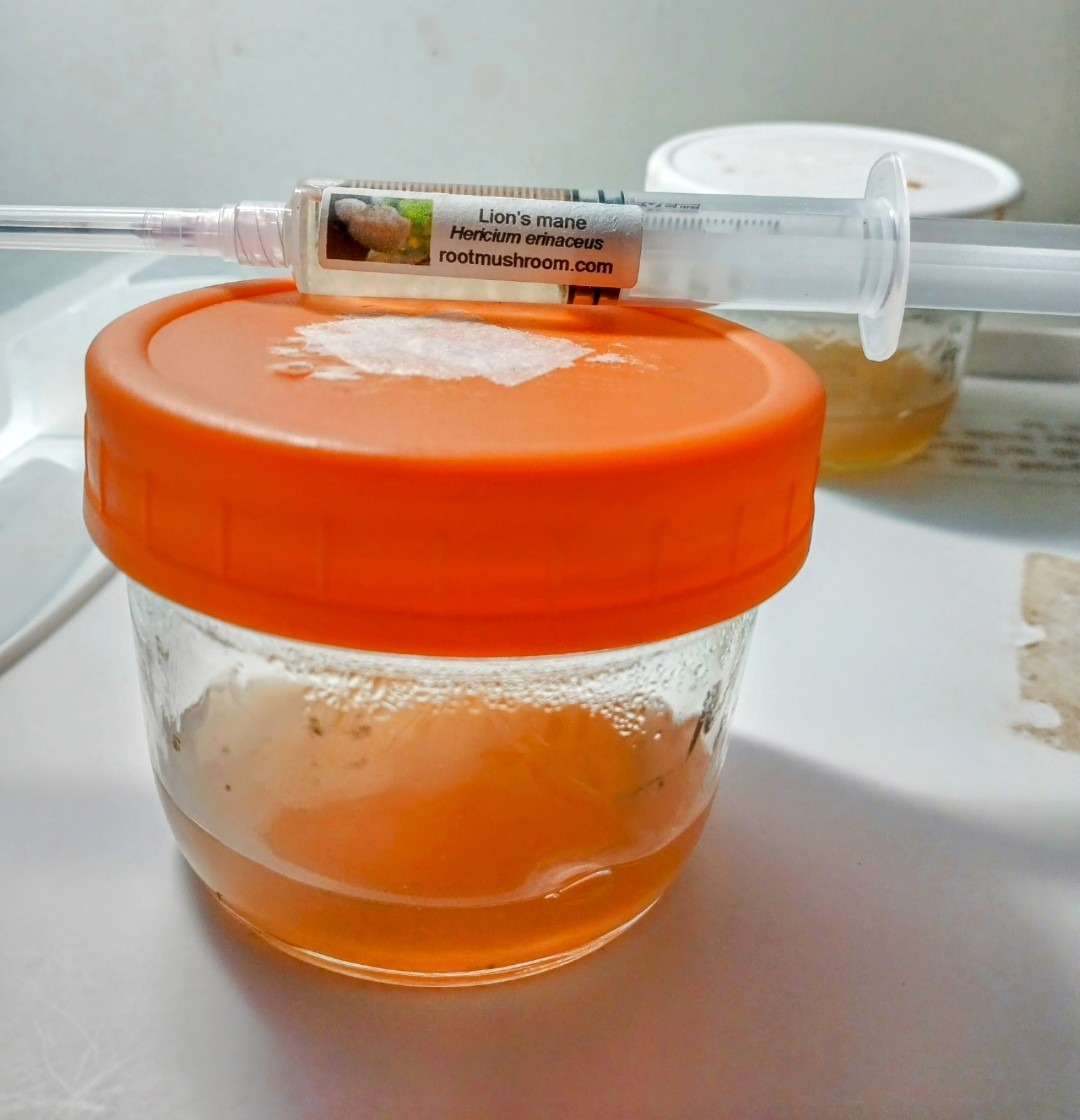
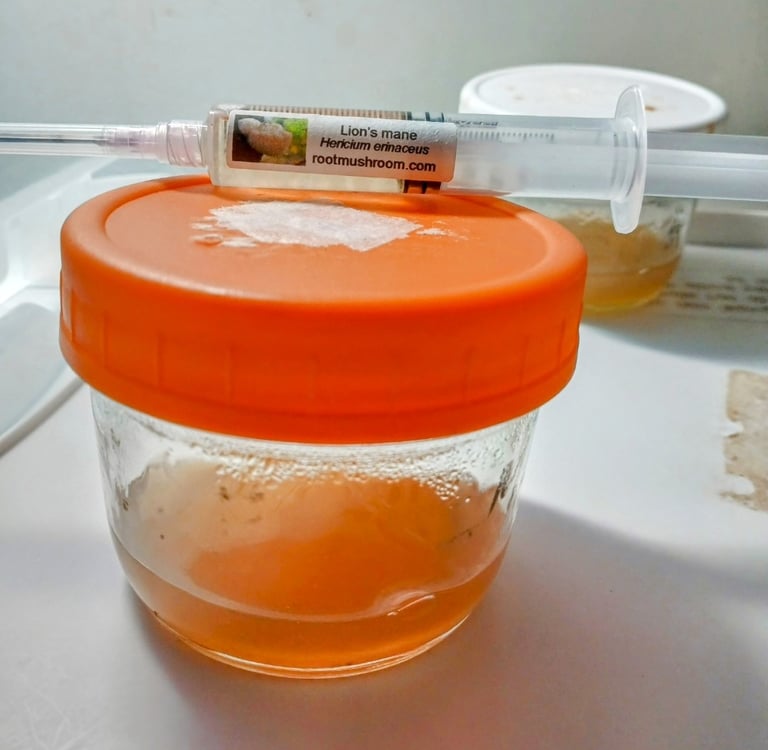
1. Spores and Cultures
Every mushroom starts with spores — kind of like the “seeds” of fungi. Beginners usually encounter spores in one of three forms:
Spore print: a dried pattern of spores on foil or paper.
Spore syringe: spores suspended in sterile water, easy to inject.
Liquid culture (LC): living mycelium growing in liquid, faster than spores.
Some growers also use agar plates to clean spores or expand cultures before moving on.
👉 Think of this stage as choosing your starting line. Spores are raw potential, cultures are the engine already running.
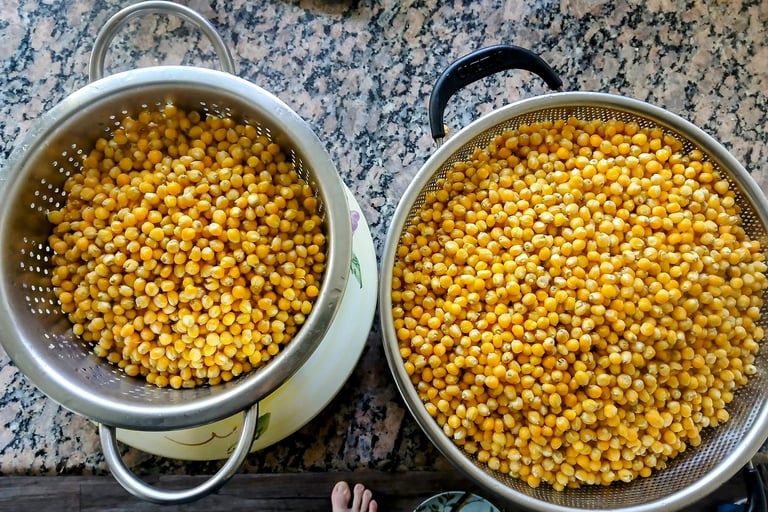
2. Grain Spawn
Once you have spores or culture, the next step is to inoculate grain. Popular grains include rye, wheat, millet, or even popcorn.
The spores or LC colonize the grain, turning it into “grain spawn.” This stage multiplies your mycelium so you have enough to move to bulk growing.
Grain jars and bags are sold pre-sterilized, or you can prepare your own.
👉 Grain spawn is your expansion tank — the more clean grain you have colonized, the more mushrooms you can grow later.
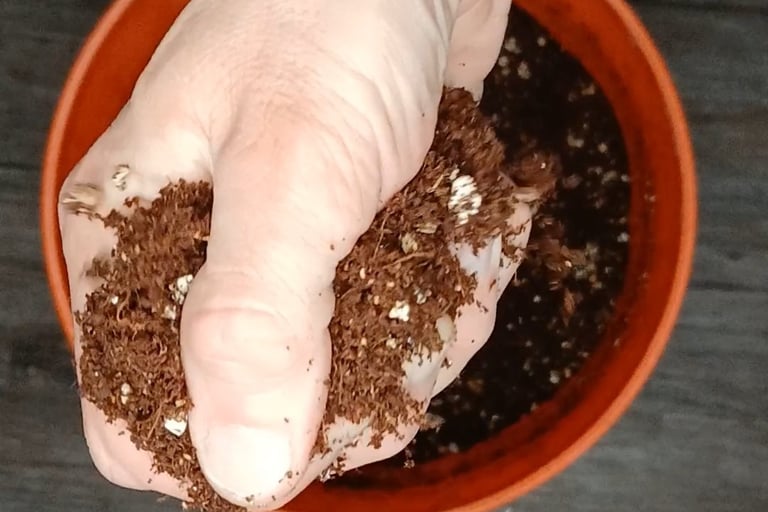
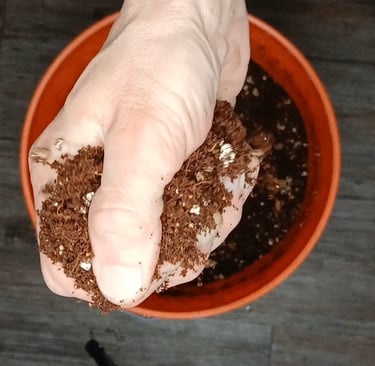
3. Bulk Substrate
Once your grain is fully colonized, you mix it with a bulk substrate — basically the food that fuels mushroom growth.
Common substrates:
Coco coir + vermiculite mix
Manure mixes
Hardwood sawdust (for gourmet species like shiitake)
The grain spawn spreads into this bulk material, colonizing it completely. This step is where you really scale up.
👉 Substrate is like the garden bed — it’s where the mushrooms actually take root and get ready to fruit.
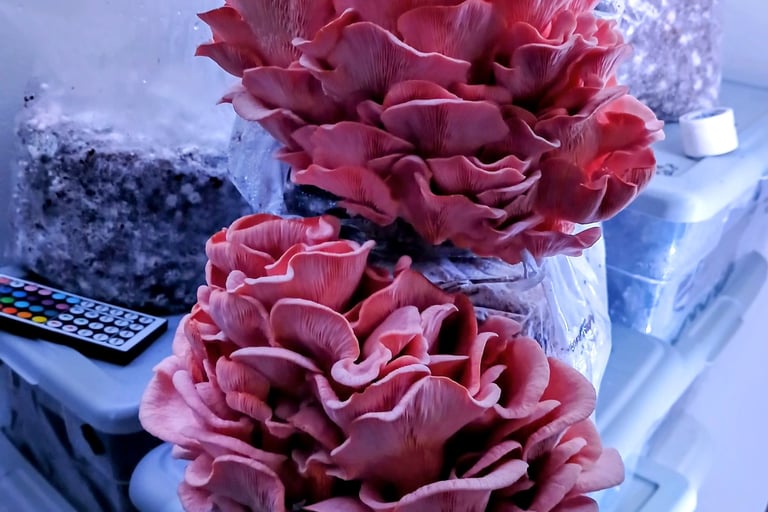
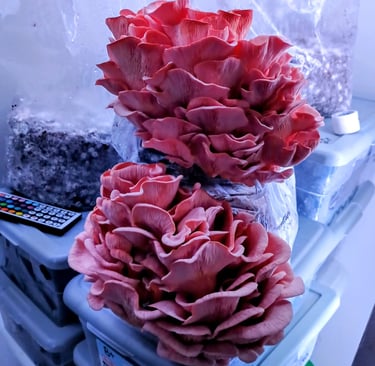
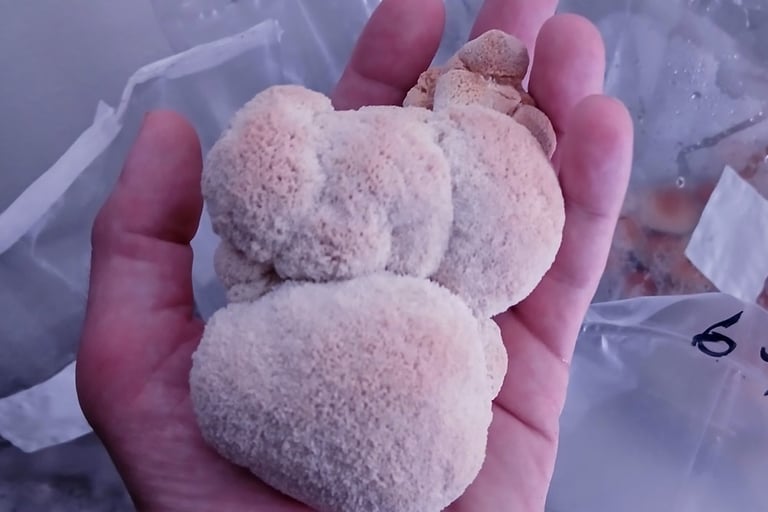
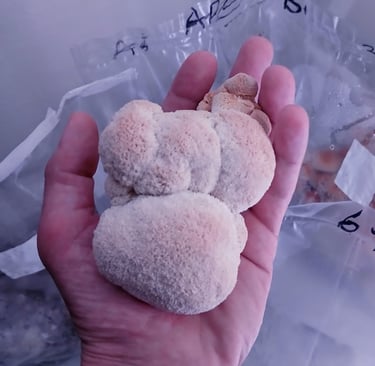
4. Fruiting
After colonization, the fun part begins: fruiting. You expose the colonized substrate to conditions mushrooms love — humidity, fresh air, and indirect light.
Fruiting chambers, monotubs, or tents help hold humidity. Here a mono tub I recommend
A small humidifier or spray bottle keeps the environment moist.
Pins (baby mushrooms) form, grow, and mature into full fruiting bodies.
Want a detailed step-by-step tutorial you can follow? Check out my guide on How to Grow Mushrooms at Home: From Beginner Kits to Advanced DIY.
👉 This is where your work pays off — the mushrooms finally show themselves.
5. Harvest (and Repeat)
When caps open and edges flatten, it’s harvest time. Gently twist and pull, or cut at the base. Most grows will give you multiple flushes — harvests that come one after another from the same substrate.
After a flush, rehydrate the block (a “soak”) to encourage more mushrooms.
You can also save spore prints or new cultures from your harvest to start the cycle over.
👉 Mushroom growing is renewable — one effort can yield multiple harvests.
Disclosure: As an Amazon Associate I earn from qualifying purchases.
This means if you click and buy, I may earn a small commission at no extra cost to you.
🌱 Final Thoughts
Growing mushrooms at home follows a simple flow:
Spores → Grain → Substrate → Fruiting → Harvest.
Once you understand this cycle, the terms stop feeling confusing, and you can focus on mastering each stage.
Whether you’re starting with a simple kit or diving into agar and liquid culture, the same stages apply. The key is learning step by step and enjoying the process.
✅ Your Next Step:
New to growing? Start with a beginner kit here Grow Kit
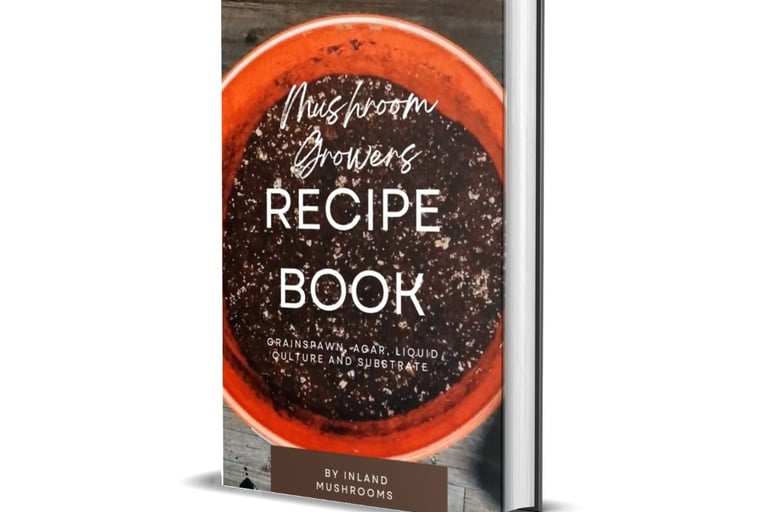
Ready to go deeper? Check out my [Ebook on Substrates, Agar & LC] for advanced recipes and methods.