Ketchup Cup Agar
GROWING
2/16/20254 min read
Ketchup Cup Agar: A Budget-Friendly Alternative for Mushroom Cultivation
If you've started working with agar, you've probably noticed that petri dishes can get expensive, especially if you're making a lot of plates. The good news is you don't need fancy lab equipment to grow mushrooms at home.
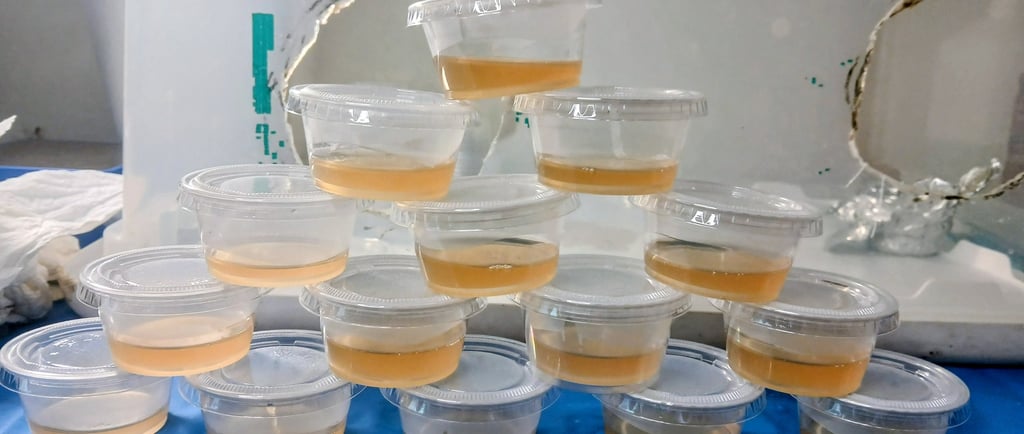
One of my favorite budget alternatives is ketchup cups. I've been using them for years, and they've worked just as well as traditional petri dishes for my home grows. They're inexpensive, easy to find, and when one gets contaminated, you can simply throw it away without feeling like you've wasted an expensive plate.
A pack of 200 ketchup cups usually costs less than $15, making them one of the cheapest ways to work with agar. If you're just getting started with spores or liquid culture, they're a simple, beginner-friendly option that can save you quite a bit of money.
What You’ll Need
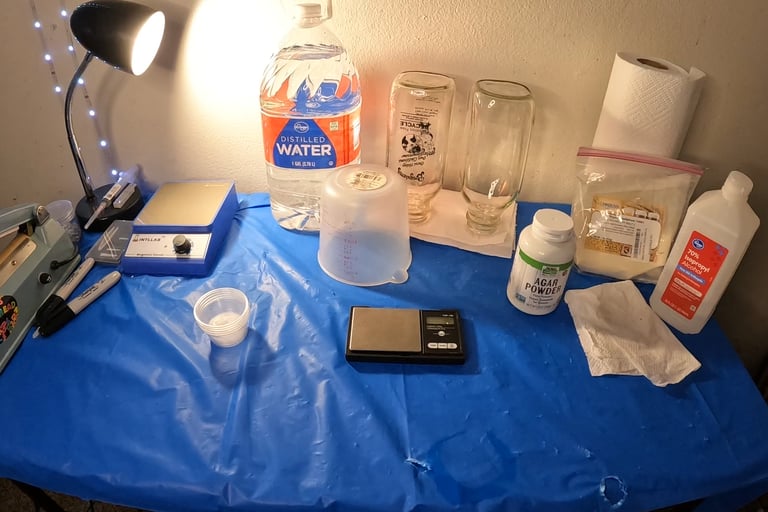
Here’s everything required to make your own ketchup cup agar plates:
Ketchup cups with lids
Agar powder
Malt extract powder
Digital scale
Spores or liquid culture (LC)
Still air box (SAB) or flow hood
Mason jar or pressure cooker-safe bottle
Distilled water
Pressure cooker or large pot
Sterile work environment (gloves, alcohol wipes, etc.)
Most of these items are things you'll already own if you've started growing mushrooms. If you're brand new, don't feel like you need to buy everything at once. A simple still air box, pressure cooker, and ketchup cups are enough to get started.
Why Use Ketchup Cups for Agar?
Affordable – 100 ketchup cups cost less than 10 petri dishes.
Convenient – Pre-sterilized and disposable, no need to clean and reuse.
Compact – Takes up less space in your still air box or incubator.
Effective – Works just as well as traditional agar plates.
For hobby growers, ketchup cups solve one of the biggest problems with agar: cost. When you're learning, you'll make mistakes. You'll pour plates that contaminate, transfer cultures that fail, or simply practice your technique. Using inexpensive ketchup cups makes those mistakes much less frustrating because you're only spending a few cents per plate.
Step-by-Step: Making Ketchup Cup Agar
1. Prepare the Agar Mixture
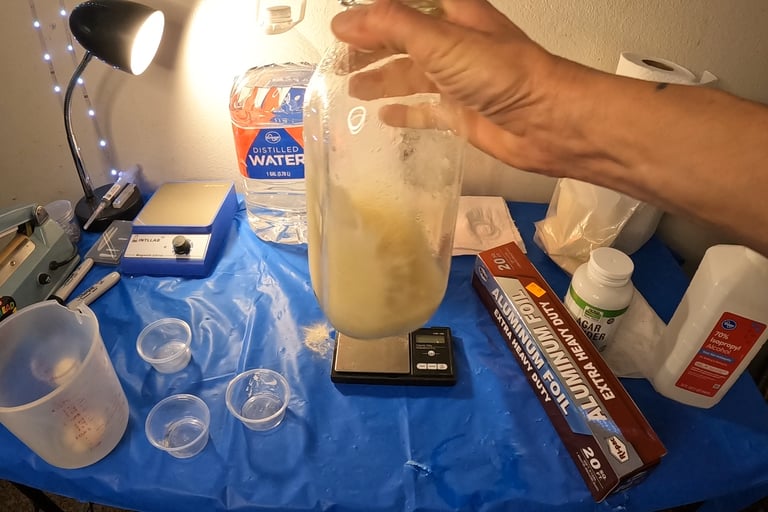
Measure 250ml (1 cup) of distilled water and heat it in the microwave for about 2 minutes.
While the water is heating, weigh out:
5g of agar powder
7.5g of dry malt extract powder
Add the dry ingredients to a quart-sized Mason jar or any pressure cooker-safe bottle.
Once the water is heated, pour it into the jar.
If using a jar with a lid, ensure it has a filter patch to allow for gas exchange.
Swirl the mixture for 1-2 minutes until fully dissolved.
Batch Size Note:
I prefer making two 250ml batches because they dissolve easier, cool quicker, and allow me to pour one jar while the other is still in the pressure cooker.
But if you want to make one 500ml batch, just double the ingredients:
10g agar
15g dry malt extract
500ml water
Same ratios, same results, pick whichever method you like best.
2. Sterilize the Agar
Place the jar in a pressure cooker (PC) or a large pot with a metal rack to keep it elevated above the water.
Pressure cook at 10-15 PSI for 20-30 minutes. (If using a regular pot, boil it for 30-40 minutes.)
After sterilization, let the agar cool slightly (but not solidify) before pouring.
3. Preparing the Ketchup Cups
Set up your still air box (SAB) or flow hood.
Stack clean ketchup cups and lids in one corner.
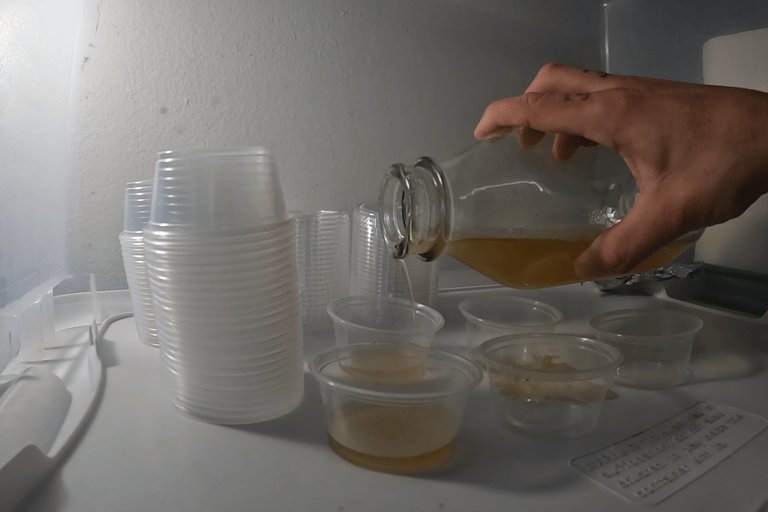
Once the agar is cool enough to handle but still liquid, start pouring.
I like to lay out all of my ketchup cups before I start pouring. Once the agar is ready, you don't want to stop every few seconds to separate lids or open new sleeves. Having everything organized makes the process much smoother.
4. Pouring the Agar into Ketchup Cups
Ensure your hands are clean (use rubbing alcohol or wear sterile gloves).
Pour a small amount of agar into each ketchup cup (about ⅓ full).
Immediately place the lid on each cup.
Allow the agar to fully cool and solidify.
Try not to overfill the cups. I usually fill mine about one-third full, which gives the mycelium plenty of room to grow while also helping the agar cool faster. If you accidentally pour a little too much, it isn't a big deal, but thinner plates are easier to work with.
How to Inoculate Ketchup Cup Agar Plates
Place your cooled agar-filled cups inside your still air box.
Remove the lid and add a few drops of spores or LC to the surface.
Secure the lid back on and label each cup.
Store them in a clean, warm area (~70-75°F) for colonization.
Disclosure: As an Amazon Associate I earn from qualifying purchases.
This means if you click and buy, I may earn a small commission at no extra cost to you.
Final Thoughts
Using ketchup cups for agar is a simple, budget-friendly solution for mushroom cultivators. Whether you’re growing gourmet mushrooms or experimenting with new strains, this method can save you time and money.
👉 Looking for an even easier method? Check out my No-Pour Agar Guide to make agar without pouring — great for beginners or anyone trying to reduce contamination risk.