No-Pour Agar: A Simple and Low-Contamination Method for Gourmet Mushrooms
Learn how to make no-pour agar for gourmet mushrooms using simple jars and a pressure cooker. Low contamination risk, beginner-friendly, and perfect for home growers.
GROWING
3/14/20254 min read
No-Pour Agar: A Simple and Low-Contamination Method for Gourmet Mushrooms
No-pour agar is one of the easiest and most effective ways to prepare petri dishes for gourmet mushroom cultivation while minimizing contamination risk. Unlike traditional agar methods that require pouring hot liquid agar into plates in open air, the no-pour method involves sterilizing pre-poured agar in small jars with lids. This technique makes agar work accessible even to beginners with minimal lab equipment. I found this technique on YouTube a while back and have been using it ever since.
This is actually one of my two go-to agar methods. I use no-pour when I want to save money since the jars are reusable, and ketchup cup agar when I'm in a hurry and don't want to deal with cleaning jars after.
Why Use No-Pour Agar?
Lower Contamination Risk: Since the agar remains sealed during sterilization and cooling, there’s less exposure to airborne contaminants.
No Need for a Flow Hood: A still air box (SAB) or clean working area is enough.
Reusable Jars: Unlike disposable petri dishes, glass jars can be reused, saving money in the long run.
Perfect for Home Growers: Simple and effective for those culturing mycelium at home.
👉 Check out my Ketchup Cup Agar post for another compact agar method that’s perfect for small test cultures or cloning in limited space.
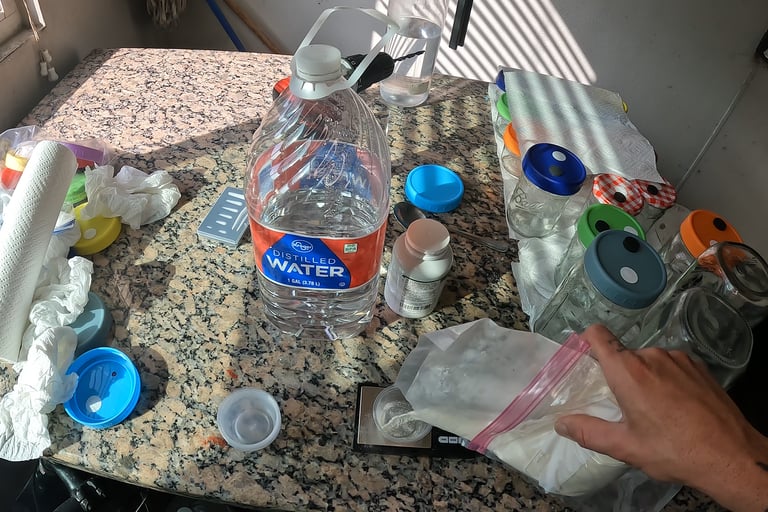
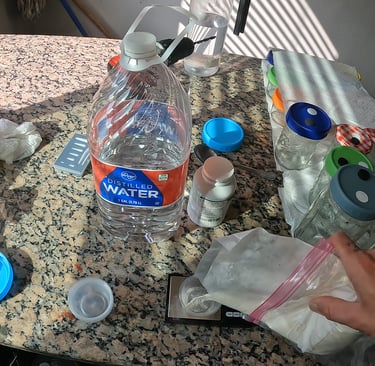
Materials You’ll Need:
Small glass jars with lids (e.g., 4 oz mason jars work great)
Light malt extract (LME) or potato dextrose (for nutrients)
Distilled water
Pressure cooker or autoclave
Aluminum foil
Rubbing alcohol and paper towels
Parafilm or micropore tape (for sealing)
Lids, you can use pre-made filter discs or two layers of paper tape works great too. I use both depending on what I have on hand. Check out my post on how to make mycology lids
Step-by-Step Guide to Making No-Pour Agar
1. Prepare the Agar Mixture
In a heat-safe glass container (like a mason jar or glass milk jug), combine:
5g agar-agar powder
7.5g light malt extract (LME)
250ml distilled water
Stir well to dissolve the ingredients completely. Some growers heat the mixture slightly to help dissolve the agar fully before pouring. I like to put the distilled water in the microwave for about a minute and a half. Also, you can cut this recipe in half if you're only making a few jars. Some growers use 10g agar and 10g LME to 500ml water, which works just as well if you’re preparing a full set of jars.
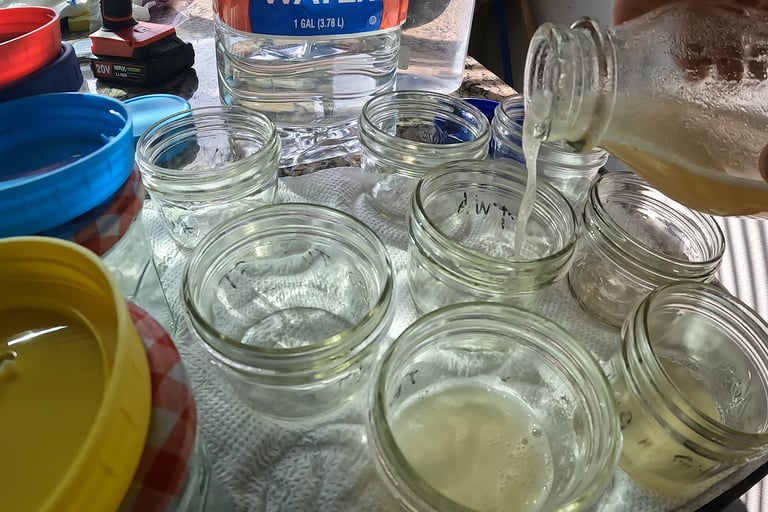
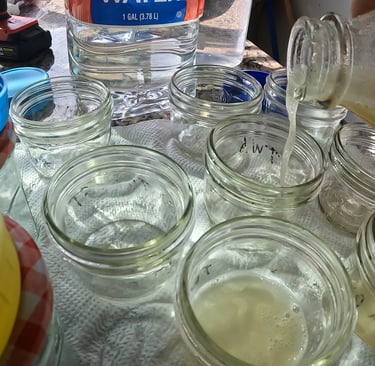
2. Pour Agar into Jars
Carefully pour about ¼ inch (6mm) of agar into each small glass jar. Avoid overfilling, as agar needs space to solidify evenly.
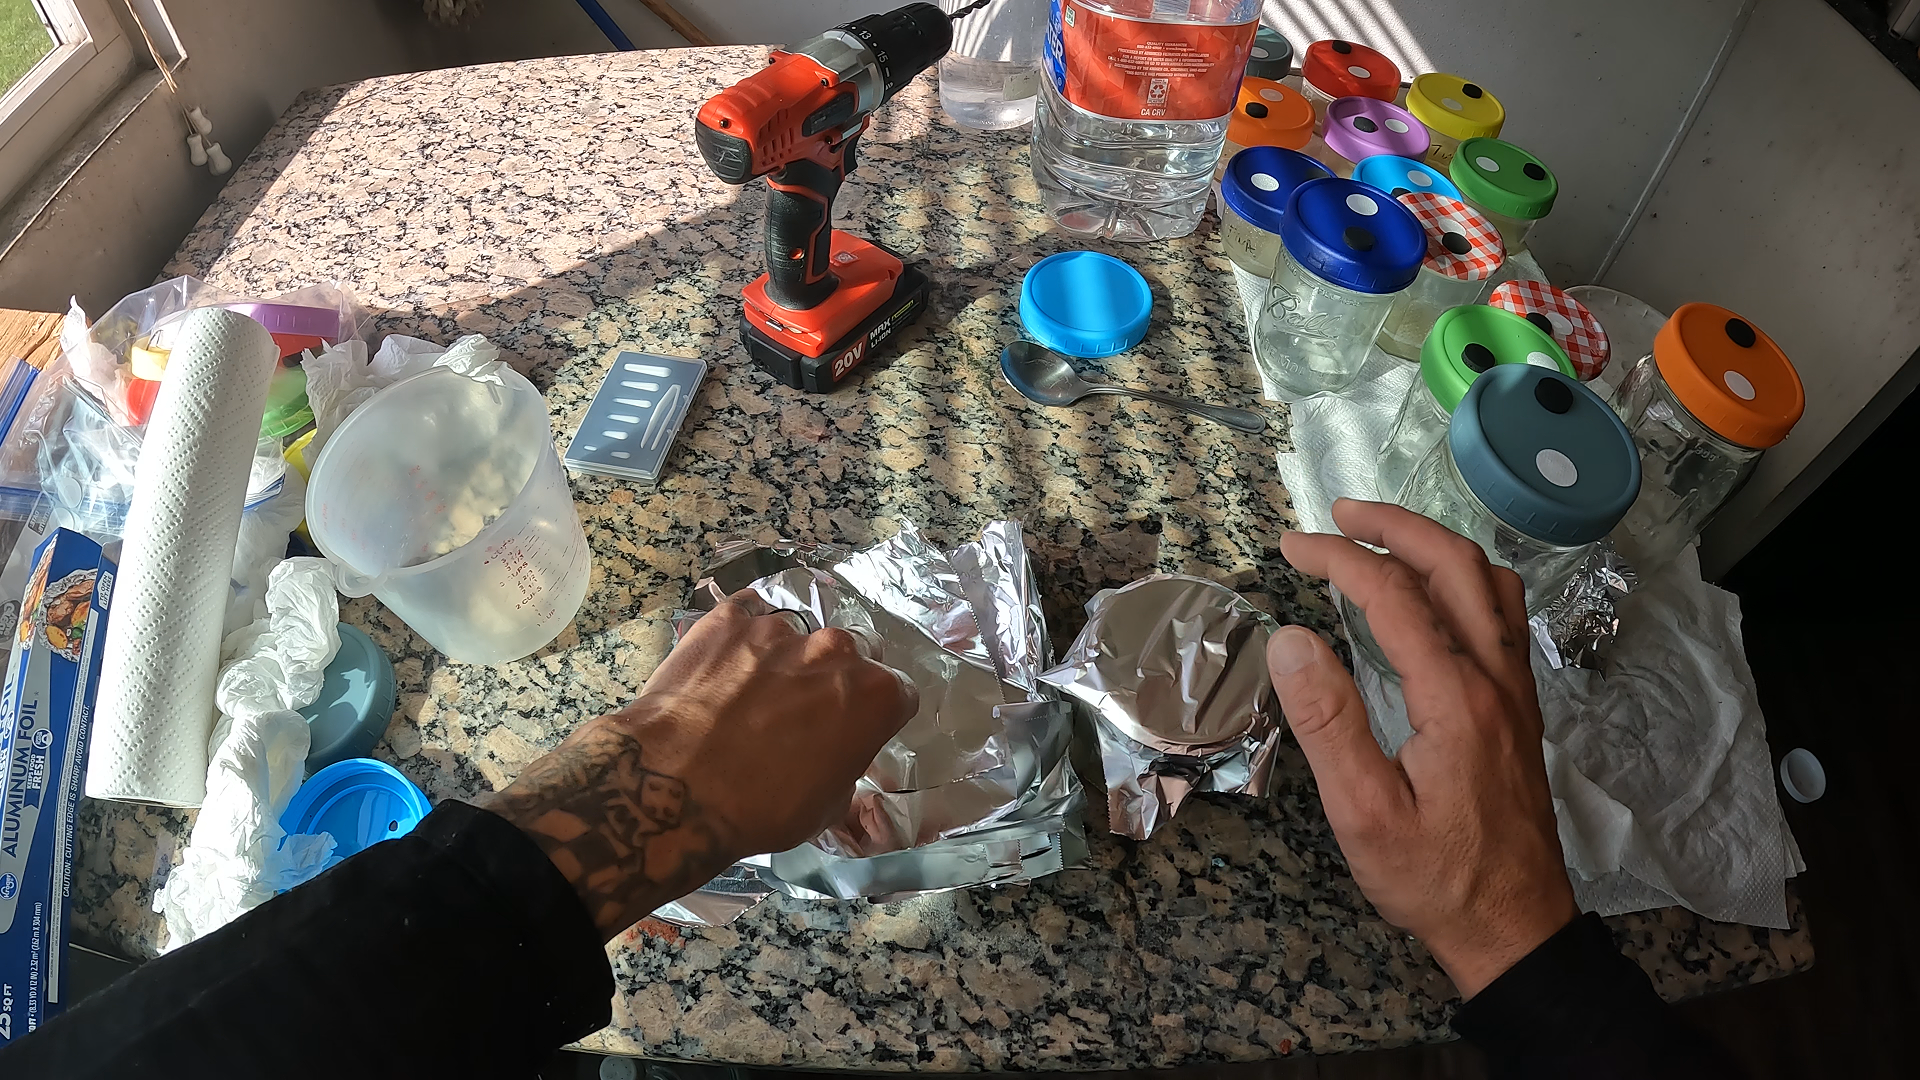
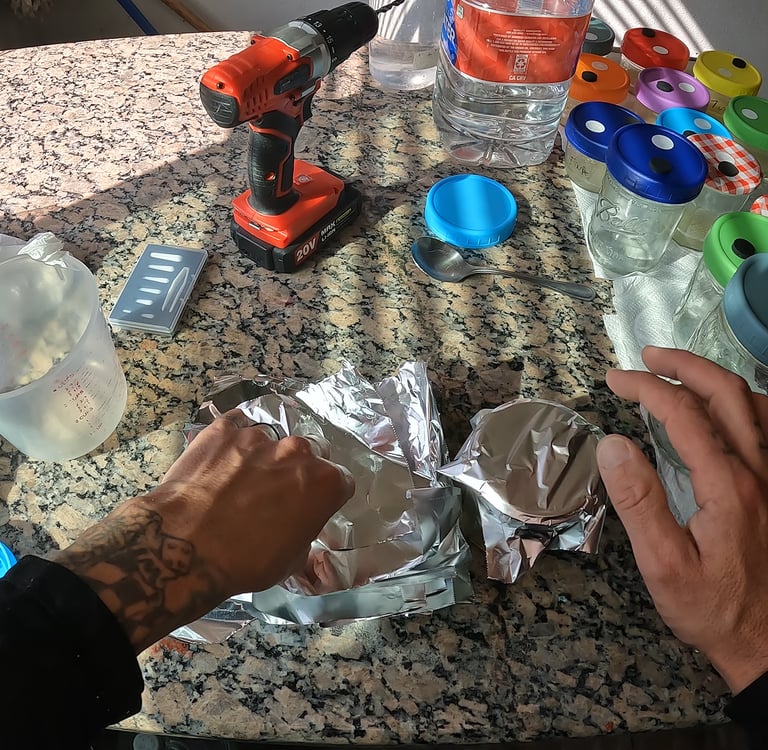
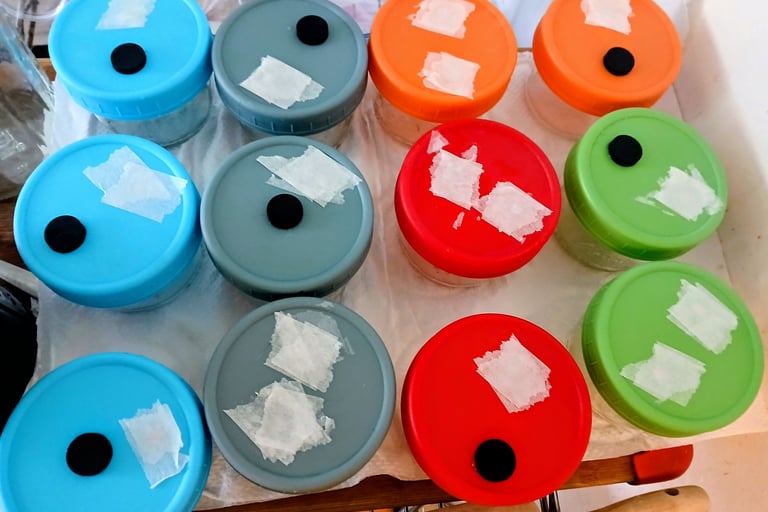
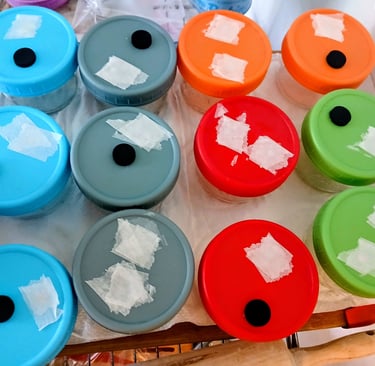
3. Loosely Screw on Lids and Cover with Foil
Do not fully tighten the lids to allow for pressure equalization during sterilization.
Cover each jar with a layer of aluminum foil to prevent condensation from dripping into the agar.
I've seen a lot of people say to leave them loose but I actually do not-tight-but-not-loose. Here's why — they tend to loosen on their own in the pressure cooker anyway. So when you take them out, tighten them right away before they cool.
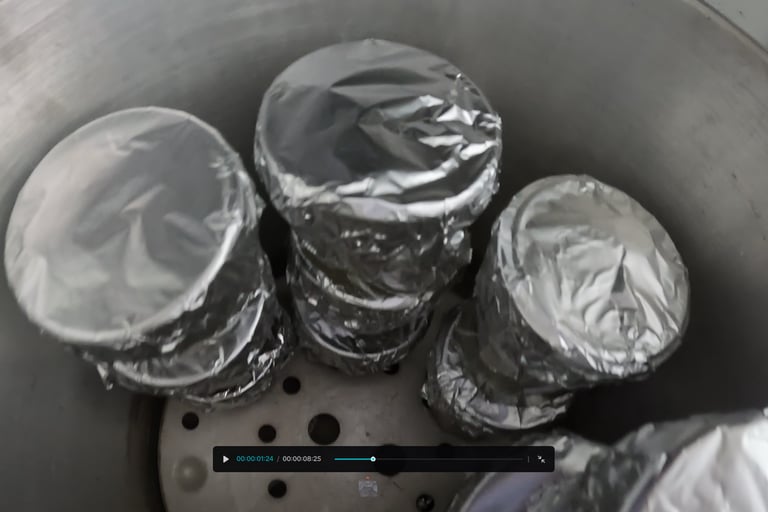
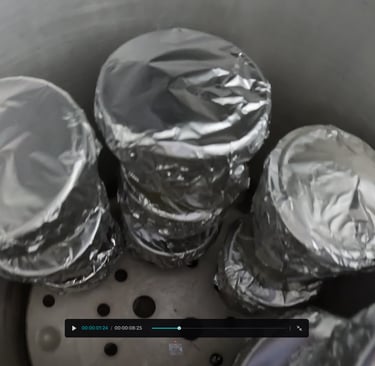
4. Sterilize in a Pressure Cooker
Place the jars inside your pressure cooker with a raised trivet to keep them above the water.
Sterilize at 15 PSI for 30 minutes.
Allow the cooker to fully depressurize before opening.
5. Cool and Store
Once cooled, tighten the lids if necessary and store the jars in a clean, dark place until ready to use. Agar is best used within a few weeks for optimal results.
Using Your No-Pour Agar Plates
Once your agar plates are ready, you can use them to:
Transfer clean mycelium from a culture or tissue sample
Isolate strong genetic strains from spores or liquid culture
Store long-term mushroom cultures for future grows
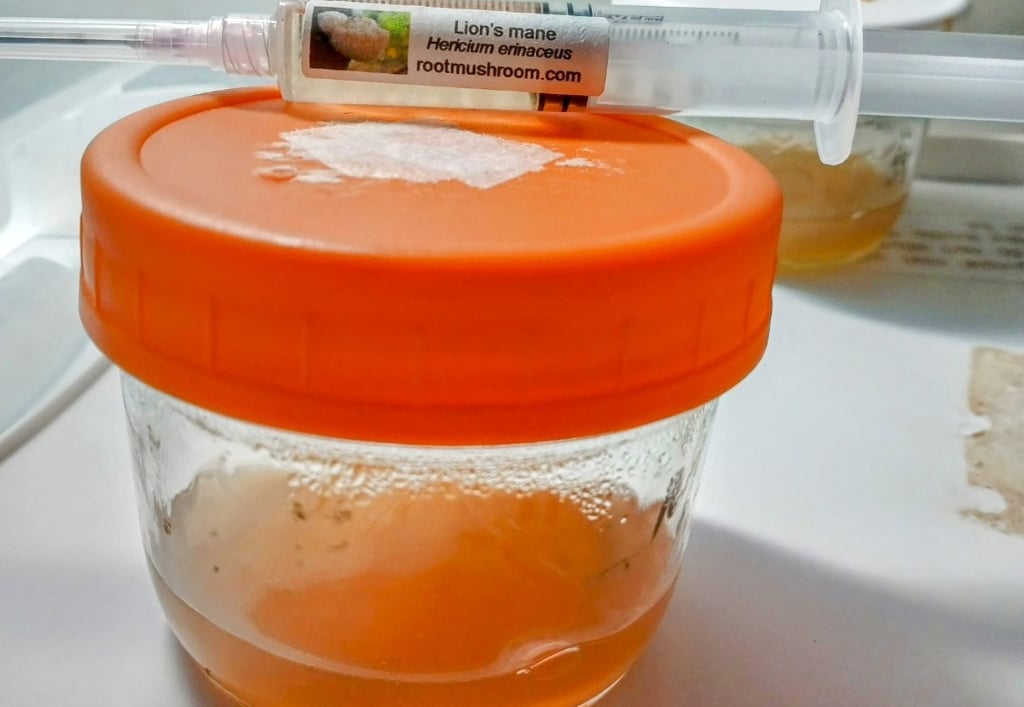
For best results, work in a still air box (SAB) or under a flow hood when inoculating your agar plates to reduce contamination. You can use mycology lids with injection ports, but you don't have to. For agar work especially, a lot of growers just crack the lid open, squirt a couple drops of liquid culture, drop a piece of agar, or place a tissue sample directly, then close it back up. Quick and easy and one less thing to sterilize around.
Once your agar jars are ready, it’s time to start working with them. You can transfer clean mycelium or tissue samples onto the surface using a still air box for contamination-free results.
👉 If you’ve never done transfers before, check out my guide on How to Do Agar Transfers in a Still Air Box. It walks you through every step — from setup to making your first clean plate.
Final Tips:
✅ Label your jars with date, mushroom species, and source (LC, spores, etc.)
✅ Store in a cool, dark place to prevent premature drying
✅ Keep an eye out for contamination signs like mold or bacterial spots
By following these steps, no-pour agar can become a game-changer in your gourmet mushroom cultivation process! This method provides an easy, low-risk way to start working with agar and refining strong, healthy mycelium cultures for bigger and more productive grows.
🌱 Want More?
👉 Grab my Mushroom Recipe Ebook — it includes my agar method, substrate recipes, and liquid culture tips to help you grow successfully at home.
Disclosure: As an Amazon Associate I earn from qualifying purchases.
This means if you click and buy, I may earn a small commission at no extra cost to you.