Pressure Cooker Times for Mushroom Grain, Agar & Substrate (Complete Sterilization & Pasteurization Guide)
I ruined plenty of jars before I got my pressure cooker times dialed in. Here are the exact times and pressures I use for grain, agar and substrate so you don't have to guess.
GROWING
10/9/20253 min read
Pressure Cooker Times for Mushroom Grain, Agar and Substrate
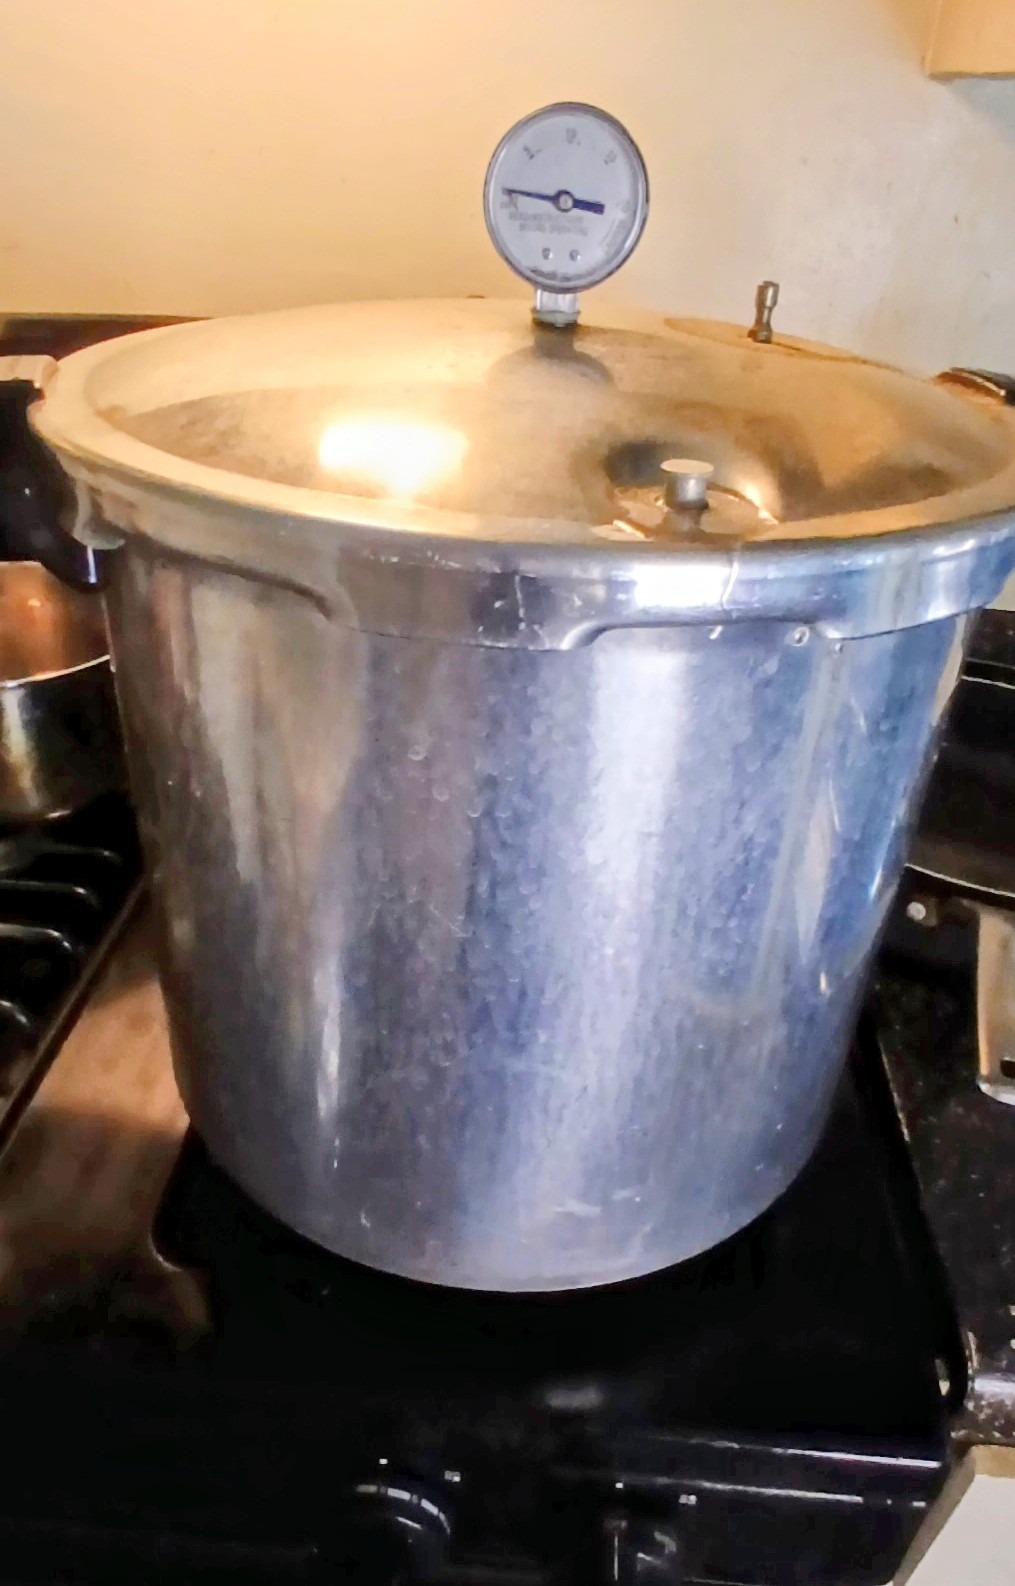
Your pressure cooker is probably the most important piece of equipment in your grow setup. Get the times and pressure right and you'll have clean jars every time. Get it wrong and you'll be throwing out contaminated grain a week later wondering what happened.
Here's exactly what I run for each material and why.
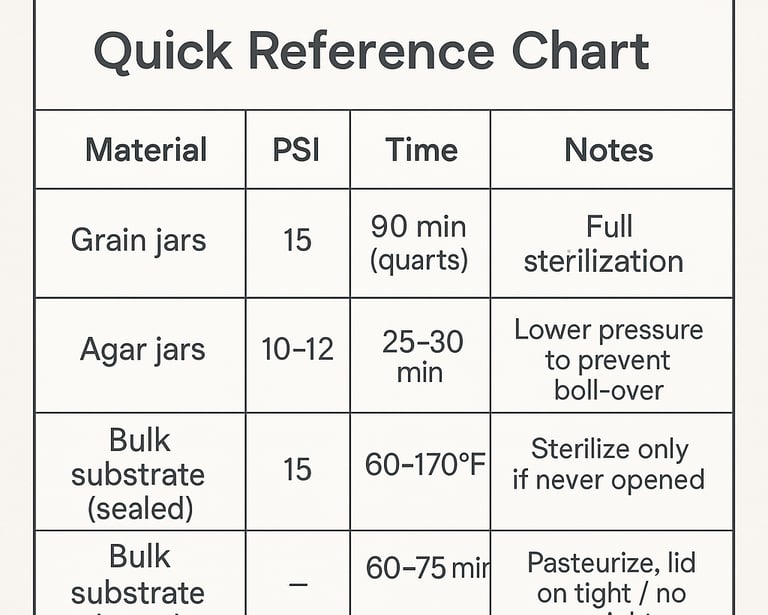
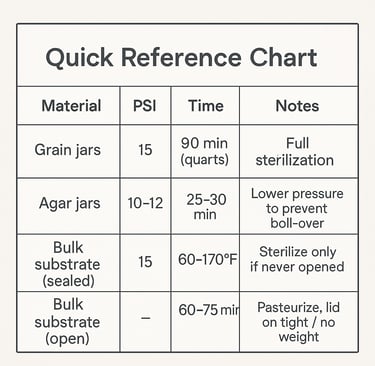
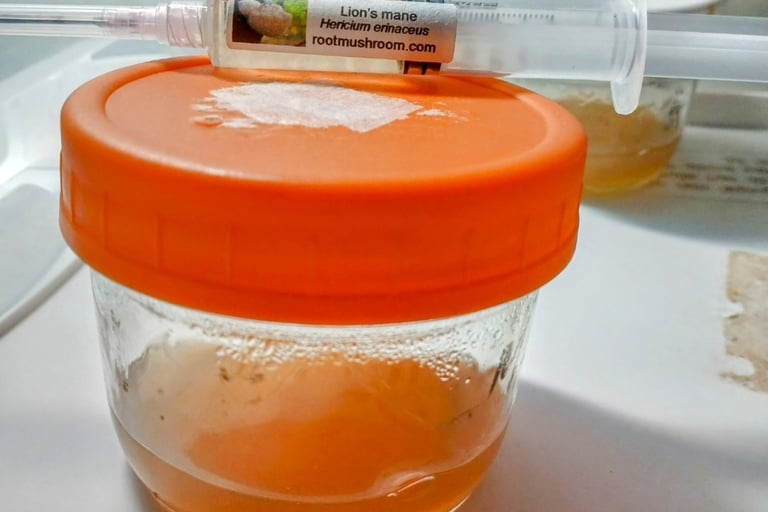
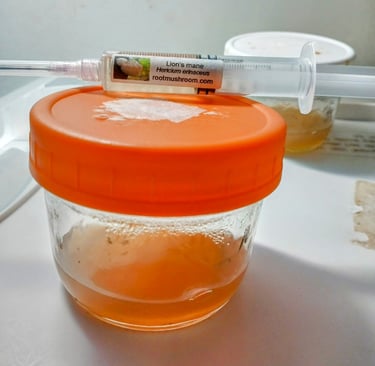
Grain Spawn — 90 Minutes at 15 PSI
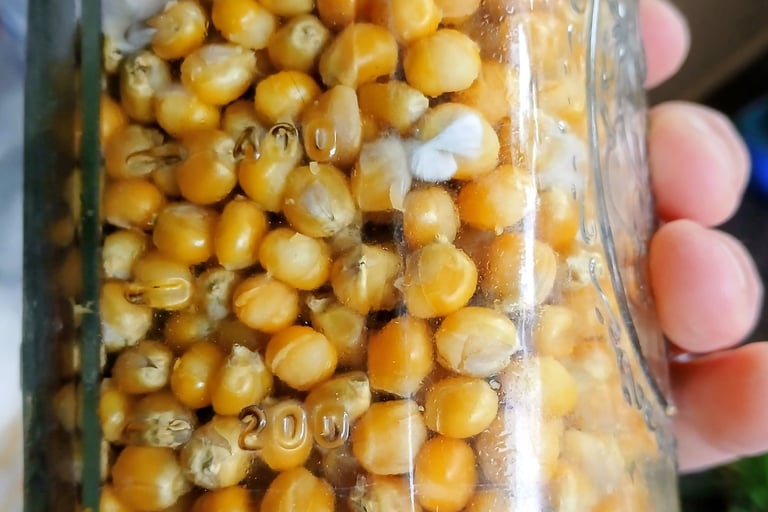
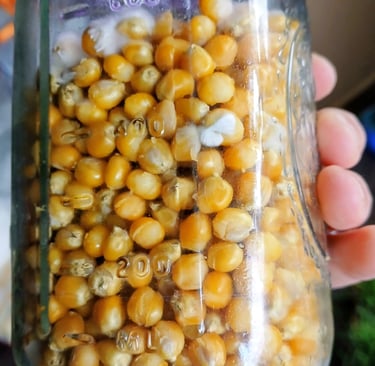
Grain needs the most time because the center of a packed jar takes a while to reach sterilizing temperature. I run quart jars for 90 minutes, pint jars for 60. Anything less and bacteria can survive deep in the core where the heat didn't fully penetrate — you won't know until a few days later when your jar goes cloudy.
My setup is about an inch of water in the bottom, jars on a metal rack, and I start the timer once the cooker hits full pressure. When time is up I let it cool overnight before touching anything. Opening it too soon causes jars to suck in unsterile air as pressure equalizes.
Pressure cooker i use on Amazon
Wide mouth mason jars on Amazon
Agar — 25 to 30 Minutes at 10 to 12 PSI
Agar doesn't need full pressure — too much and it boils over or bubbles up inside the jars. I run mine at 10-12 PSI for 25-30 minutes. I wrap lids loosely in foil to reduce condensation dripping back onto the agar surface.
If you're using small jars put them on a rack or some foil-wrapped lids to keep them off direct heat. Prevents cracking and stops the agar from superheating at the bottom.
Check out my post on how to make no pour agar
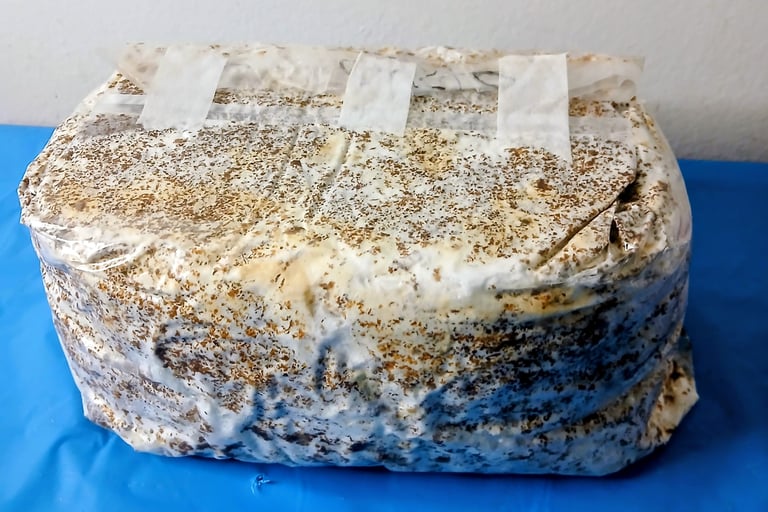
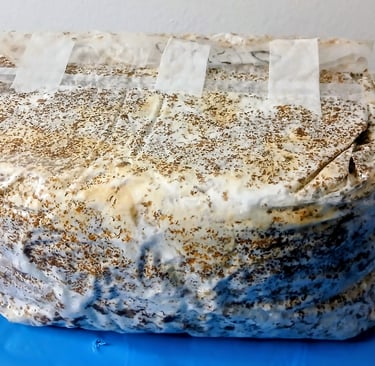
Bulk Substrate — Sterilize or Pasteurize?
This is where most beginners get confused. Here's my honest take — I actually had more contamination when I sterilized bulk substrate than when I pasteurized it. A fully sterilized bag is a blank slate and mold loves that. Pasteurized substrate keeps some beneficial microbes alive that help compete against contaminants.
Sterilize at 15 PSI for 60-90 minutes only if your substrate is going into a sealed filter bag and won't hit open air until inoculation.
Pasteurize at 160-170°F for 60-75 minutes for most normal gourmet grows — open tubs, buckets, bags you're going to spawn into by hand. To pasteurize in a pressure cooker just leave the weight off so steam vents freely instead of building pressure. Keep an eye on your water level when doing this — it drops faster when venting and a dry cooker is a ruined cooker.
See my post on how to tell if your substrate is too wet
Labeling
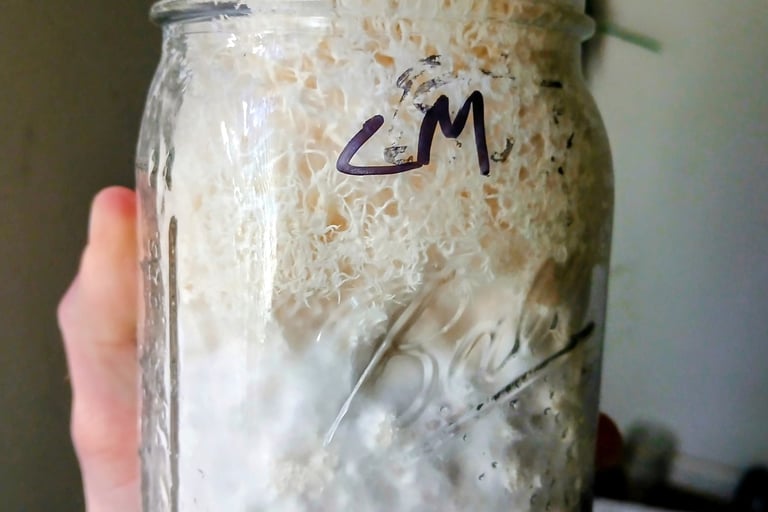
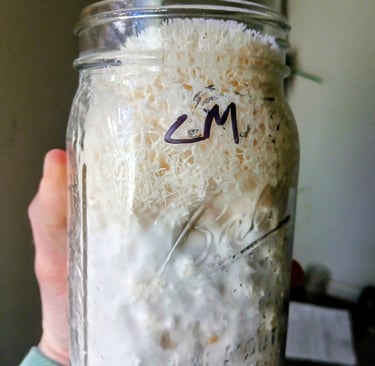
Label everything before you forget what it is. I used to use micropore tape on jars when I first started but learned it's easier to just write directly on the glass with a marker and wipe it off later. Date plus contents — "rye spawn 4/19" or "agar 4/19" — takes two seconds and saves a lot of confusion when you have multiple jars going.
Quick Reference
Recommended Gear
Pressure cooker capable of 15 PSI Ball wide mouth quart jars
Disclosure: As an Amazon Associate I earn from qualifying purchases. If you click and buy I may earn a small commission at no extra cost to you.
Want to go deeper?
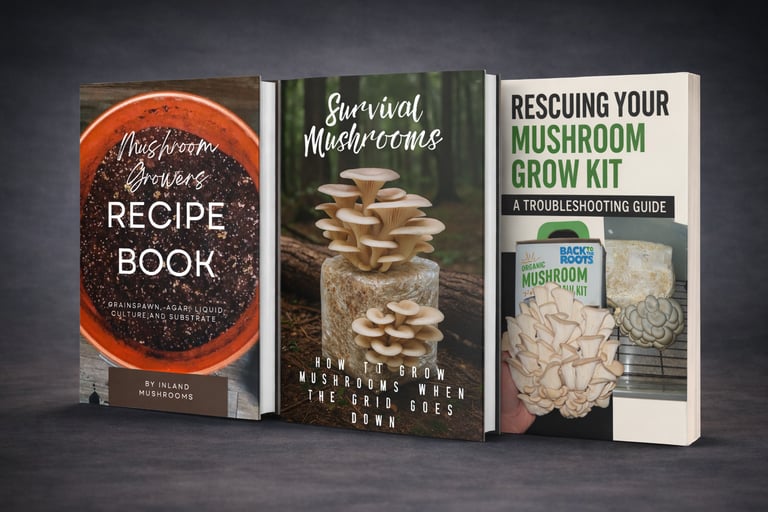
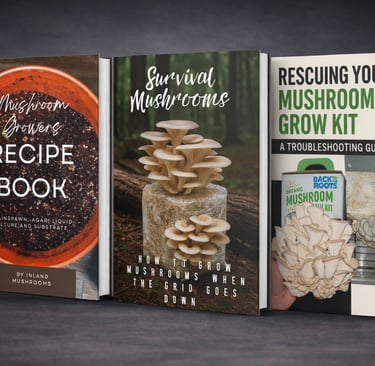
Check out my mushroom growing ebooks covering grain spawn, substrate recipes, agar, survival growing and more.