How to Use a Pressure Cooker for Mushroom Growing (Step-by-Step Guide for Beginners)
Learn how to safely use a pressure cooker for sterilizing grain, agar, and substrate in mushroom growing. Includes setup tips, PSI levels, and contamination prevention.
GROWING
10/9/20254 min read
🫧 How to Use a Pressure Cooker for Mushroom Growing (Step-by-Step)
If you’re serious about growing mushrooms, a pressure cooker is one of the most important tools you can own. It sterilizes your grain, agar, and substrate so your mycelium gets a clean start instead of competing with mold or bacteria.
After dozens of runs in my old Presto, I’ve learned a few simple tricks that keep jars safe, prevent rust, and make the whole process smoother. Here’s a full guide anyone can follow.
⚙️ Why You Need a Pressure Cooker for Mycology
Contamination is the number-one reason new growers fail. Boiling water can only reach about 212 °F (100 °C), but bacterial spores can survive much hotter.
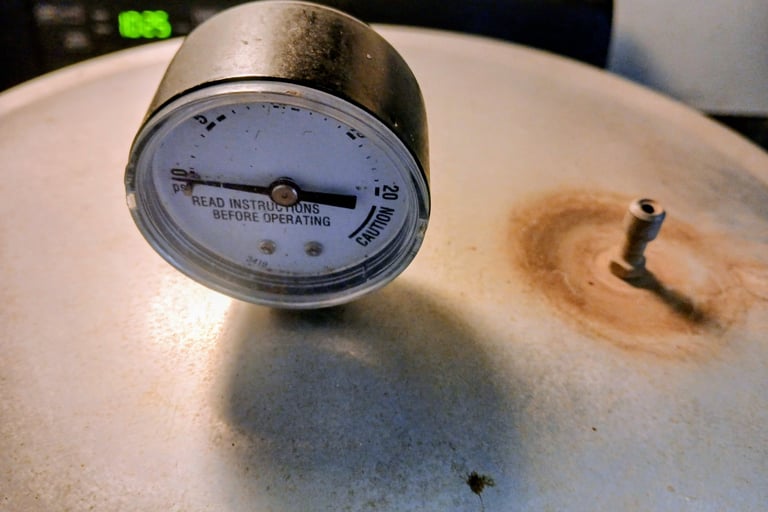
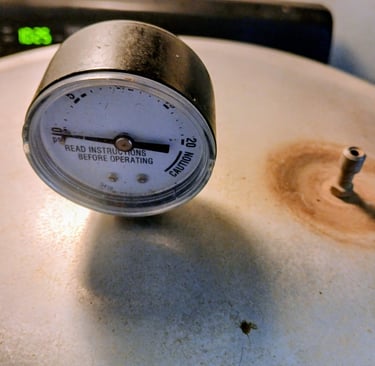
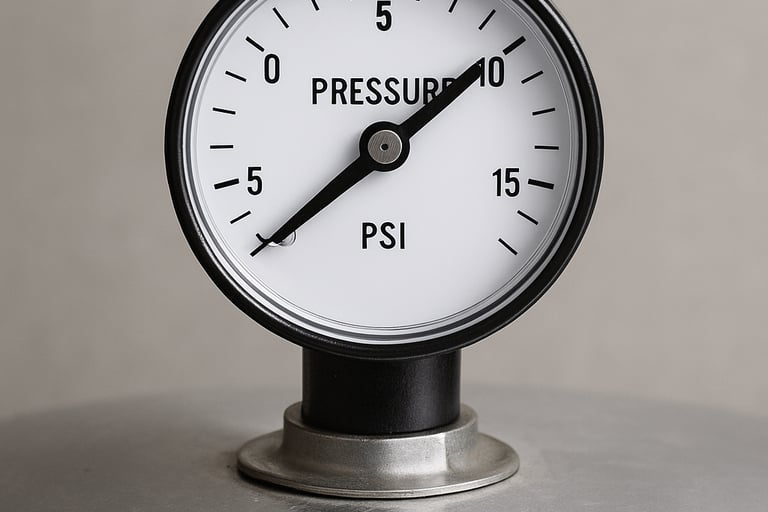
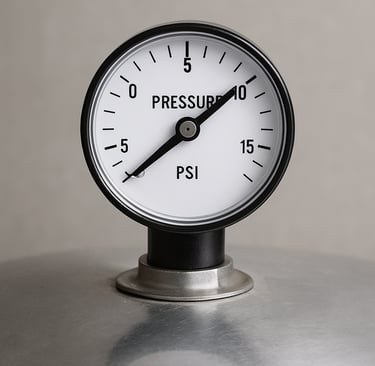
A pressure cooker raises the internal temperature to 240–250 °F (116–121 °C) by building pressure — usually around 15 PSI — hot enough to kill the toughest contaminants.
Without one, grain jars and agar plates rarely stay sterile. It’s basically the difference between hoping something grows and knowing it will.
Recommended models:
– Presto 23-Quart Pressure Cooker (budget-friendly, reliable)
– All-American 915 (heavy-duty, lifetime tool)
💧 Step 1: Add Water
Pour about 1 to 1½ inches of water into the bottom of the cooker — just below the rack. Too little water can burn it dry, and too much can bubble up into your jars. I usually add around 8 cups (about 2 quarts), depending on the pressure cooker size and whether I’m using the weight or venting without it.
🪶 Step 2: Set Up the Steam Rack (Trivet)
Place your steam rack or trivet in the bottom of the pressure cooker.
For full-size grain jars, I just set them directly on the rack — no lift needed. (With my Presto, I can fit about 10 quart jars comfortably.)
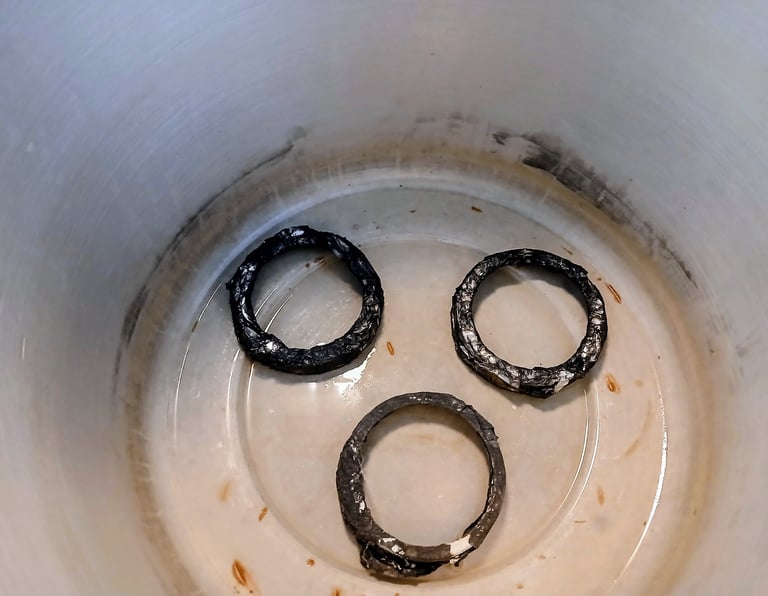
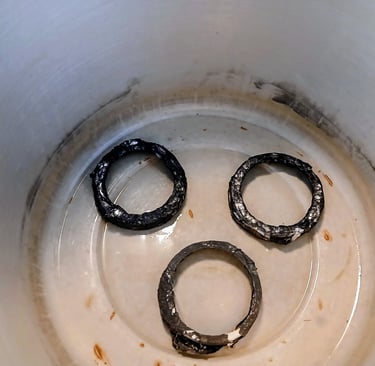
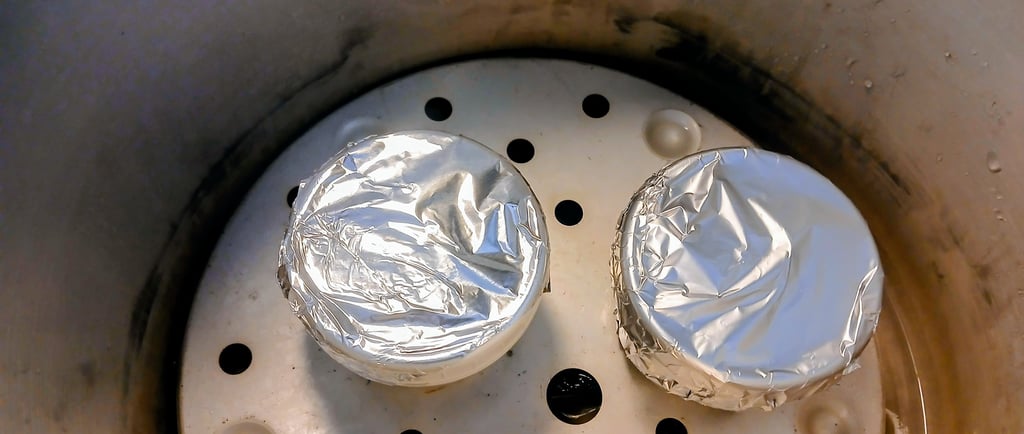
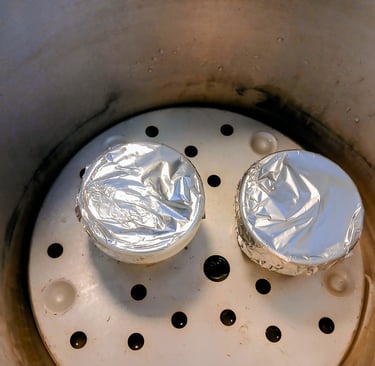
For smaller agar jars, I like to raise the rack slightly by setting it on top of a few jar lids wrapped in foil. This keeps the jars higher and protects them from direct contact with the hot base, which can cause cracked glass or overheated agar.
Rust on the rack and lids over time.
Cracked glass from thermal shock.
It also helps steam circulate evenly underneath.
💡 Pro tip: wrap the lids in foil before placing them under the rack. The foil stops rust and keeps the lids reusable.
🫙 Step 3: Load Your Jars
Arrange jars so steam can move freely between them — don’t cram them tightly together.
Grain jars: OK to rest on the rack directly.
Small agar jars: keep on the elevated rack setup above.
Make sure no glass touches the metal wall.
Lock the lid but leave the vent open for now.
🌬️ Step 4: “Burp” the Cooker (Venting Steam)
Before sealing the cooker fully, it needs to vent a steady stream of steam for 7–10 minutes — also called burping.
Here’s why it matters:
When you first heat up, the inside of the cooker is a mix of steam and trapped air. That air keeps the temperature lower than what your gauge or weight says. Letting it vent purges the air so you get pure steam, which hits true sterilization temps.
How to do it:
Turn heat to medium-high with weight off and vent open.
Wait until a strong, steady jet of steam shoots from the vent pipe.
Start your timer — let it vent 7–10 minutes continuously.
Then carefully place the weight on the vent pipe and let pressure build.
💡 Skip burping and you might be running 15 PSI on the gauge but only 220 °F inside — a common reason for contamination even when “everything looked right.”
🔥 Step 5: Build Pressure and Cook
Once you put the weight on, pressure will climb to your target PSI. Adjust your stove so the weight jiggles gently every 15–30 seconds — steady but not nonstop rattling.
Typical settings:
Material PSI Time Agar (no-pour jars)10–12 PSI30 min Grain jars15 PSI90 min Substrate bags / jars15 PSI60–90 min
I run my no-pour agar at about 10 PSI. It melts clean without boiling over or drying out.
🧊 Step 6: Cooling and Safety
When the time’s up, turn off the heat and let pressure drop naturally.
Never use cold water or remove the weight early — the sudden change can crack glass or suck in unsterile air.
Wait until the gauge reads zero, then remove the weight and let it sit another 10–15 minutes before opening.
Don’t move agar jars while hot; they’ll foam or overflow.
🧼 Step 7: Cleaning & Preventing Rust
After each run:
Dump and rinse any leftover water.
Dry the inside thoroughly.
Lightly oil the metal rim or gasket to prevent rust.
Store the lid upside-down or off the pot so the gasket doesn’t compress.
Your foil-wrapped lid trick also helps protect the base and rack from moisture buildup.
❌ Common Mistakes to Avoid
Too much water: floods jars, makes soggy grain.
Too little water: burns dry, warps base.
No venting (burping): air trapped = low sterilizing temps.
Cooling too fast: cracked jars or vacuum contamination.
Over-tightened lids: can buckle or seal shut permanently.
Recommended Gear
These are the tools I personally use in my grow setup. They’ve lasted years and made runs much smoother:
Presto 23-Quart Pressure Cooker – reliable starter model.
All-American 915 – heavy-duty aluminum, no gasket to replace.
Jar Lifter – for safe handling.
Aluminum Foil (Heavy-Duty) – wrap lids, protect from rust.
As an Amazon Associate, I earn from qualifying purchases. This means I may earn a small commission at no extra cost to you if you make a purchase through one of my links. I only recommend products I personally use or genuinely find helpful for mushroom growing and related projects.