How to Use a Mushroom Growing Kit (Step-by-Step Beginner's Guide)
"Learn how to use a mushroom growing kit from start to harvest. Step-by-step instructions for beginners with photos, misting tips, and how to get multiple flushes.
GROWING
12/7/20254 min read
Beginner's Guide to Growing Mushrooms at Home
Mushroom grow kits are one of the easiest ways to grow fresh, gourmet mushrooms at home, even if you've never grown anything before. They come fully colonized and ready to fruit, which means all the hard work is already done. All you have to do is cut the bag, mist it, and watch mushrooms appear within days.
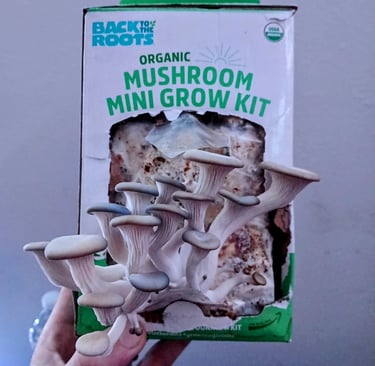
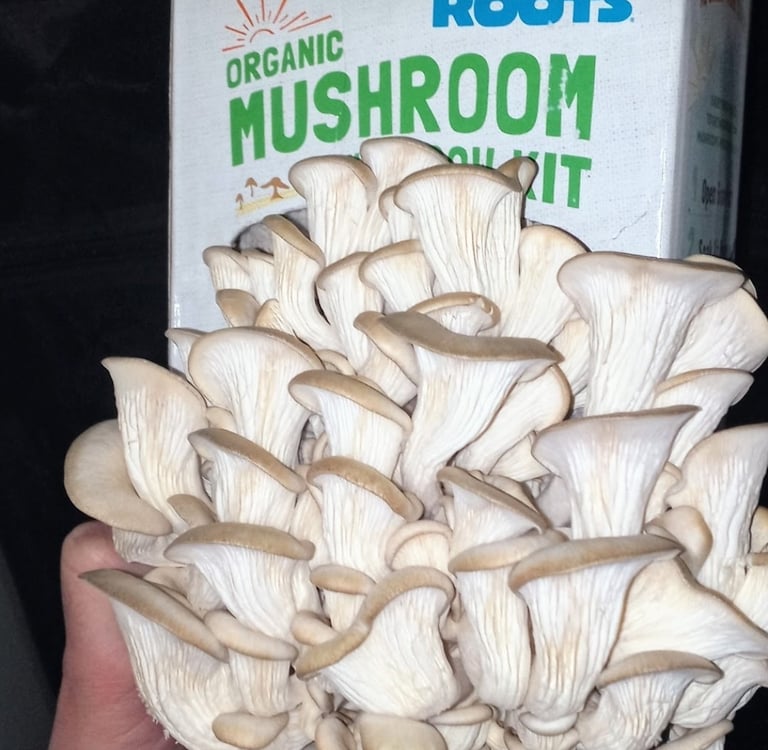
When I first got started with gourmet mushroom cultivation, I started with basic Amazon kits like Back to the Roots or North Spore. From there, I ended up cloning the mushrooms and moving on to growing all on my own. But kits are still the best way to start, and that's exactly what we're covering today.
In this guide, I'll walk you through exactly how mushroom growing kits work, how to use them, when to mist, how to harvest, and how to get a second flush. I'll also answer common beginner questions I see every day in my inbox and on Google Search Console.
If you've got a mushroom kit sitting on your counter right now, you're in the right place.
What You Get in an Amazon Mushroom Growing Kit
Most mushroom grow kits include:
A fully colonized block (usually oysters or lion's mane)
Growing bag with filter patch
Humidity tent or liner (optional depending on brand)
Spray bottle (sometimes included)
Instructions
The block is the star of the show. This is sterilized substrate that's been grown through with mycelium. When it's white, uniform, and firm, it's ready to fruit.
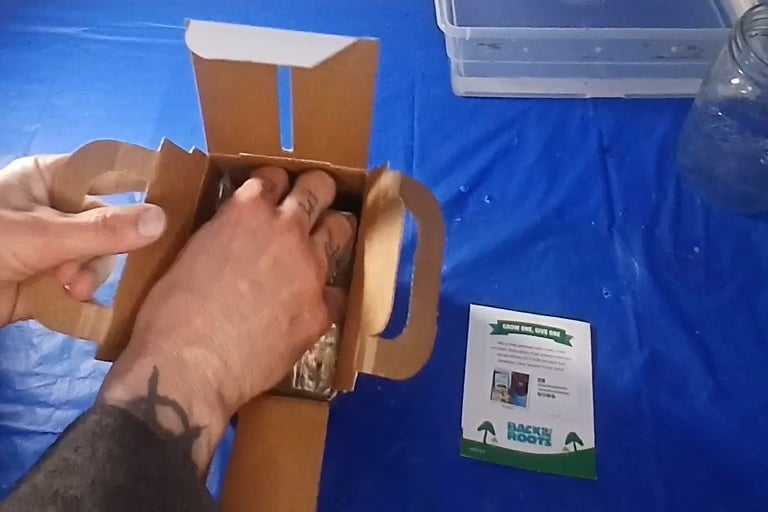
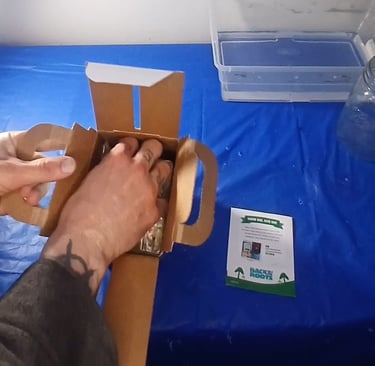
Step 1: Open the Box and Inspect the Kit
When you unbox your kit, check the following:
Color should be white or off-white
Texture should be firm
Smell should be earthy, mushroomy, or neutral
Signs of contamination include green patches, black specks, or anything slimy. Fuzzy edges and slight yellowing are usually normal.
This is also the perfect time to look for condensation. Small water droplets are normal and mean the mycelium has been active.
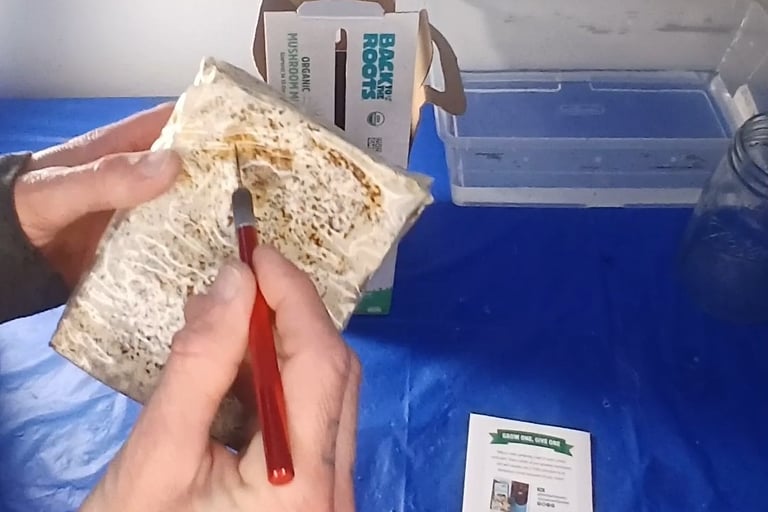
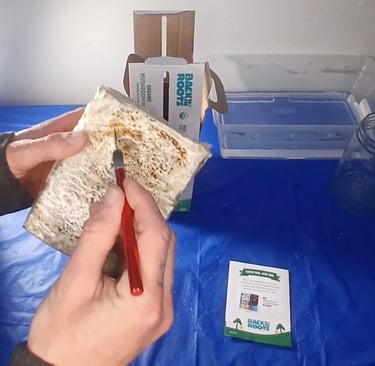
Step 2: Cut an "X" or Slit in the Bag
Most grow kits instruct you to cut:
A 1 to 2 inch "X" or
A long slit
This cut allows fresh air exchange, which tells the mycelium: "It's time to make mushrooms now."
Fresh air is the main trigger for pinning, more than humidity, light, or temperature.
Step 3: Mist Lightly (2 to 3 Times a Day)
This is where many beginners overthink things.
You do not want to soak the block. You only want to keep the surface slightly moist.
Simple rules:
Mist 2 to 3 times a day
Mist the inside of the humidity tent, not directly onto the pins
Don't leave standing water on the block
Avoid heavy spraying
Think gentle forest humidity, not rainstorm.
Step 4: Provide Indirect Light
Mushrooms don't need darkness. That's a myth.
They grow best with:
Indirect sunlight
Room light
Or a 6500k daylight LED
They don't need a grow light unless your room is very dim.
Light helps the mushrooms grow in the right direction and form properly.
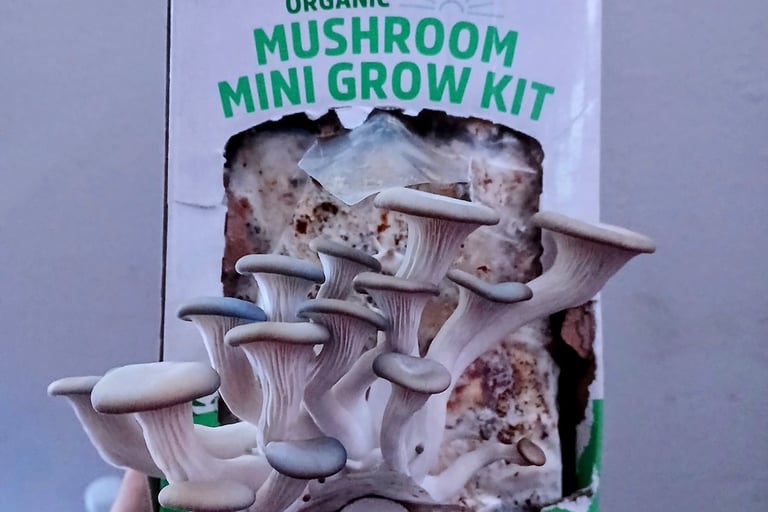
Step 5: Watch for Pinning (3 to 7 Days)
After cutting the bag and misting, you should see tiny mushroom pins form within:
3 to 7 days for oysters
7 to 14 days for lion's mane
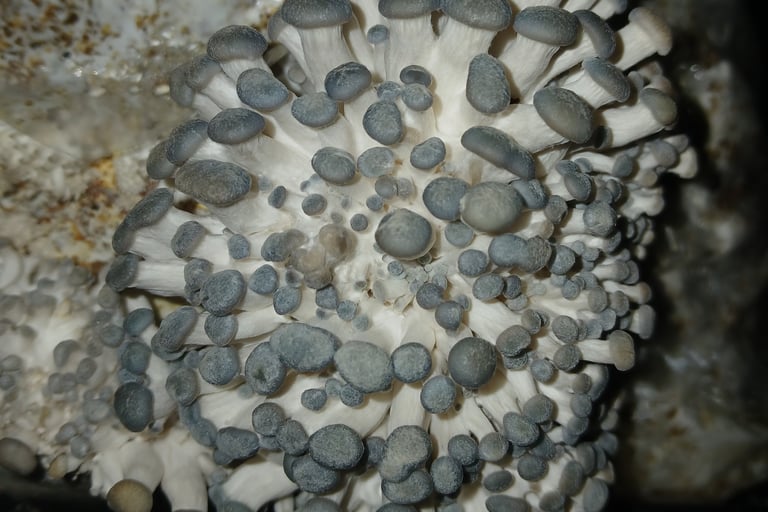
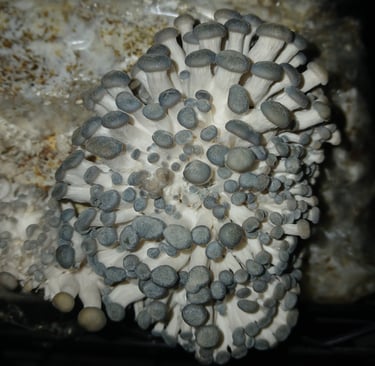
Healthy pins look like:
Tiny clusters
Firm and bright
Growing outward toward fresh air
Unhealthy signs include soggy pins, yellowing early, or pins forming inside the bag instead of at the cut.
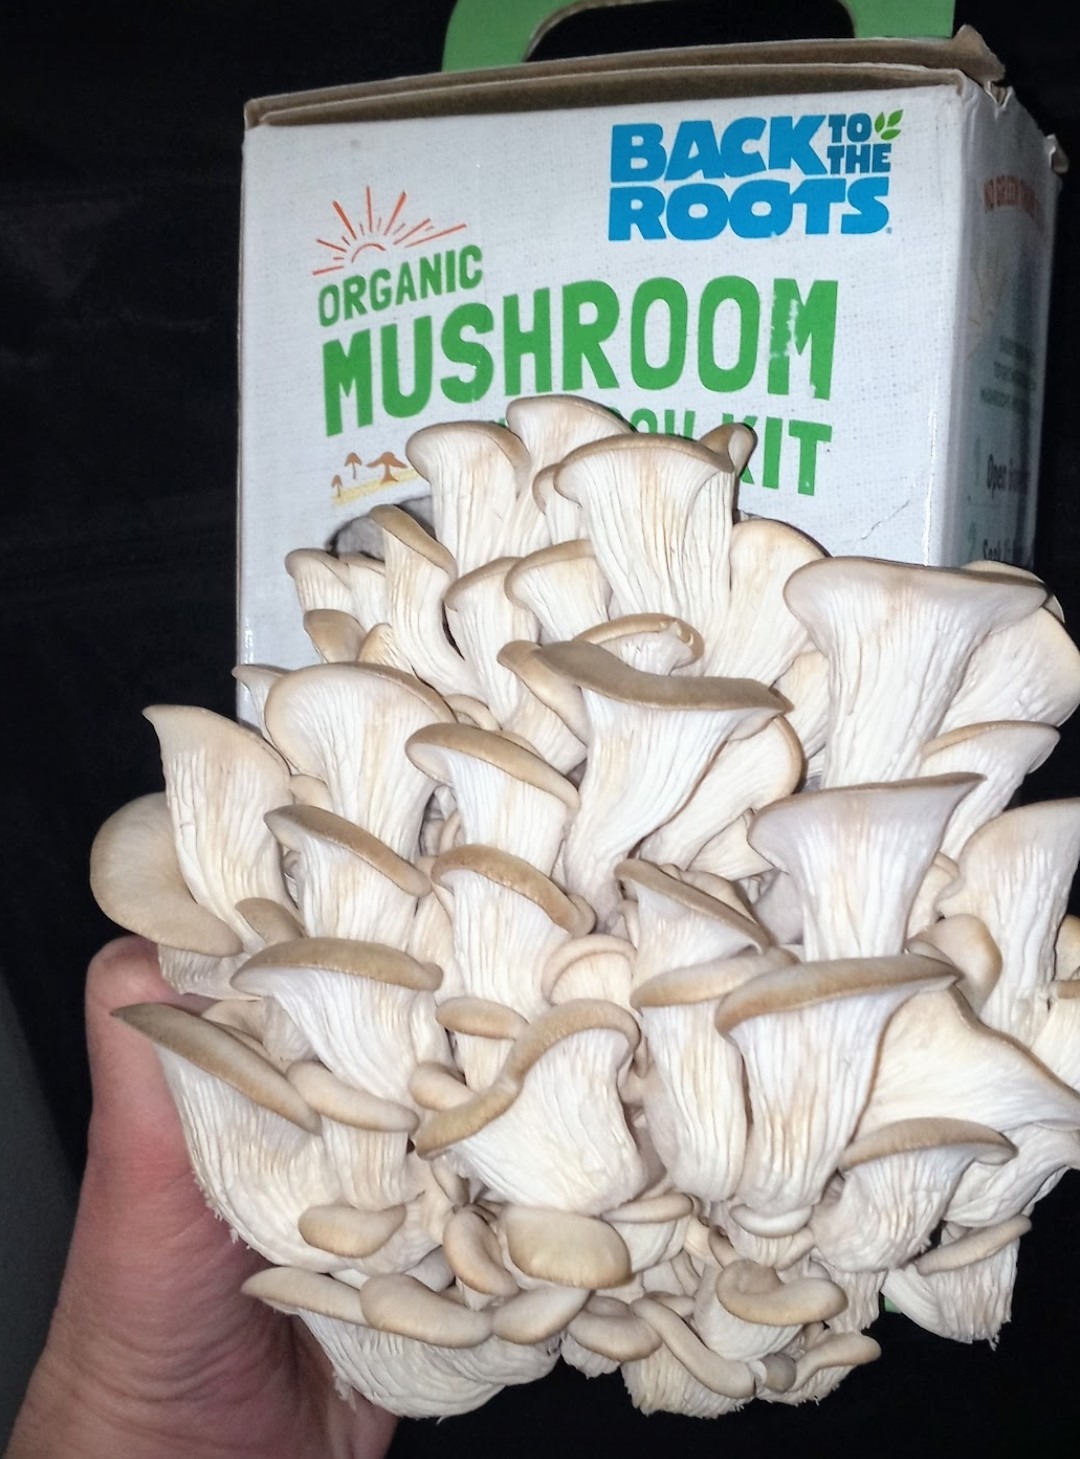
Step 6: Harvesting (When and How)
Oyster mushrooms grow FAST, sometimes doubling in size overnight.
Harvest when:
Edges start to curl upward slightly
Caps look full and ready
Cluster is firm and not floppy
To harvest:
Grab the whole cluster
Twist firmly
Pull straight off
Lion's mane is harvested when the "spines" (teeth) start to lengthen and droop slightly.
Step 7: Getting a Second Flush
Most grow kits will give 2 to 3 flushes, but the method depends on the species.
Oyster kits:
Often fruit again without soaking
Just keep misting and keep humidity high
Move the cut or make a new cut if needed
Lion's mane kits:
Sometimes need a 10 to 12 hour soak after the first flush
Follow brand-specific instructions
If your block looks very dry, a soak can help. If it still looks hydrated, misting alone is enough.
If your kit ever stalls, dries out, or doesn’t fruit right, I wrote a full ebook called Rescuing Your Mushroom Grow Kit that shows you exactly how to fix it. You can find it right here → [link].