
How to Start a Backyard or Off-Grid Mushroom Patch with Spawn and Wood Chips
Want to grow mushrooms without tubs, lights, or high-maintenance setups? This post shows you how to start a mushroom patch using buried spawn or old substrate—perfect for backyard growers, survival scenarios, or low-effort food production. Learn step-by-step how to build a patch with wood chips, grain spawn, and natural moisture, and why this method is ideal for off-grid or SHTF growing.
GROWING
7/11/20252 min read
How to Start a Backyard or Off-Grid Mushroom Patch with Spawn and Wood Chips
Inland Mushrooms
Growing mushrooms doesn’t have to mean tubs, lights, or sterile labs. Whether you’re prepping for a worst-case scenario or just want a low-effort backyard food source, starting a mushroom patch by burying substrate or grain spawn is one of the easiest ways to get going. This method is something I’ve been thinking about for a while, especially for survival growing or no-electricity setups. Whether it’s a backyard experiment or part of your preps, it’s a simple way to grow food without needing a bunch of gear.
Why a Mushroom Patch?
No electricity needed
Low-maintenance once established
Can produce for multiple seasons
Great use for spent blocks or colonized grain jars
Perfect for preppers or casual growers alike
What You’ll Need
Colonized grain spawn or spent substrate (oyster mushrooms work great)
A shady spot (backyard, tree line, garden edge, etc.)
Optional: wood chips, straw, cardboard
A shovel or digging tool
Water access (hose, rain, or buckets)
Step-by-Step: Starting Your Mushroom Patch
1. Pick a Spot
Look for a spot with dappled sunlight or full shade. If it stays a little damp after it rains, that’s even better.
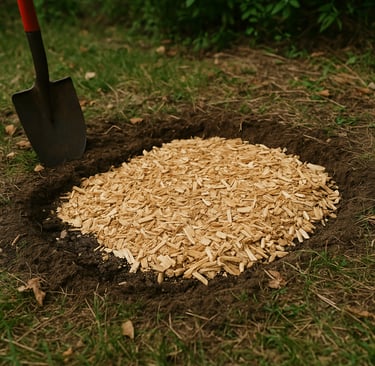
2. Dig and Loosen the Soil
You don’t need to go deep—just 3–6 inches. You're creating a bed that will hold moisture and give the mycelium a place to grow into.
3. Layer in Your Spawn
Lay down your colonized grain or substrate. You can use:
Old blocks you’re done fruiting
Colonized grain jars that didn’t make it to a tub
Even semi-contaminated spawn (in the yard, nature often wins)
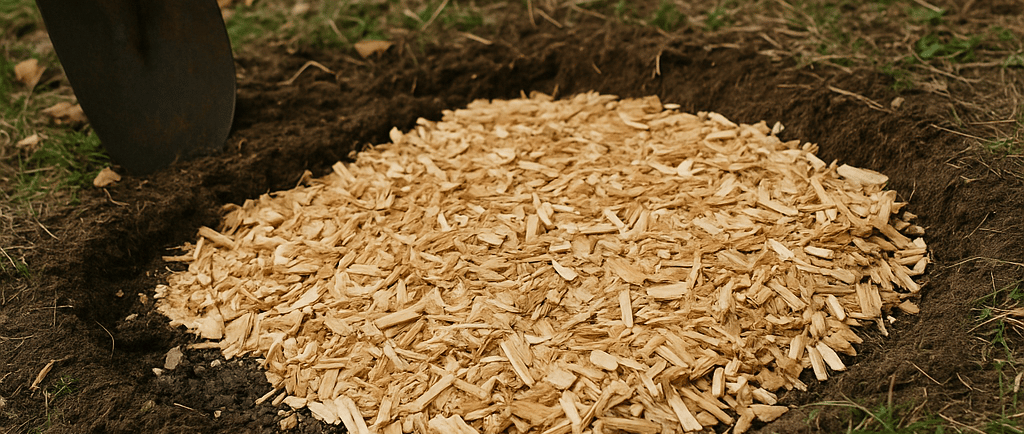
4. Add Organic Material
Cover it with cardboard, straw, or a layer of wood chips. This helps keep it moist and feeds the mycelium over time.
5. Water It In
Give it a good soak—but don’t flood it. If it’s summer, water it lightly every few days. In rainy seasons, you may not need to do anything.
What to Expect
Timing: Patches can take weeks or months to fruit. If you plant in spring or fall, you’ll likely get mushrooms that same season.
Ongoing Care: Keep it moist but not soaked. Add more wood chips as needed to feed the mycelium and extend the life of the patch.
Seasons: A well-placed patch can fruit for 2–3 years depending on your climate and care.
Bonus Tips
Use the edge of a tree canopy—it mimics nature.
Start more than one patch if you have extra spawn.
Let a few mushrooms drop spores to help naturalize it long-term.
In dry areas like SoCal, choose the shadiest spot possible and mulch deeply.
Final Thoughts
This method works great as part of a larger prepping plan—or just as a lazy grower’s dream. It’s cheap, quiet, and blends right into the landscape. Whether you’re in the suburbs or up a trail in the hills, mushroom patches are one of the most overlooked ways to grow your own food.
Want to know how long your patch can keep producing? Check out my guide on How Long Do Mushroom Patches Last for tips on maintaining it season after season.