How to Prepare Coco Coir and Vermiculite for Mushroom Growing
GROWING
3/7/20253 min read
How to Prepare Coco Coir and Vermiculite for Mushroom Growing
If you’re looking for a reliable, beginner-friendly bulk substrate for growing gourmet mushrooms, a coco coir and vermiculite mix is one of the best options. It holds moisture well, resists contamination, and is simple to prepare with minimal equipment.
I’ve been using this recipe for years now, and it’s still my go-to for oysters and other gourmet varieties. Back when I first started, I overcomplicated everything. Once I learned this coir/verm recipe, it honestly felt like a cheat code.
🌱 Why Use Coco Coir and Vermiculite?
✅ Coco coir – A natural fiber from coconut husks that retains moisture, resists mold, and provides a great environment for mycelium.
✅ Vermiculite – A lightweight mineral that improves water retention and aeration.
✅ Together – They create an ideal substrate for colonization and fruiting, even if you’re working out of a spare room or garage.
🛒 What You’ll Need
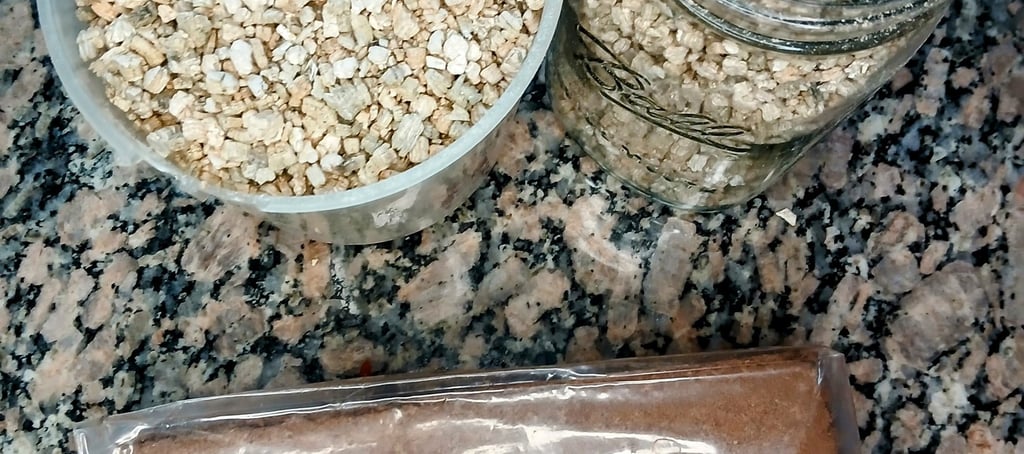
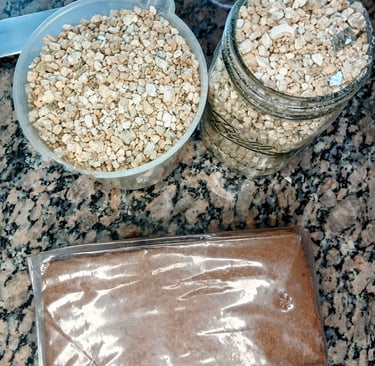
1 brick of coco coir (650g) → Coco coir 5-pack bricks on Amazon
2 quarts (8 cups) of vermiculite → Smaller bags here | Large bag for bulk growers
4 quarts (16 cups) of boiling water
5-gallon bucket with a lid
(Optional) 1 tablespoon gypsum – Adds calcium and sulfur to support mycelium growth.
💡 Pro Tip: Always choose low-salt coco coir. Some brands buffer with salt, which can harm mycelium.
Disclosure: As an Amazon Associate I earn from qualifying purchases.
This means if you click and buy, I may earn a small commission at no extra cost to you.
🥣 Step-by-Step Guide
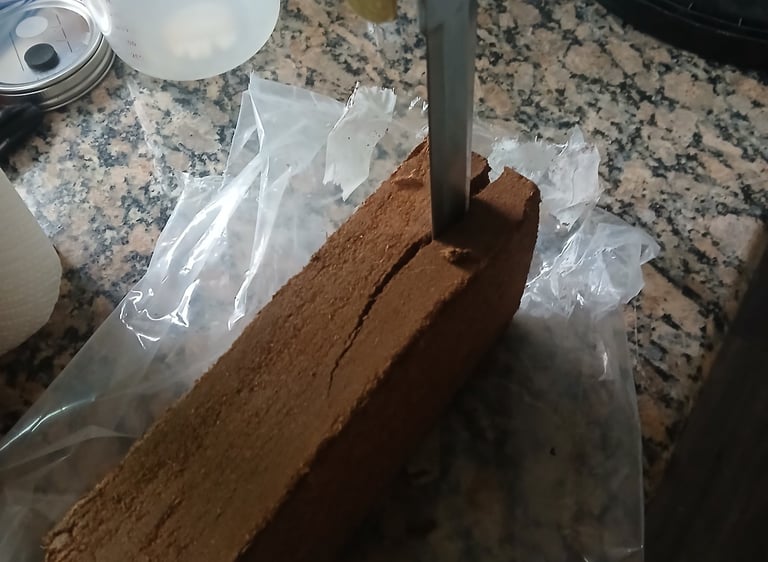
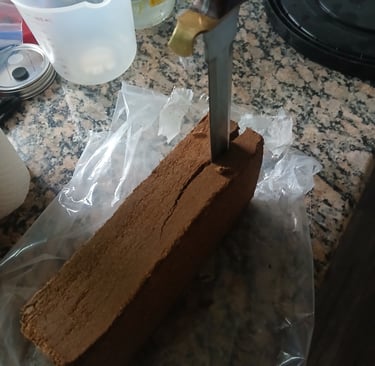
1. Break Up the Coco Coir Brick
I usually take a knife and break the brick down on a table before dropping the pieces into the bucket. Smaller chunks hydrate much more evenly.
👉 If you buy the massive single coir blocks, you’ll need to weigh out ~650g or cut them in half. Personally, I started buying 5-packs of smaller bricks so I can just toss one in — no weighing, no hassle.
2. Add Vermiculite
Pour in your 2 quarts (8 cups) of vermiculite.
👉 Tip: If you’re just starting out, a small bag is fine. But if you’re planning to grow regularly, a large 60lb bag is ~$60 upfront but can last a year or more, saving a lot in the long run.
3. Boil Water & Hydrate
Bring 4 quarts (16 cups) of water to a roaring boil. Carefully pour it over the coir + verm. Stir to avoid dry pockets.
4. Pasteurize
Put the lid on the bucket and walk away. I usually give it 30–60 minutes before coming back to stir. Then I cover it again and let it finish cooling. This simple bucket method naturally pasteurizes the substrate.
5. Check Moisture Content (Field Capacity)
Once the mix has cooled for 3–4 hours, fluff it up.
👉 Do the squeeze test: grab a handful and squeeze. Only a few drops of water should come out. If it gushes water, it’s too wet — spread it out and let it air a bit.
⚠️ Don’t test while hot — you’ll burn your hand. Always wait until the substrate has cooled before checking field capacity.
🍄 Using the Substrate
Once fully cooled, your mix is ready for spawning. You can use it in:
Monotubs
Dub tubs
Grow bags
This substrate works great for oysters, Pioppino, and other gourmet species. Lion’s Mane, however, prefers a more wood-based recipe.
✅ Final Tips for Success
Use high-quality coco coir (low-salt).
Pasteurize properly — patience here reduces contamination risk.
Buy bulk vermiculite if you plan on growing a lot — saves money long term.
Always check field capacity when cooled, not hot.
This method is simple, scalable, and one of the best ways to grow mushrooms at home.
👉 If this helped, check out my Mushroom Substrate & Agar Ebook for more recipes and step-by-step guides.