How to Make Wild Bird Seed (WBS) Grain Spawn for Mushrooms, Step-By-Step Guide
Learn how to make wild bird seed (WBS) grain spawn step-by-step. Full guide on rinsing, soaking, pressure cooking, and inoculating with liquid culture or agar.
GROWING
11/6/20256 min read
How to Make Wild Bird Seed (WBS) Grain Spawn
Cheap • Effective • Beginner-Friendly
Wild Bird Seed (WBS) is one of the most popular grain choices for mushroom hobbyists because it’s inexpensive, widely available, and produces strong, healthy mycelium. You can buy it at most grocery stores, hardware stores, or feed stores — no specialty shops required.
This guide walks you through:
✅ Supplies
✅ Soak + simmer
✅ Drying + loading jars
✅ Pressure cooking
✅ Inoculating with liquid culture OR agar wedges
✅ Troubleshooting
🧂 Supplies
Wild Bird Seed (no corn is ideal — but corn is fine if that’s what you have)
Mason jars w/ metal or plastic lids
Modified lids — filter holes or micropore tape
Pressure cooker
Fine mesh strainer or colander
(flat mesh screen works even faster)Large pot
Clean towel or rack for drying
Still-Air Box (SAB) or flow hood
⚙️ Step-by-Step
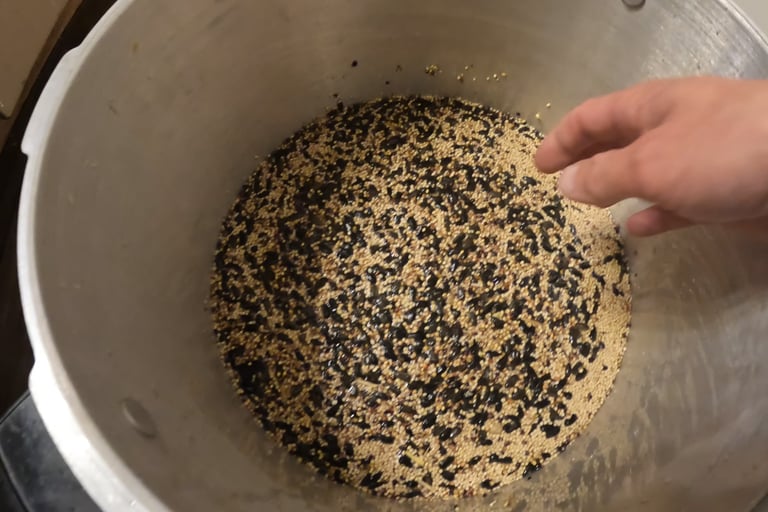
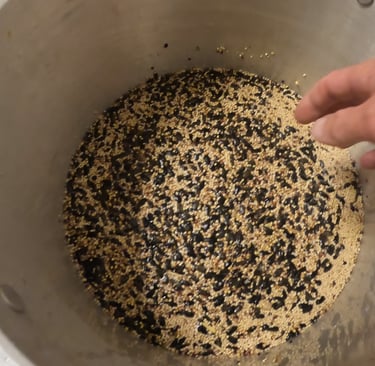
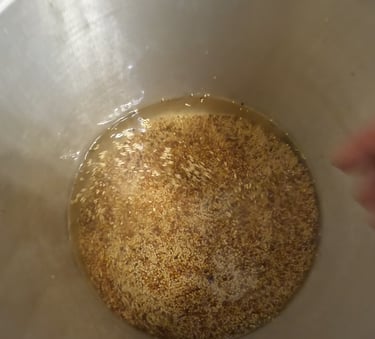
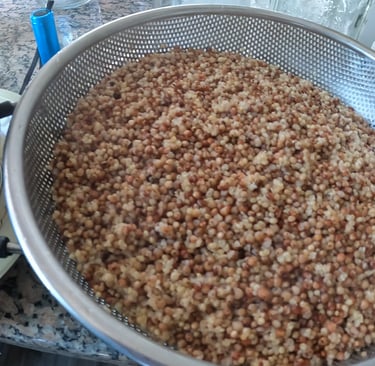
✅ 1) Rinse
Wild bird seed is dusty and usually contains sunflower seeds, cracked corn, and other debris.
None of this is harmful — but removing floaters helps keep your final jars cleaner and less oily.
Dump your dry WBS into a large pot or bucket
Fill with water
Stir with your hand
You’ll notice:
Dust clouds → water turns brown/yellow
Sunflower seeds + shells float to the surface
Skim off floaters using:
A large spoon
A strainer
Or just your hand
Why remove sunflower seeds?
Sunflower seeds have oil-rich shells that don’t hydrate well and can slow colonization.
Not mandatory, just helpful.
Keep rinsing + skimming until the water runs mostly clear.
While I was rinsing the grain, my cat Squeaks sat nearby giving me this serious, almost suspicious look.
Not sure if he was judging my technique or cheering me on, hard to tell with cats, but he stayed for the whole process so I’m taking it as approval.
✅ 2) Soak (10–18 hrs)
Place rinsed seed in a bucket or pot and soak 12 hours (overnight works best).
Why soak?
Rehydrates seed
Germinates bacterial endospores → easier to kill during PC
Temps don’t matter much.
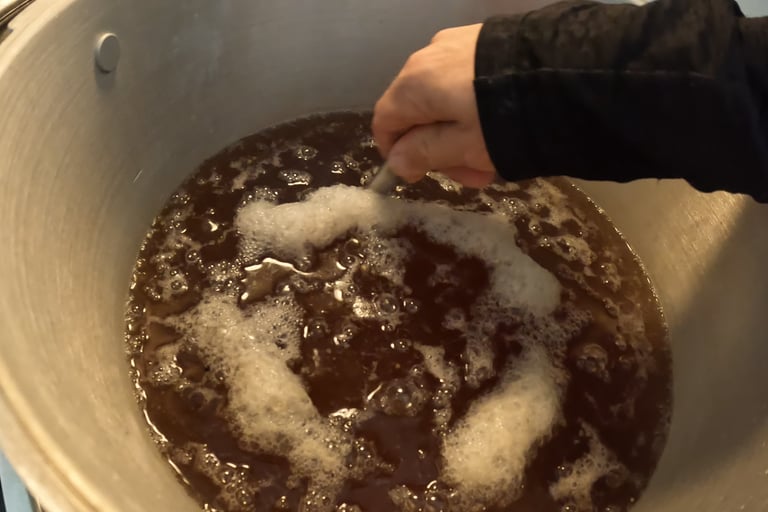
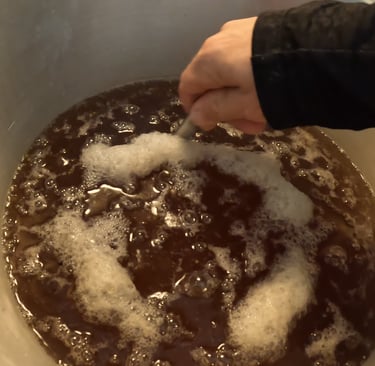
✅ 3) Simmer (variable, 10–30 min)
Drain the soak water → refill pot → bring to a simmer.
This step finishes hydration.
🔥 Important:
Simmer time varies based on brand, blend, age of seed.
You’re looking for:
✅ Kernels that squish between your fingers
❌ NOT mushy or bursting
Pinch-test method:
Squeeze a seed — it should flatten, not explode into paste.
When in doubt → undercook slightly, not over.
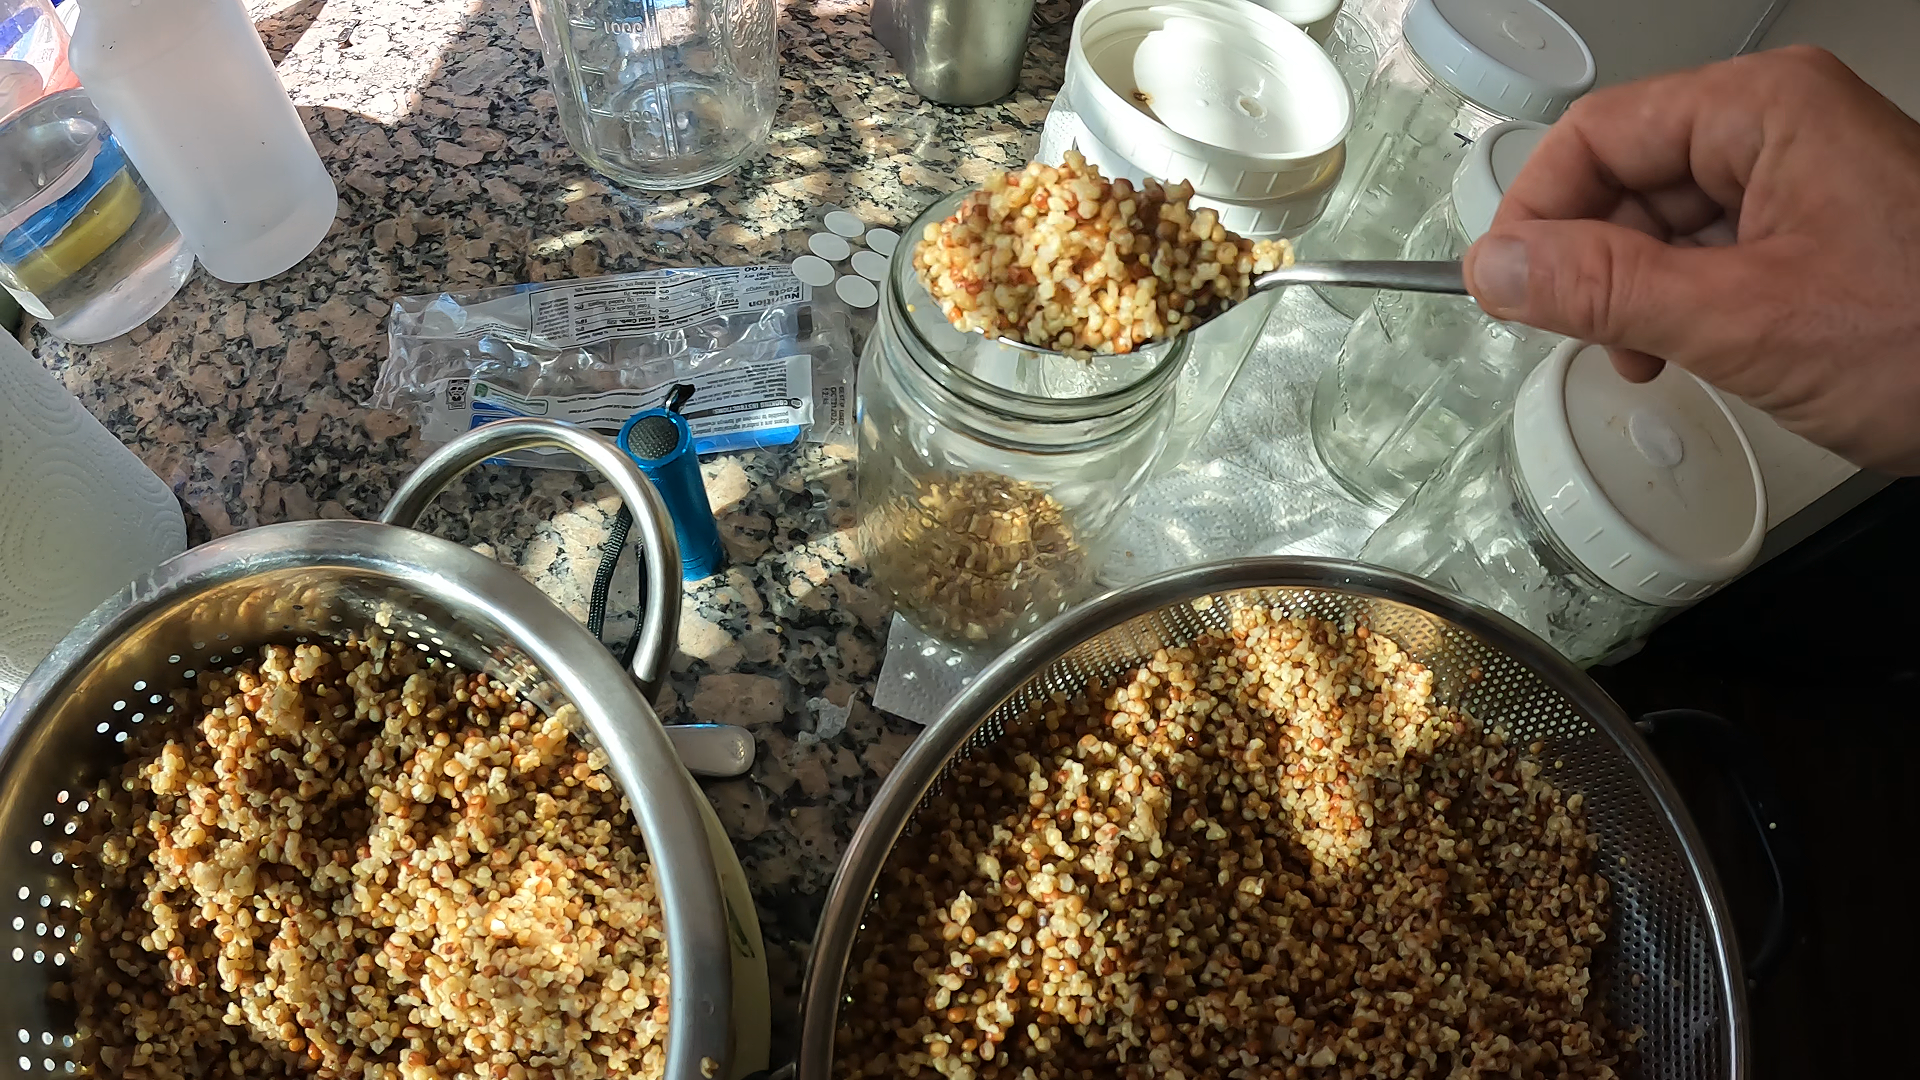
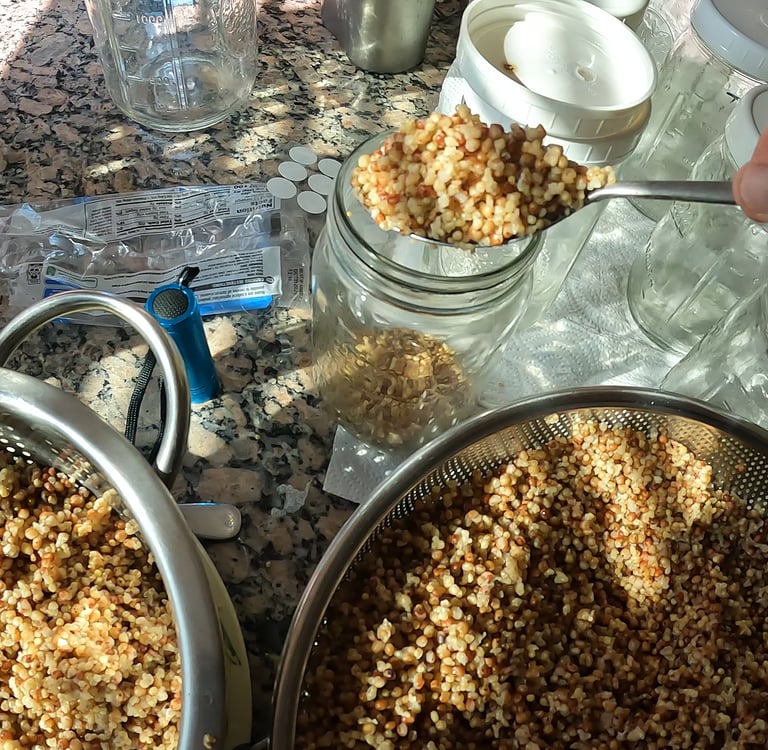
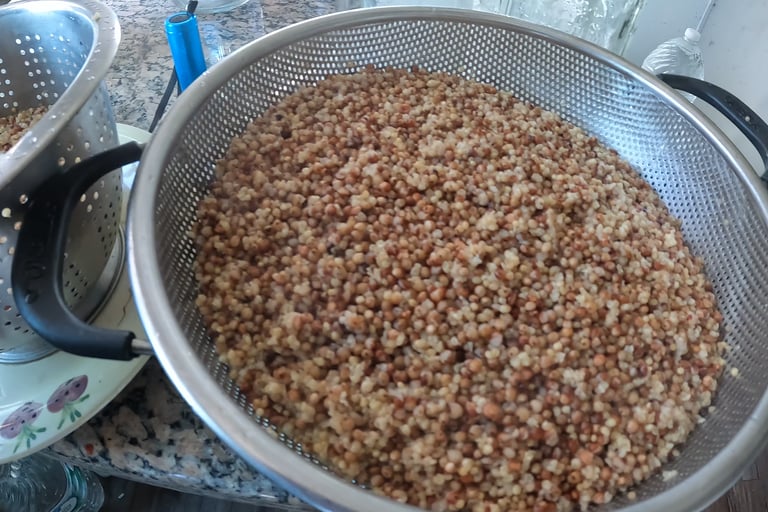
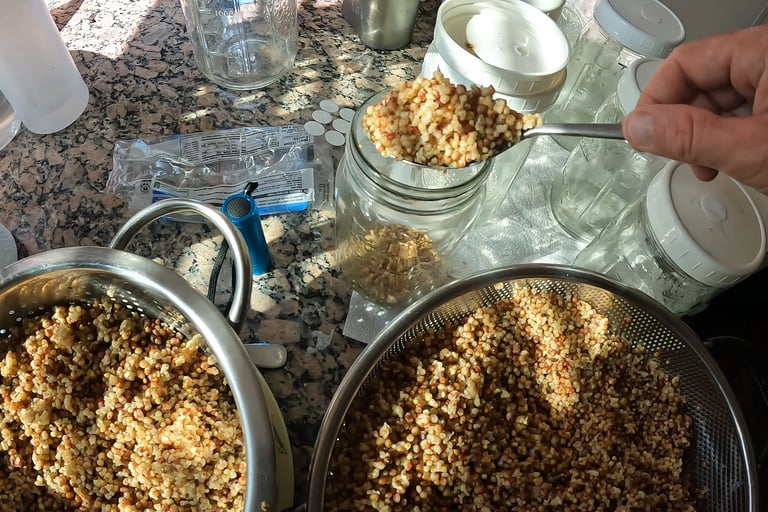
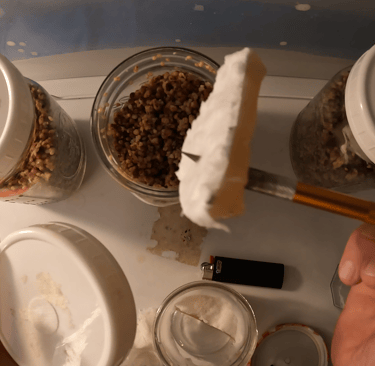
✅ 4) Drain + Steam Dry
Dump into a:
colander, OR
flat mesh screen (drains faster)
Let steam escape for 10–30 minutes.
Grain should look:
Dry on the outside
Hydrated inside
No puddles
Shake periodically.
A good tip: Drop a handful on a paper towel. If it leaves a wet spot → keep drying.
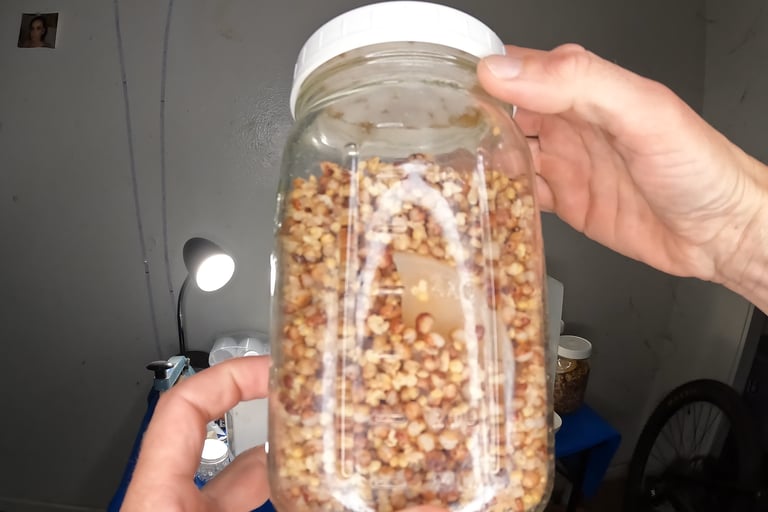
✅ 5) Load Jars + Lids
Once the grain surface looks dry, fill your jars about ⅔ full.
This leaves enough room to shake later, which helps the mycelium spread faster.
For lids, you can use:
✅ Filtered lids (best)
→ Usually have a small hole covered by a filter patch, SFD, or micropore tape
OR
✅ DIY option — two holes + micropore tape
→ One hole for gas exchange, one optional for injecting LC
Either one works — mushrooms don’t care as long as the jar can breathe a little.
🔹 With Injection Ports
If your lid has a red/brown rubber injection port, LC can be injected directly through it.
🔹 Without Injection Ports
No problem —
you’ll just crack the lid inside a still-air box (SAB) to add your LC or agar wedge.
Note: Injection ports are convenient, not required.
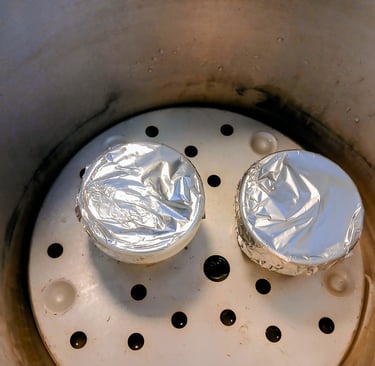
✅ Add Foil Before Pressure Cooking
Once the lids are on, wrap each jar lid with a single layer of aluminum foil.
Why?
Prevents moisture inside the pressure cooker from dripping into the filter holes
Keeps micropore tape from getting wet
Reduces the chance of soggy grains during sterilization
If filters or tape become saturated, they can:
Allow contaminants to wick into the jar
Slow colonization
Cause clumping
Foil = cheap insurance.
Just wrap loosely — no need to make it airtight.
If using filter patches (SFDs), foil still helps protect them, but don’t wrap so tight that it restricts gas exchange.
✅ 6) Pressure Cook
Load your wrapped jars into the pressure cooker.
They can be upright or on their sides — but upright is easiest for beginners.
✅ Add Water — VERY Important
You MUST add enough water to keep the pressure cooker from boiling dry.
A good guideline:
~8 cups (2 quarts) of water
OREnough to sit ~1 inch below the bottom of the jars
If you’re using a metal trivet at the bottom:
Water level should be at or slightly above the base of the trivet, but not touching the grain inside the jars.
Too little water → PC runs dry → dangerous + ruined batch
Too much water → jars can tip or heat unevenly (not a big deal, just messy)
✅ If unsure → err on the side of more water
✅ Sterilization Time & Pressure
Run at:
15 PSI for 90–120 minutes
→ 90 minutes = fine for pints
→ 120 minutes = safer for quarts or dense packs
Why so long?
This kills bacterial endospores that soaked grains wake up.
If you undercook, jars often:
Stall
Sour
Look wet/slimy
So longer = safer.
✅ After PC
Turn off heat and let the cooker:
→ Cool down and depressurize naturally
Do NOT open early
Rapid depressurization can:
Crack jars
Suck contaminants inside as pressure changes
Leave everything shut until:
✅ pressure gauge reads zero
✅ it’s comfortable to touch
Sometimes I just leave it overnight.
🍄 Inoculation Methods
You can inoculate using:
✅ Liquid Culture (LC)
(LC syringe OR agar wedges)
You can inoculate grain two main ways:
✅ Liquid Culture (LC)
✅ Agar wedges
Both work — choose whichever you have.
Work inside a still-air box (SAB) for best results.
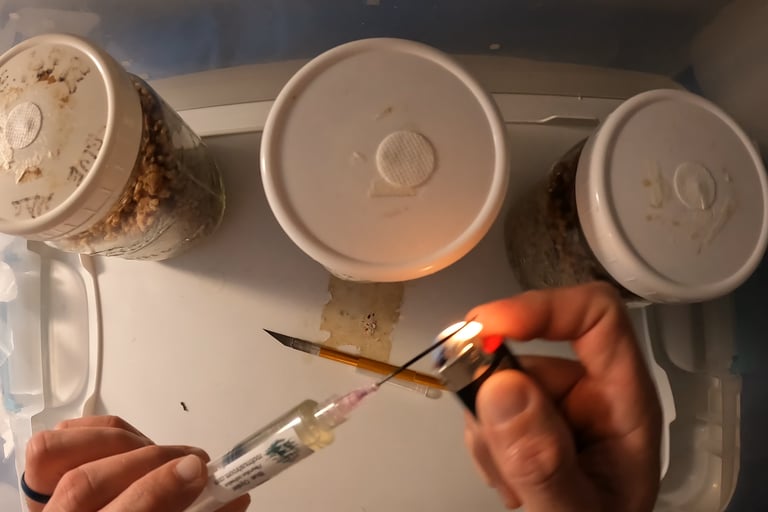
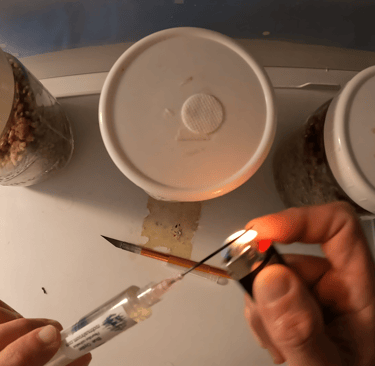
✅ Option 1 — Liquid Culture (LC)
🔥 Flame-Sterilize Your Needle
Even if the syringe is brand new, it’s good practice to:
Light the needle with a lighter until red-hot
Let cool for a moment
(you can drip a tiny drop of LC to cool if needed)
Flaming ensures you’re starting clean even if the syringe tip touched something during packaging or handling.
With Injection Port
Wipe injection point w/ alcohol
Flame-sterilize needle
Inject 1–3 mL LC
Slight shake to distribute
This is the easiest method.
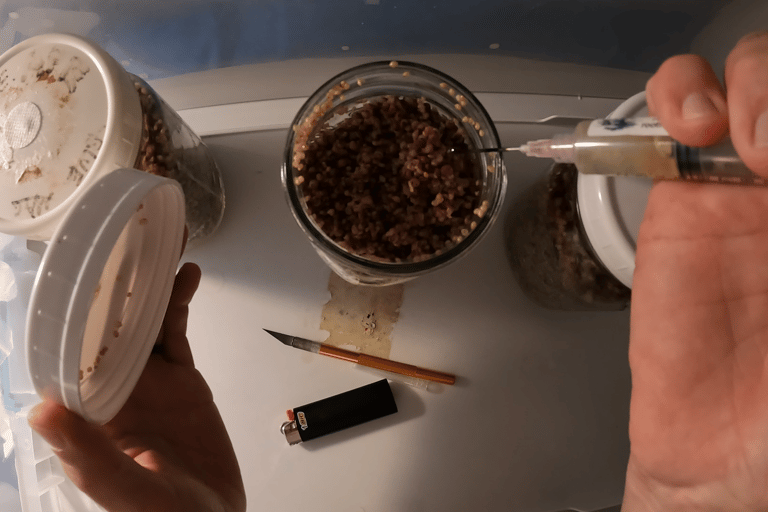
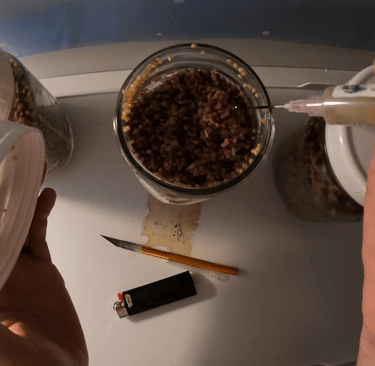
Without Injection Port
Still works totally fine.
Place jar in SAB
Crack the lid slightly
Flame-sterilize needle
Squirt 1–3 mL LC onto grain
Close lid
The key is keeping airflow still → that’s why SAB helps.
Tip: Avoid injecting too much LC — it can make grains wet/clumpy and slow colonization.
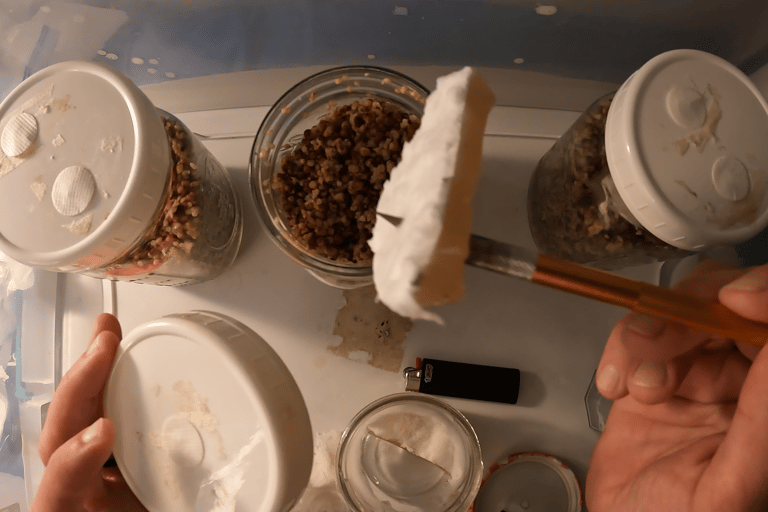
✅ Option 2 — Agar Wedges
The cleaner + more reliable method
You’ll need:
Small clean craft knife OR scalpel
Fresh blade recommended
🔥 Sterilize the blade
Flame the blade until hot
Let cool briefly
Wipe w/ alcohol (optional)
Using a fresh craft blade is great — they’re sharp and easy to handle.
Cutting the Agar
Cut agar into small wedges
✅ Smaller pieces = more surface area + faster growth
✅ They also shake around more if you mix later
Dropping Agar Into Grain
Inside SAB:
Open grain jar
Drop wedge in
— Ideally against the glass where you can see itClose lid
Next:
✅ Give a gentle shake to get the wedge down into the grain, not stuck on top.
You want it near the middle or bottom so mycelium spreads through the jar evenly.
Some people wait to shake until ~20–30% colonization —
Both methods work. You can shake right away OR after it takes hold.
My preference:
→ Shake lightly right after inoculation so there are multiple inoculation points.
✅ How Much to Use?
One wedge per jar is enough
Two wedges speeds colonization a bit
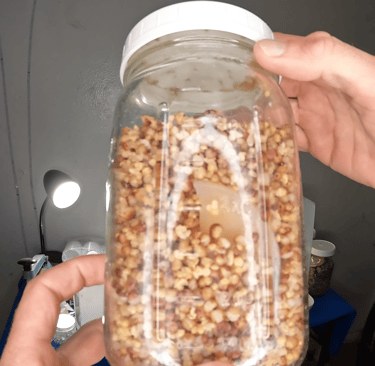
🔁 After Inoculation
Store at room temp
Indirect light okay
Light shaking at ~30% colonization helps spread mycelium
Jar should finish in:
2–4 weeks depending on:
culture strength
temp
water content
⚠️ Troubleshooting
💧 Too Wet / Burst Seeds
→ Mushy grains slow colonization + increase bacteria
→ Undercook next batch
❌ Bacterial Sliminess
Wet clumps
Yellowish grains
Sour smell
Usually caused by:
Overcooking
Under-PC
Dirty LC
Start over.
❗ Mold
Green, black, pink, etc.
→ Toss.
If many jars contaminate → check inoculant.
Why WBS?
Cheap
Easy to find
Excellent yield
No need for fancy prep
I actually started my entire mushroom journey with WBS because it was all I could find locally — and honestly, it worked great.
If you’re new to grains, WBS is a perfect starter.
✅ Simple Recipe Recap
Rinse
Soak 12 hrs
Simmer 10–30 min → pinch test
Drain + dry
Load jars
PC @ 15 PSI for 90–120 min
Inoculate (LC or agar)
❓ FAQ
Do I need an injection port?
No — helpful, but not required.
Is corn okay in WBS?
Fine. Some blends have it. Just break up clumps.
Can I skip simmering?
Not recommended; inconsistent hydration.
Final Thoughts
WBS is cheap, effective, and forgiving.
It’s a great first-grain to learn with, and you don’t need fancy lids or expensive bags — jars are plenty.
Plus, there’s something kind of meditative about rinsing and draining seed… even if your cat looks at you like you’re doing it wrong.
Getting grain spawn dialed in sets you up for bulk methods like tubs and bags, which are great for producing consistent gourmet harvests.