How to Make Corn Grain Spawn for Gourmet Mushrooms
GROWING
3/23/20254 min read
How to Make Corn Grain Spawn for Gourmet Mushrooms
If you're looking for a reliable, affordable grain to use for mushroom spawn, corn is a solid choice. While not as common as rye or millet, corn works well for many gourmet species and is easy to find in bulk at feed stores or even grocery stores.
In this guide, I’ll walk you through the exact steps I use to prep and hydrate corn for grain spawn, plus how to inoculate it once it's ready. Whether you’re just getting into mushroom growing or experimenting with new grains, this process is simple and repeatable. Corn is the grain I use most often — I’ve been working with it for over five years.
What You'll Need
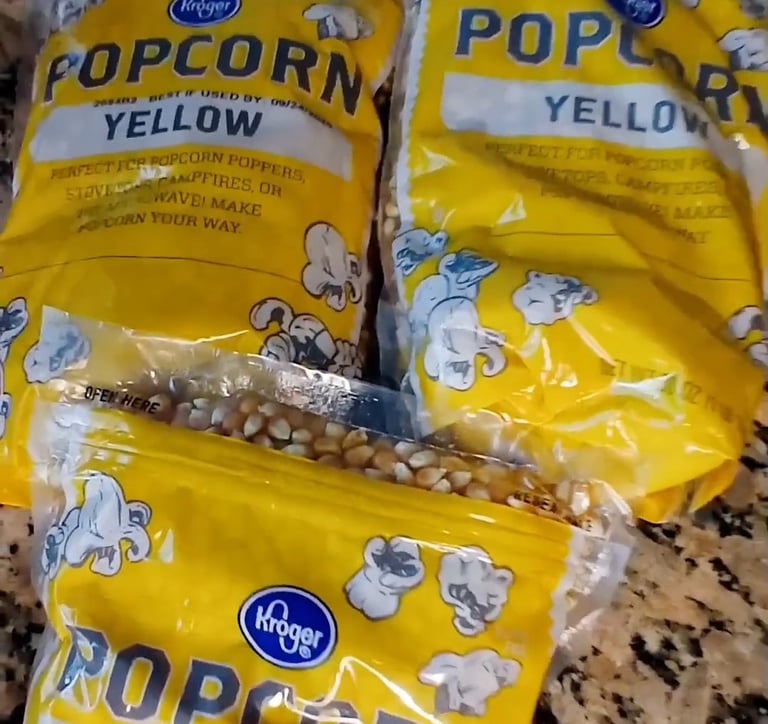
Whole corn (dried, untreated – animal feed corn works great)
Large pot (at least 8 quarts) or just use your pressure cooker pot
Strainer or colander
Optional: gypsum (helps prevent clumping)
Pressure cooker or All American sterilizer
Quart jars or spawn bags
Injection port lids (if using liquid culture) or filter patch bags
Clean towel or surface for drying
Liquid culture, agar wedge, or grain-to-grain transfer for inoculation
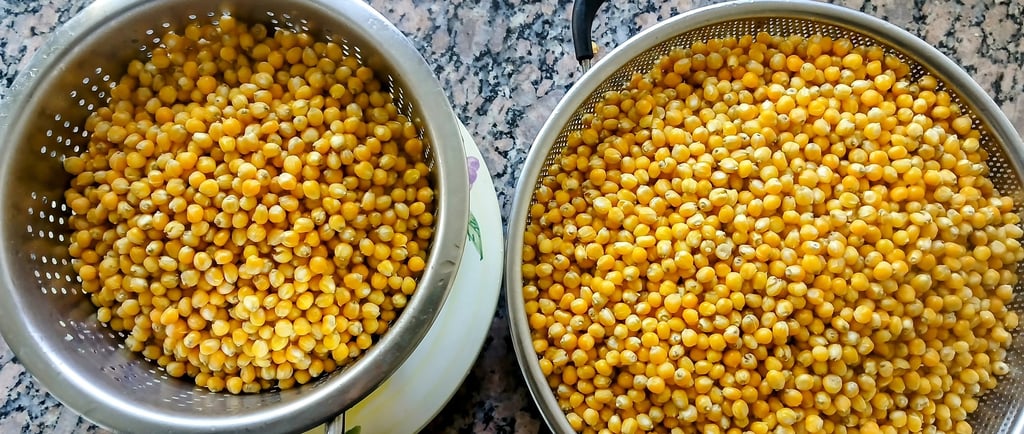
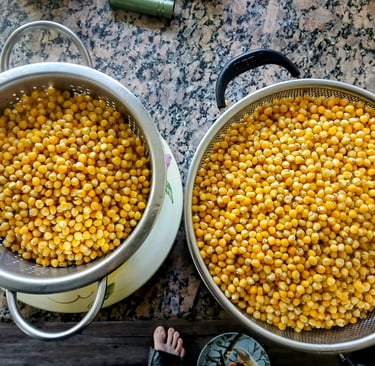
Step 1: Rinse the Corn
Start by rinsing your corn thoroughly. It’s often dusty and may contain small debris. If you’re using corn from a feed store, I definitely recommend rinsing it. If it’s from the grocery store, I honestly don’t always rinse it — and it still works fine.
I usually prep about 2–3 quarts of dry corn per batch. It will expand, so plan for extra space.
Step 2: Choose Your Prep Method
There are two solid ways to hydrate corn. Both work — choose what fits your time and setup best.
Method 1: Traditional Soak and Simmer (Beginner Friendly)
Step 2A: Soak Overnight (Optional but Recommended)
Soaking helps soften the kernels and reduce simmer time. Soak the corn in water for 12–24 hours if you have the time. This can also help germinate endospores that will be killed during pressure cooking.
Step 3A: Simmer Until Hydrated
Boil your rinsed (and optionally soaked) corn for 60–75 minutes. The kernels should be soft all the way through when cut in half — but not mushy or burst.
Step 4A: Drain and Dry
Pour the hydrated corn into a colander and let it drain well. You can either spread it on a towel to dry or just leave it in the colander for 30–45 minutes, stirring occasionally. The outside should feel dry to the touch before loading into jars or bags.
Method 2: Quick Pressure Cooker Hydration (My Preferred Method)
This is how I make all my corn grain spawn now. It’s fast, simple, and just works — no soak, no simmer.
Here’s what I do:
Rinse your corn if needed.
Add dry corn directly into your pressure cooker (2–3 quarts is ideal).
Fill with water about 2 inches above the corn.
Pressure cook for 20 minutes at 15 PSI.
Let the pressure come down naturally.
Pour the corn into a colander and let it drain.
Let it sit for 30–45 minutes, stirring occasionally, until the surface is dry.
This shortcut fully hydrates the corn with way less hassle. It’s been my go-to method for years.
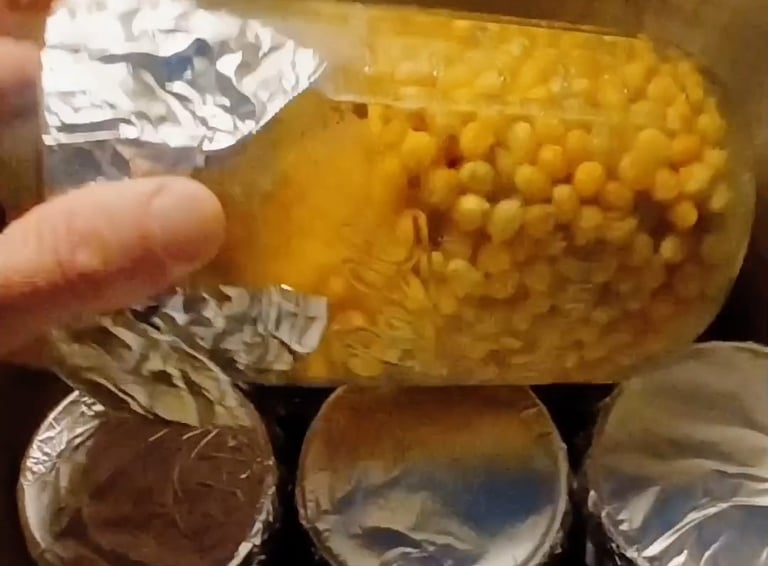
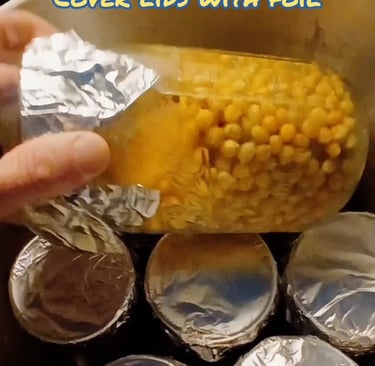
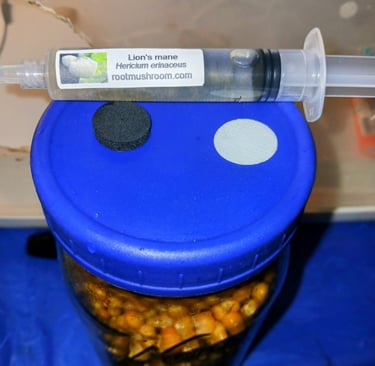
Step 5: Load and Sterilize
Once your corn is hydrated and dry on the outside, load it into quart jars or spawn bags. Leave about ⅓ of the jar empty for shaking and colonization.
If using jars, make sure your lids have a filter (like polyfill or synthetic discs) and an injection port if using liquid culture. I also wrap my lids with foil to keep moisture out of the filters during sterilization.
Sterilize your grain at 15 PSI for 90 to 120 minutes. I run mine for two full hours to be safe since corn is dense and holds heat.
Let your jars or bags cool completely before inoculating. I usually leave them overnight.
Step 6: Inoculation
Once cool, it’s time to add your mushroom culture. You’ve got a few options:
• Liquid Culture
Wipe the injection port with alcohol. Flame-sterilize the needle and inject 1–2 cc per quart jar. Shake gently to spread it out.
• Agar Wedge
In front of a flow hood or inside a still air box, open the jar and drop a clean agar wedge onto the corn. Close it back up and gently shake to seat the wedge.
• Grain-to-Grain Transfer
Scoop some fully colonized grain into your fresh jars using sterile technique. This speeds up colonization but requires a clean, healthy donor jar.
After inoculation, label your jars and store them in a clean, dark spot at room temperature. Once the mycelium reaches around 30–40% colonization, give the jar a shake to distribute it evenly.
Final Thoughts
Corn grain spawn is a great option for gourmet mushroom growers who want a cheap, effective substrate. Once you dial in your hydration and sterilization, it’s forgiving, reliable, and colonizes quickly.
I’ve used this method for years and had solid results across multiple species. Whether you go with the soak-and-simmer route or try my quick PC shortcut, you’ll be set up for success.
🔗 Want to Take Your Mushroom Growing Even Further?
Check out my Mushroom Recipe Ebook — it includes my favorite substrate recipes, agar methods, and liquid culture tips to level up your cultivation game.
👉 Grab your copy here and start growing with confidence.