How to Do a Grain-to-Grain Transfer (G2G) for Mushroom Growing – Step-by-Step Guide
Learn how to do a grain-to-grain (G2G) transfer the easy way. Multiply your mushroom grow fast, avoid contamination, and expand one jar into many. Step-by-step guide.
GROWING
11/12/20254 min read

How to Do a Grain-to-Grain Transfer (G2G) – Multiply Your Grow Easily
When I first got into growing mushrooms, a couple things instantly hooked me — flushes and grain-to-grain transfers. Coming from growing plants and microgreens, I was blown away by how easy mushrooms make it to multiply your grow.
With plants, you usually have to start from seed again. With mushrooms?
If you have one clean jar of colonized grain, you can easily turn it into five or more with a simple grain-to-grain transfer (G2G). It felt like unlocking a cheat code — same genetics, faster colonization, and a huge jump in production for almost no extra cost.
In this post, I’ll walk you through how I personally do G2G, the gear you need, tips I’ve learned, and a few things to avoid (including one issue I ran into early on with jars that were too compact to break up).
What Is Grain-to-Grain Transfer?
A grain-to-grain transfer (often called “G2G”) is when you take colonized grain from one jar and transfer it into new, sterile jars of uncolonized grain.
Your fully-colonized jar acts as the mother jar.
Why it's so effective:
You’re expanding the exact same genetics
Colonization is MUCH faster
You skip spores and liquid culture
You take one jar and turn it into many
If you’re looking to scale your grow or just get more out of each culture, G2G is one of the best methods.
Why I Loved G2G When I Started
The thing that fascinated me early on was how easy it was to multiply your grow without needing fancy tech.
I remember being used to microgreens where you start over every tray. So when I realized:
“Wait… one jar can become five jars?”
My mind was blown.
Mushrooms feel like they have built-in “expansion moves,” and G2G is one of the most efficient.
What You Need
Here’s what I personally use:
A still-air box (SAB) or a flow hood
Alcohol wipes / 70% iso
Sterile grain jars
A fully colonized mother jar
Flame sterilizer (for tools)
Gloves + mask
A small spoon optional
A jar scraper or mason jar ring optional
Step-by-Step: How I Do Grain-to-Grain Transfers
1. Prep Your Workspace
Wipe down your SAB or flow hood.
Wipe down jars, gloves, tools — keep everything clean.
Good prep = fewer headaches.
2. Break Up Your Mother Jar
This is where personal experience matters.
Sometimes jars are super easy to break up.
Other strains?
If you let them go too long, they get dense, almost like a brick.
Here’s what’s worked for me:
Smacking the bottom of the jar with your palm
Rolling the jar on a towel
Using a mason jar screw ring as a “knuckle guard” to hit it harder
And yes — using a sterile metal spoon inside the SAB actually does work
If the jar is too compact, using a spoon is 100% a legit method as long as:
You sterilize the spoon
Only open the jar inside the SAB
Keep movements slow and controlled
Just don’t scrape the grains aggressively — you’re just loosening them.
3. Open Your Jars in the SAB
Once your grains are broken up, open your jars one at a time inside the SAB.
Keep your hands steady.
Keep the jars as still as possible.
Angle the openings away from each other.
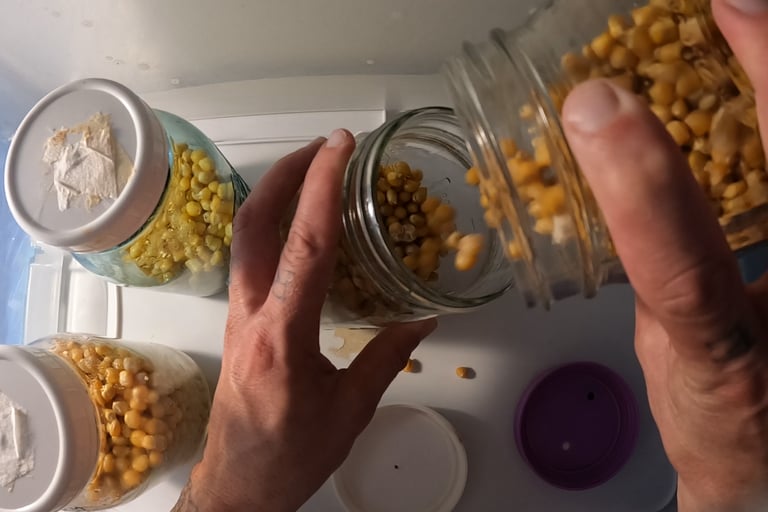
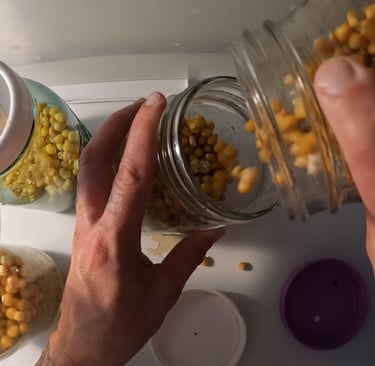
4. Transfer the Grain
Use the “tap and pour” method:
Tilt your mother jar
Let a spoonful of colonized grain fall into each new jar
Close each jar immediately
I usually aim for around 1 tablespoon per jar.
Too much isn’t harmful — it’s just unnecessary.
5. Shake the Receiving Jars
Once you’ve added the colonized grain:
Close the jar
Shake gently
Let the grains distribute evenly
This speeds up colonization BIG TIME.
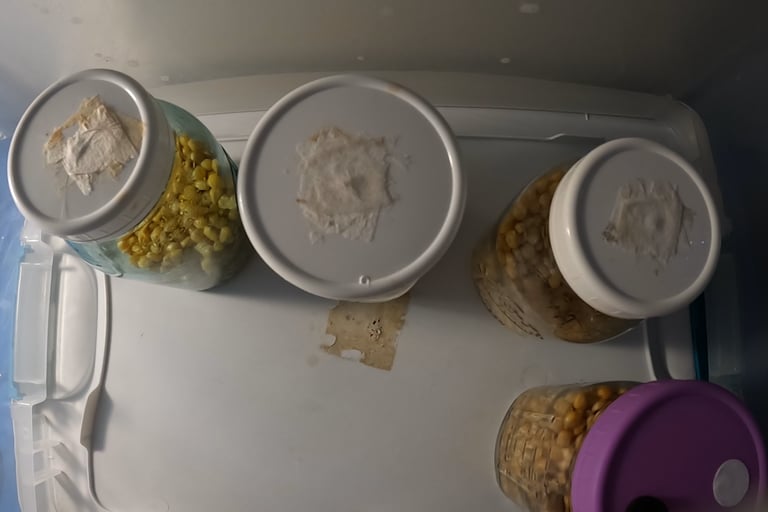
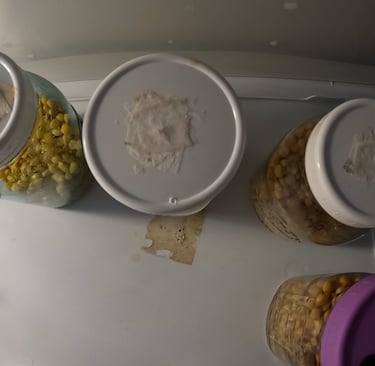
6. Incubate
Place the new jars back on a shelf at room temperature.
You’ll see mycelium jump off the colonized grains fast.
Usually within 24–48 hours.
Most jars finish in 5–10 days depending on temperature and genetics.
Tips I Learned the Hard Way
Here are some things I wish I knew earlier:
Tip 1: Don’t let your mother jar over-colonize
If you wait too long, the jar gets compact and hard to break up.
G2G works best when:
100% colonized
But still fluffy and easy to shake
Tip 2: Spoon method is legit
If you need a spoon, use it.
I’ve seen growers call it “sketchy,” but honestly — it works fine if:
You flame sterilize
You work in a SAB
You move slow
Tip 3: Only use CLEAN jars
If the mother jar is slightly contaminated, G2G will multiply that contamination into every new jar.
It’s like cloning the good and the bad.
Tip 4: Shake too early = stalled jar
Let the mycelium grab onto the new grain for a day or two before shaking aggressively.
Why G2G Is Worth It
Grain-to-grain transfers are one of the easiest ways to:
Expand your operation
Save money
Speed up colonization
Multiply a clean culture
Grow more mushrooms using the same genetics
If you’re looking to scale your grow or just get more out of your jars, this is one of the most important skills you can learn early on.
Final Thoughts
Honestly, G2G was one of the things that pulled me deeper into mushroom growing.
The fact you can take one clean jar and turn it into five or more — all with the same strain, same genetics, and super fast colonization — just felt like magic the first time I did it.
Once you get comfortable doing them in a SAB, it becomes second nature.