Easy DIY Mycology Lids: Save Money, Grow Mushrooms, and Maybe Even Make a Buck
Learn how to make DIY mycology lids the easy way—no drill required. Save money, grow mushrooms, and even sell lids for extra income.
GROWING
9/12/20252 min read

Easy DIY Mycology Lids (With or Without Tools)
When I first started growing mushrooms, I thought I needed fancy lids and lab gear. Turns out, making your own mycology lids is way easier than it sounds. For years, I did it with nothing but a sharp knife and some patience. You don’t need power tools or expensive pre-made lids — unless you want them. Once you learn this skill, not only will you save money, but you can even flip a few lids on eBay for extra cash.
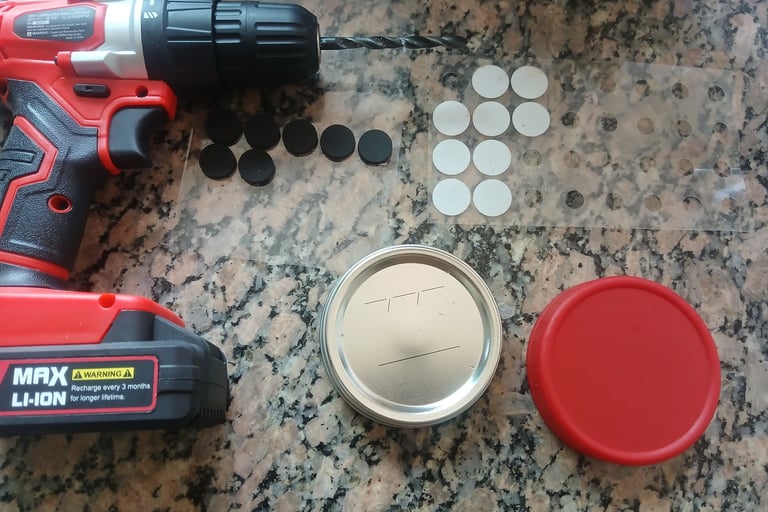
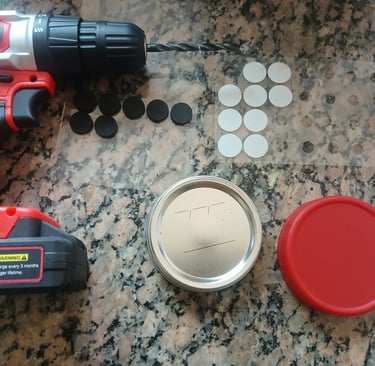
🔧 What You’ll Need
Jars with lids (metal or plastic work)
A way to make holes: drill, knife, scissors, or even heated metal poker
🔪 How to Make Lids (Step by Step)
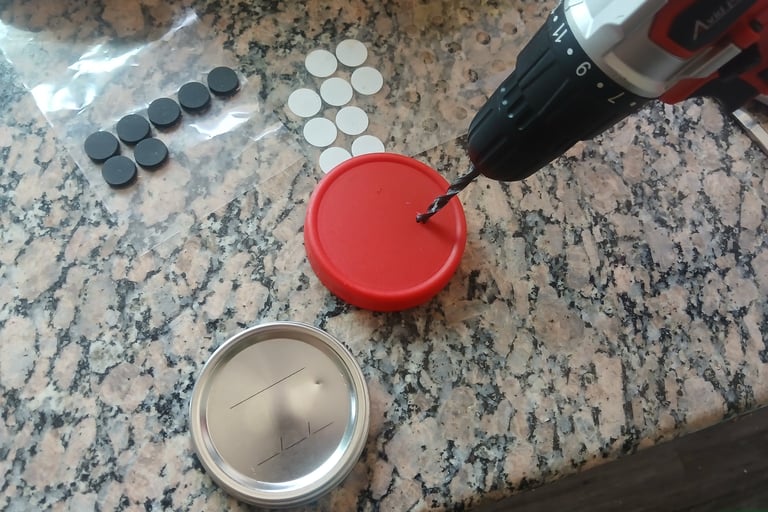
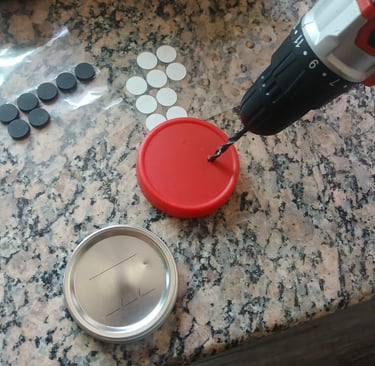
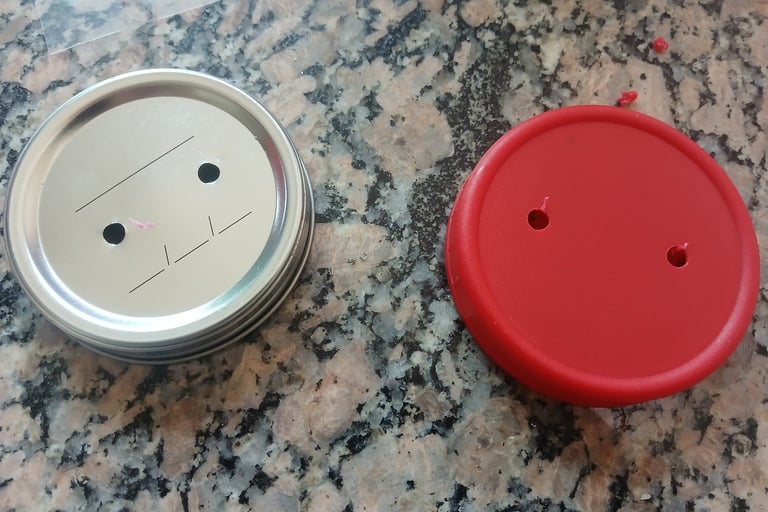
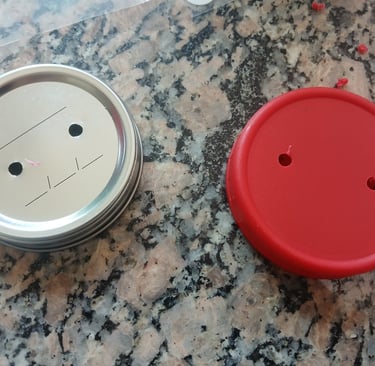
Make the Holes
Metal lids → poke with a knife and twist to widen.
Plastic lids → heat up a knife, scissors, or a nail/poker and melt through.
Drill is faster, but not required.
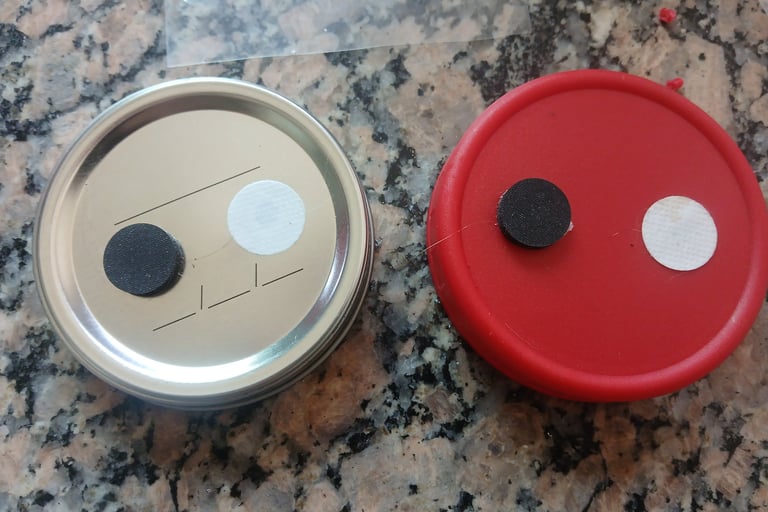
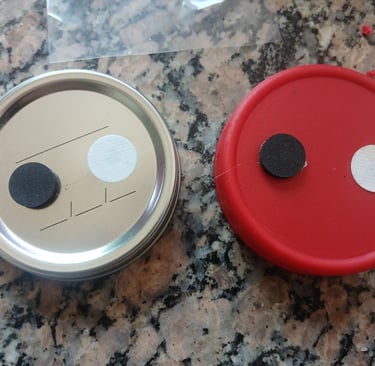
Add the Filter Patch
Stick it over one hole. This lets air out but keeps contaminants away.
Add the Injection Port
Stick it over the second hole (or right in the middle if you only cut one). This is where syringes go.
Done.
That’s it. No waiting for silicone to cure, no mess. Your lids are ready the same day.
💡 Personal Tip
Don’t let not having a drill stop you. I started with nothing but knives and a little determination. Once you realize how simple it is, you’ll never want to pay extra for premade lids again. And if you get good at it? People buy these. You could easily list them on eBay or Etsy for some side money.
🛒 Recommended Supplies
Disclosure: This post may contain affiliate links. As an Amazon Associate I earn from qualifying purchases. If you click and buy through these links, I may earn a small commission at no extra cost to you. I only recommend products I personally use or trust.
✅ Final Takeaway
DIY mycology lids are one of those small wins that make mushroom growing easier. You’ll save money, learn a useful skill, and never be stuck waiting on premade lids to ship. Once you make your first set, you’ll realize: it’s simple, fast, and empowering.