7 Beginner Mistakes Growing Oyster Mushrooms (and How to Avoid Them)
I stuffed oysters into a sealed monotub my first grow and barely got anything. Here are the 7 mistakes that trip up new growers and exactly how to fix them.
GROWING
9/25/20254 min read
7 Beginner Mistakes When Growing Oyster Mushrooms — And How to Fix Them
Oyster mushrooms have a reputation for being the easiest mushroom to grow. And in a lot of ways that's true — but they're still a living thing with specific needs, and new growers make the same mistakes over and over.
I made most of these myself. My first oyster grow was in a monotub because that's what I kept seeing other people use. It barely fruited and I couldn't figure out why. Turns out oysters are a little different from other species — they want more fresh air than most beginners expect, and they don't behave the same way in a sealed tub as something like cubensis does.
If you're coming from growing pioppino, chestnut, or enoki — mushrooms that grow with a distinct stem and cap — oysters will feel a little different too. They grow in clusters off the side of a block or bag, they're more sensitive to airflow, and they'll tell you pretty quickly if something is off.
Here's what to watch for.
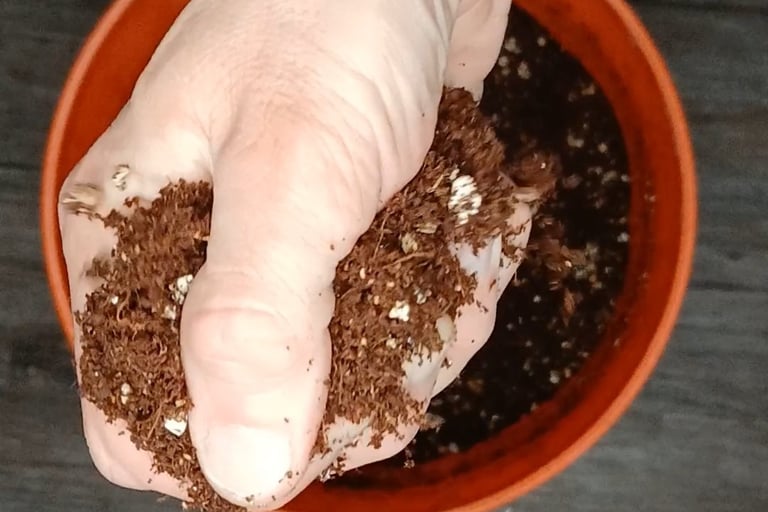
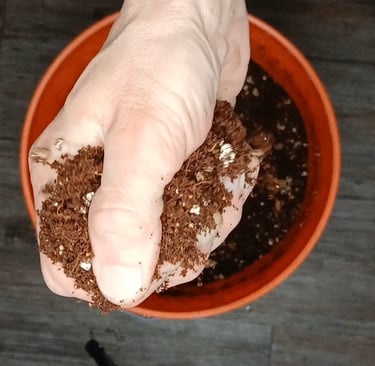
1. Substrate Too Wet or Too Dry
Too wet and you're inviting mold. Too dry and mycelium won't run properly. The fix is the squeeze test, grab a handful and squeeze hard. A few drops is perfect, a stream means it's too wet.
See my post on how to tell if your substrate is too wet
2. Skipping or Rushing Pasteurization
Oysters are forgiving but they can't compete with trichoderma if your substrate isn't properly pasteurized. Not everyone uses straw, I personally use coco coir and vermiculite or hardwood substrate and pasteurize in a bucket or directly in bags. Some growers even sterilize at 15psi for extra insurance. Whatever substrate you're using, don't skip this step or rush it.
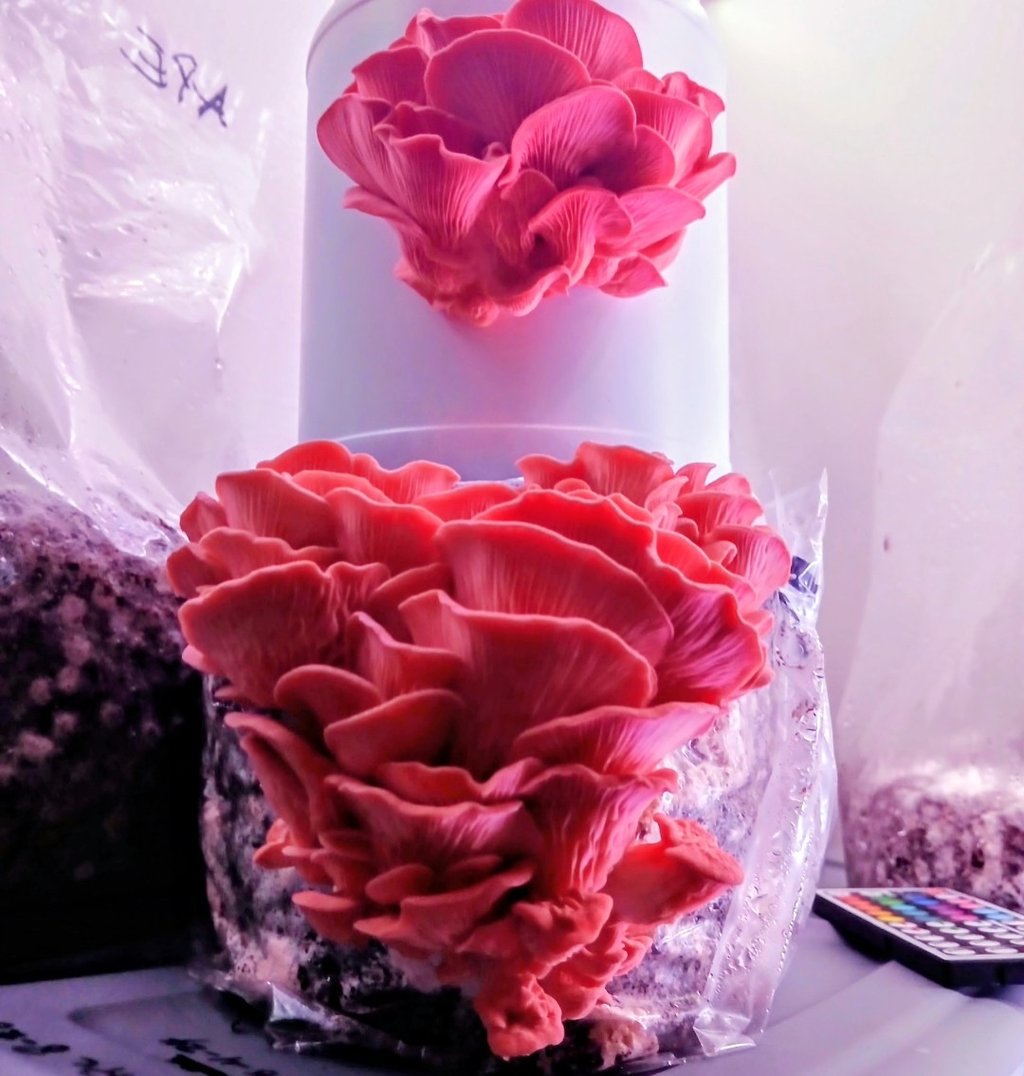
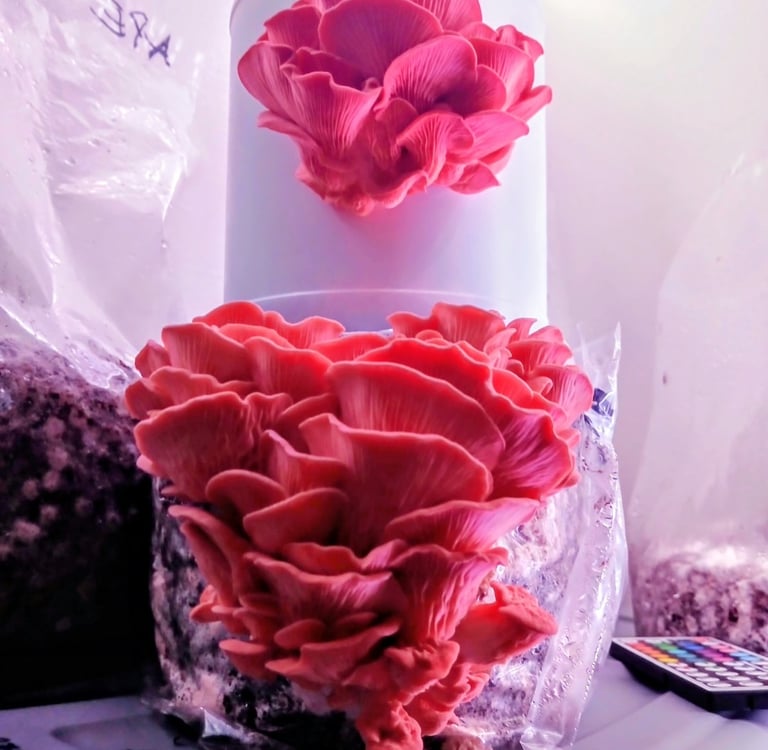
3. Using a Sealed Monotub
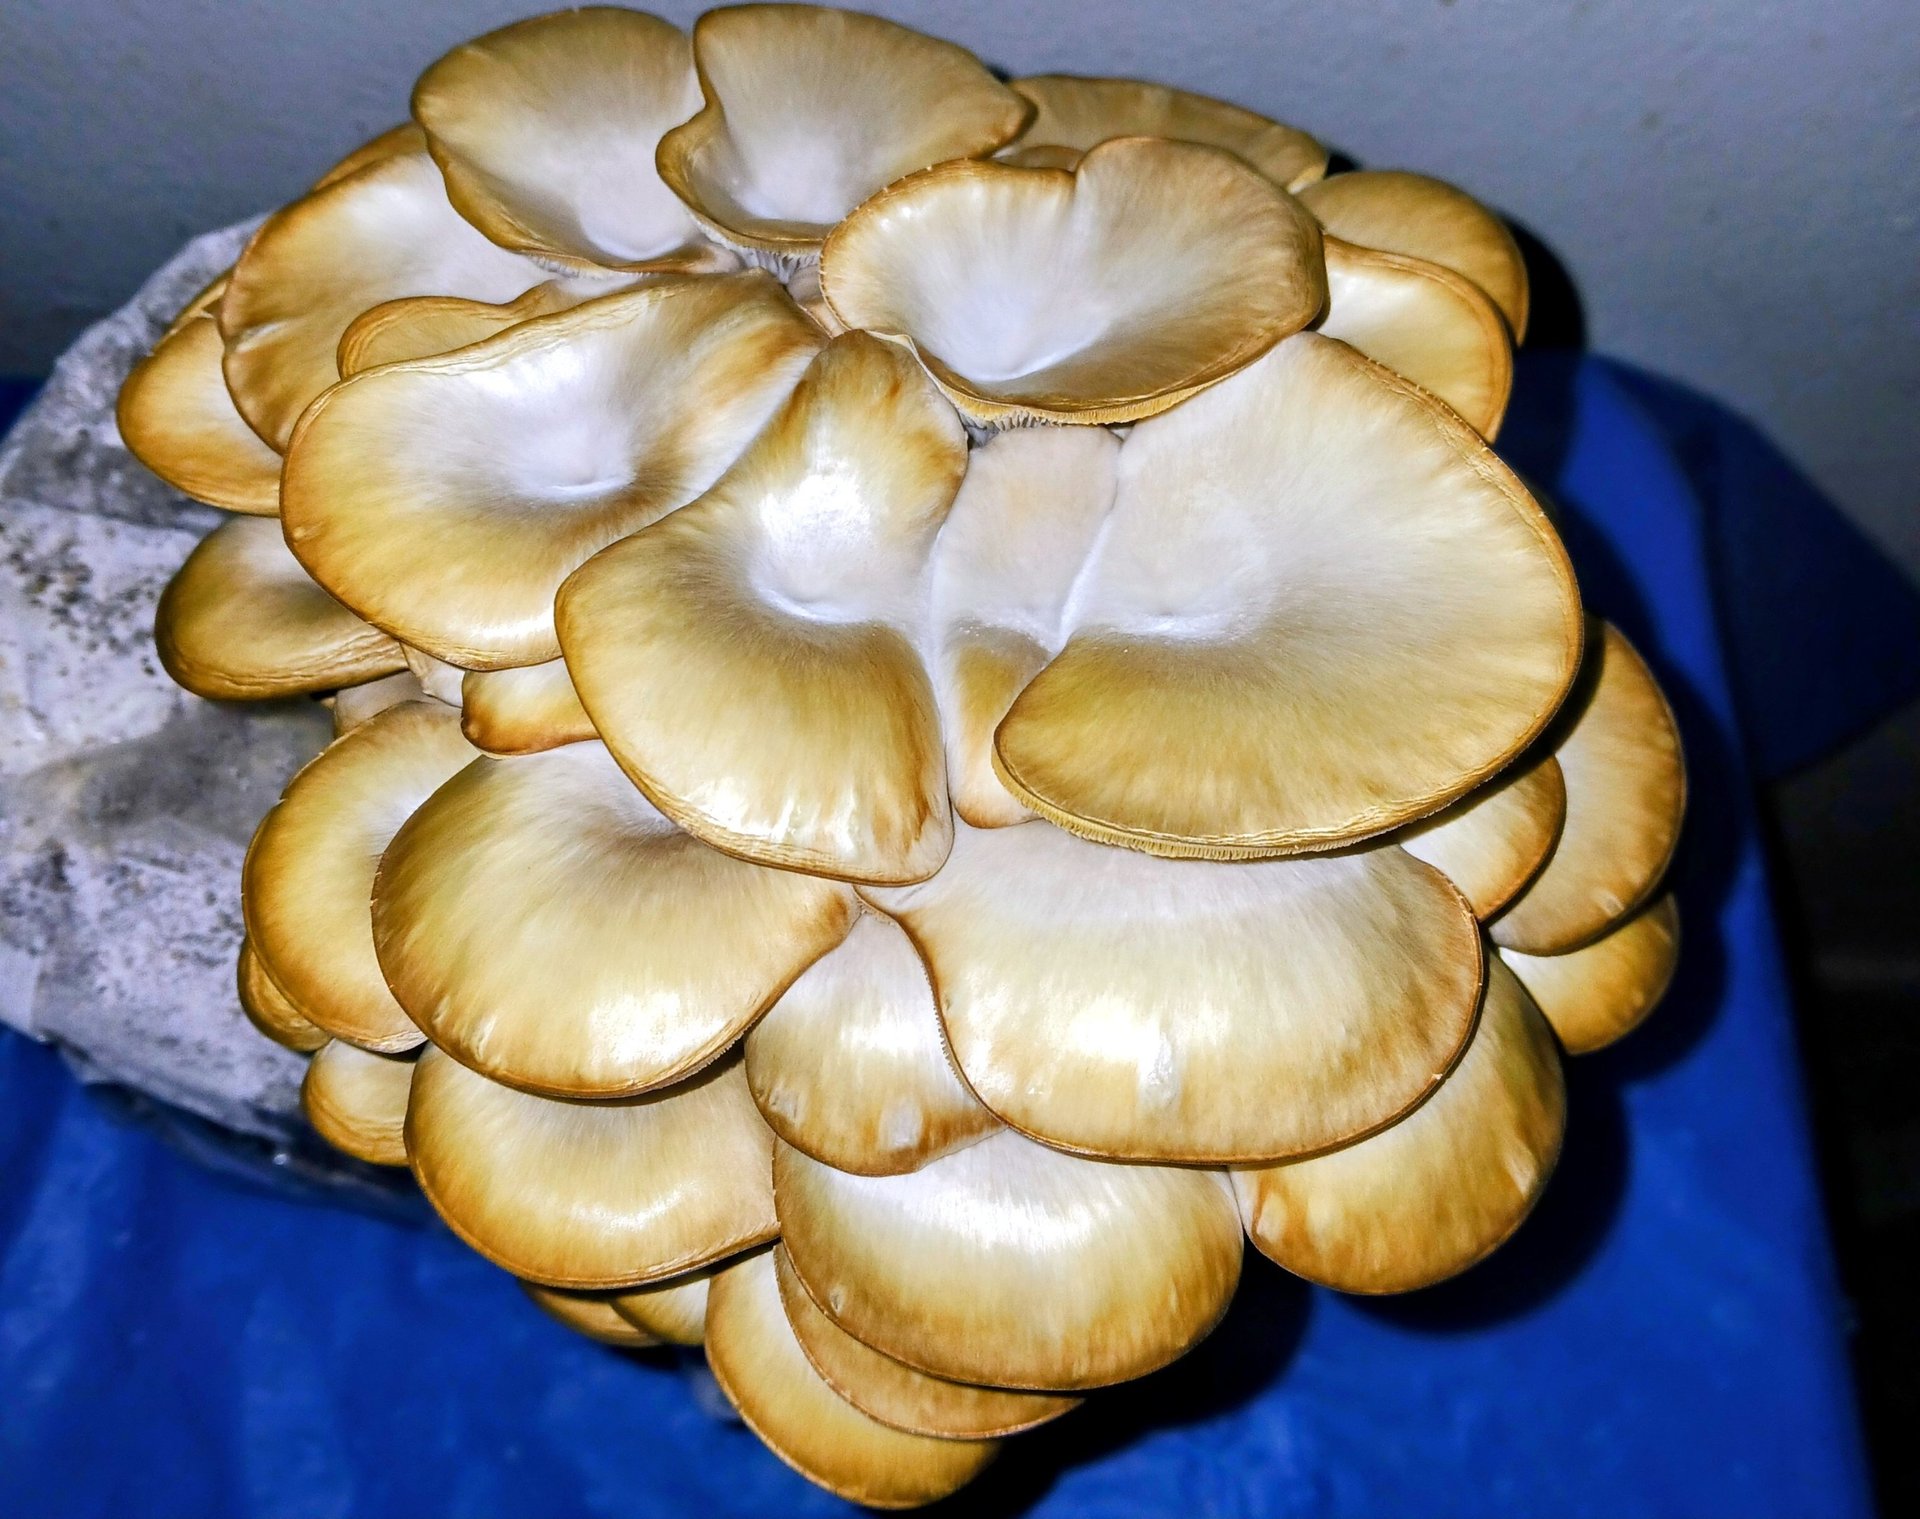
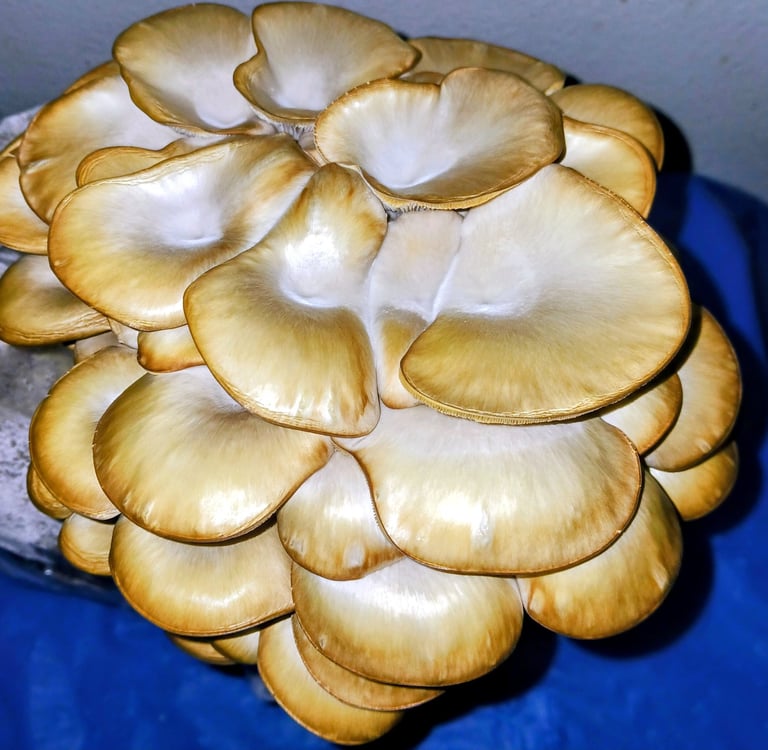
This was my mistake. Oysters don't fruit well in sealed top-fruiting setups without serious airflow modification. If you want to use a tub, cut holes in the sides and let them fruit out of the walls. Better yet use a bag with slits cut in it — that's closer to how they naturally grow anyway.
4. Not Enough Fresh Air
This is the most common issue and the easiest to diagnose. Long skinny stems with tiny caps means they're stretching for air. Oysters want more fresh air exchange than almost any other gourmet species. Loosen lids, fan the fruiting area, or set up even a basic exhaust fan. A little airflow goes a long way.
5. Inconsistent Humidity
Dry surface pins stall out fast. But drowning them in mist causes its own problems. Light misting once or twice a day or a humidifier pointed indirectly at the block is the sweet spot. You want the surface moist not dripping.
See my post on how to keep your mushrooms from drying out. How using a cheap humidifier is a great cost-effective way without needing a martha tent.
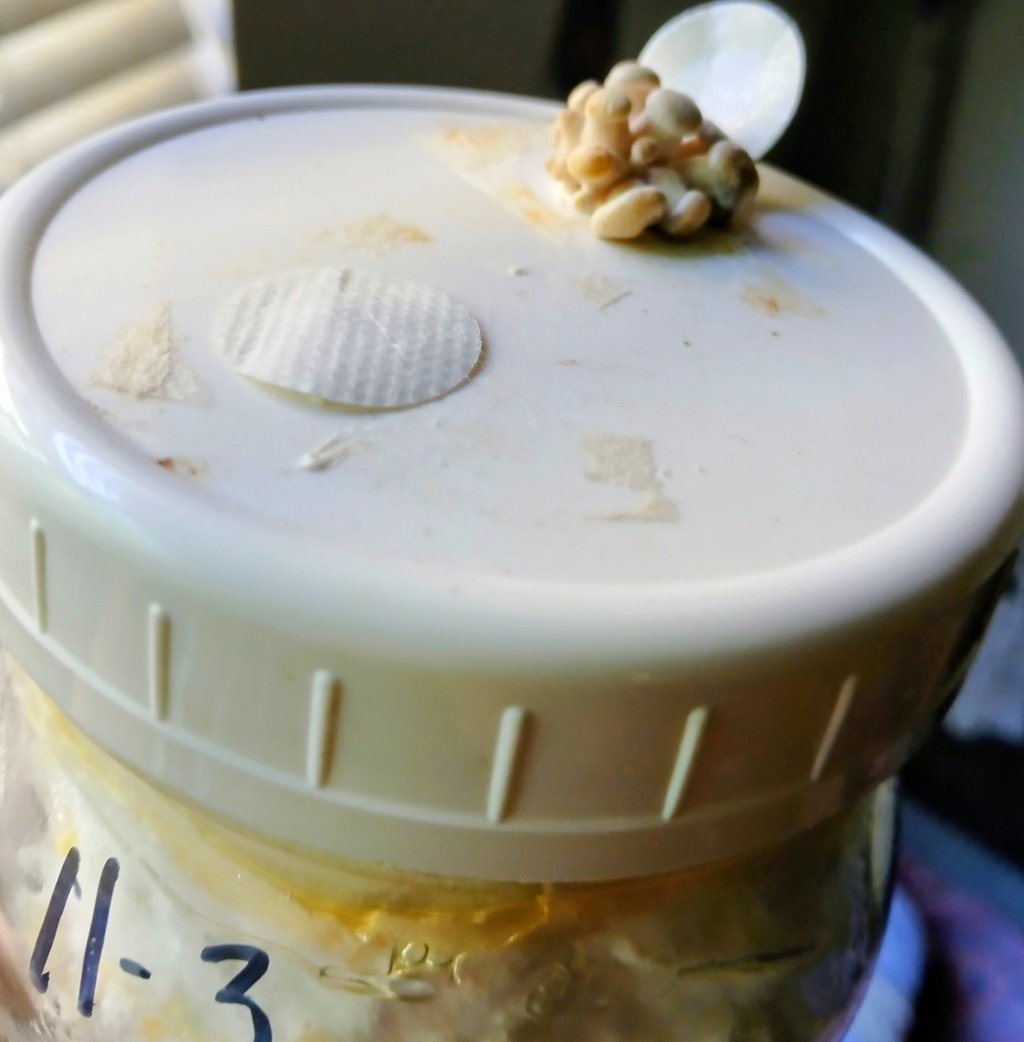
6. Old or Weak Spawn
Slow colonization and patchy growth is often a spawn issue. The most common culprit is spawn that sat too long, got too warm during storage, or was already old when you got it. Fresh healthy grain spawn makes a noticeable difference. If you're making your own, store colonized jars in the fridge and try to use them within a few weeks to a month.
7. Harvesting Too Late
Oysters move fast. One day they look perfect, next day the caps are curling up and dropping spores everywhere. Harvest when the edges just start to flatten but before they curl upward. When in doubt harvest early — you can always wait on the next flush
Want to know the best time to harvest? See post on when to harvest gourmet mushrooms.
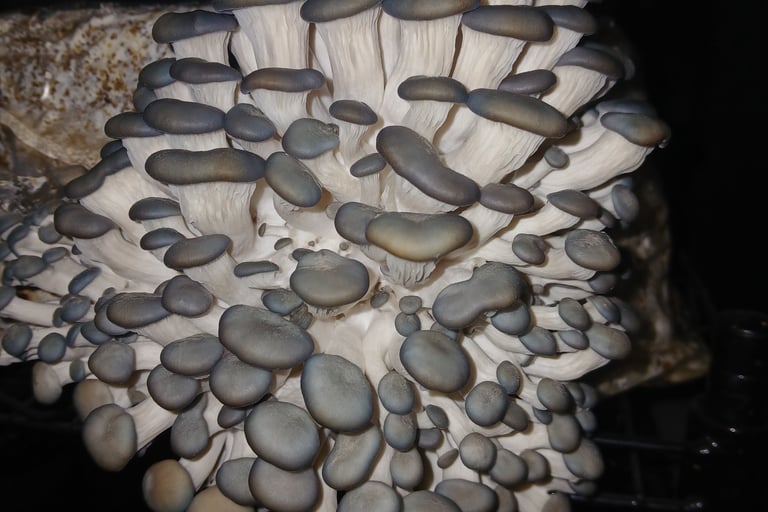
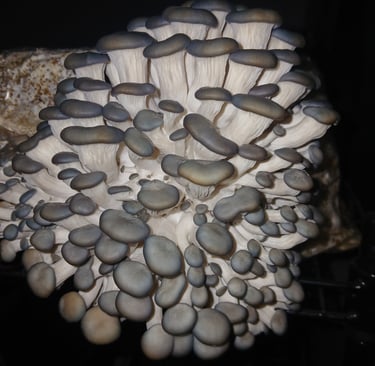
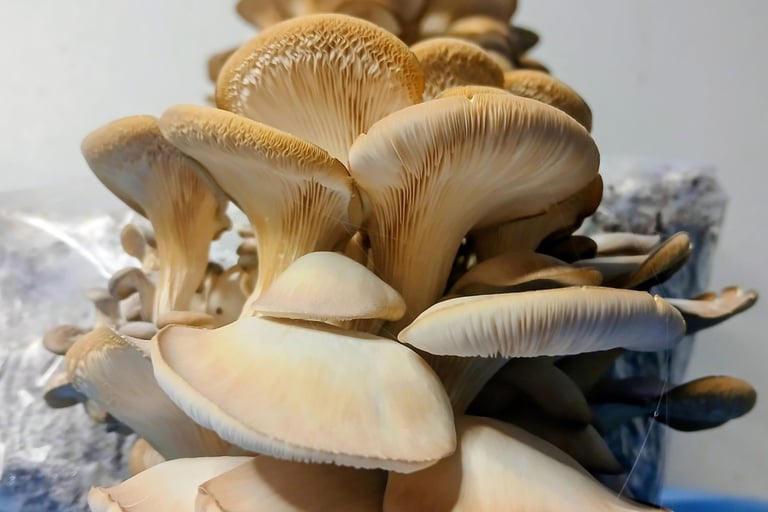
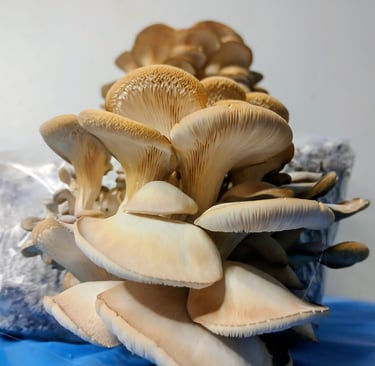
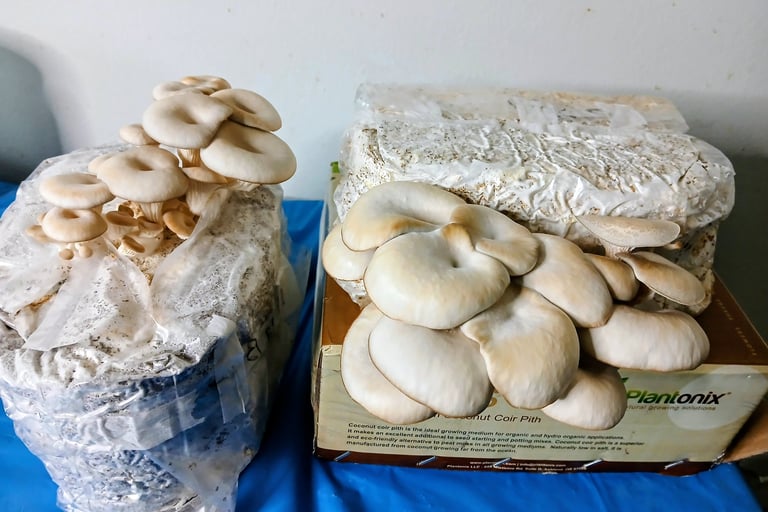
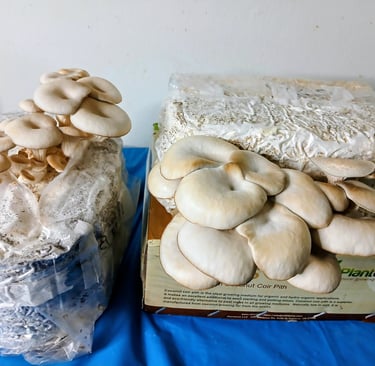
Side Fruiting vs Top Fruiting
Oysters naturally want to fruit from the sides of a block or bag with slits cut in them rather than sitting exposed in an open tub or tray. That open monotub or tray style works better for other species. For oysters, fruiting blocks with side cuts or a setup where they can push out naturally tends to give you denser cleaner clusters. Learn more about top fruiting vs side fruiting.
Final Thoughts
Oysters are genuinely forgiving once you understand what they want, fresh air, consistent humidity, and a substrate that's not too wet. Get those three things right and the rest falls into place pretty naturally.
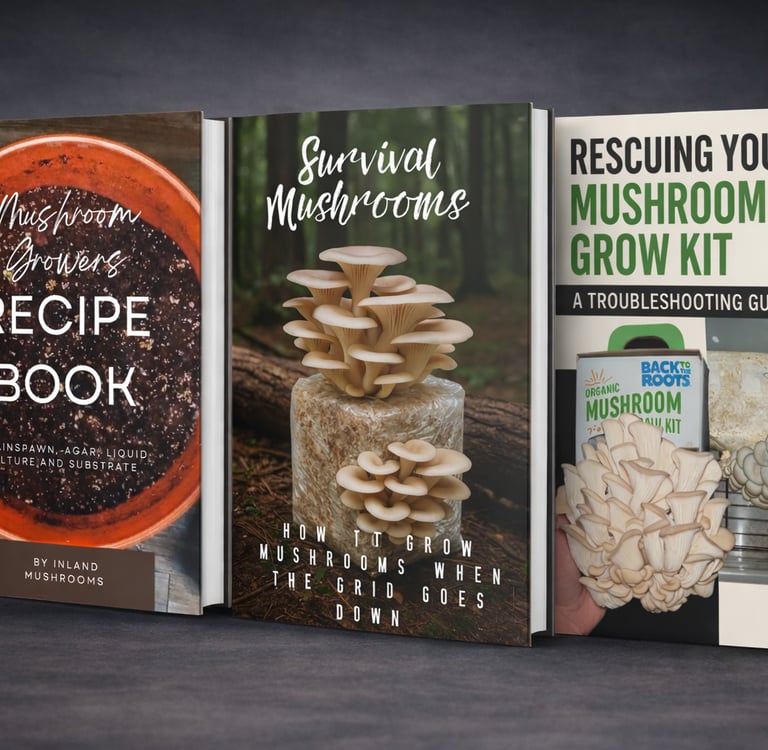
Want proven substrate and spawn recipes? 👉 Grab my Mushroom Recipe Ebook, along with other growing guides. Mushroom Ebooks